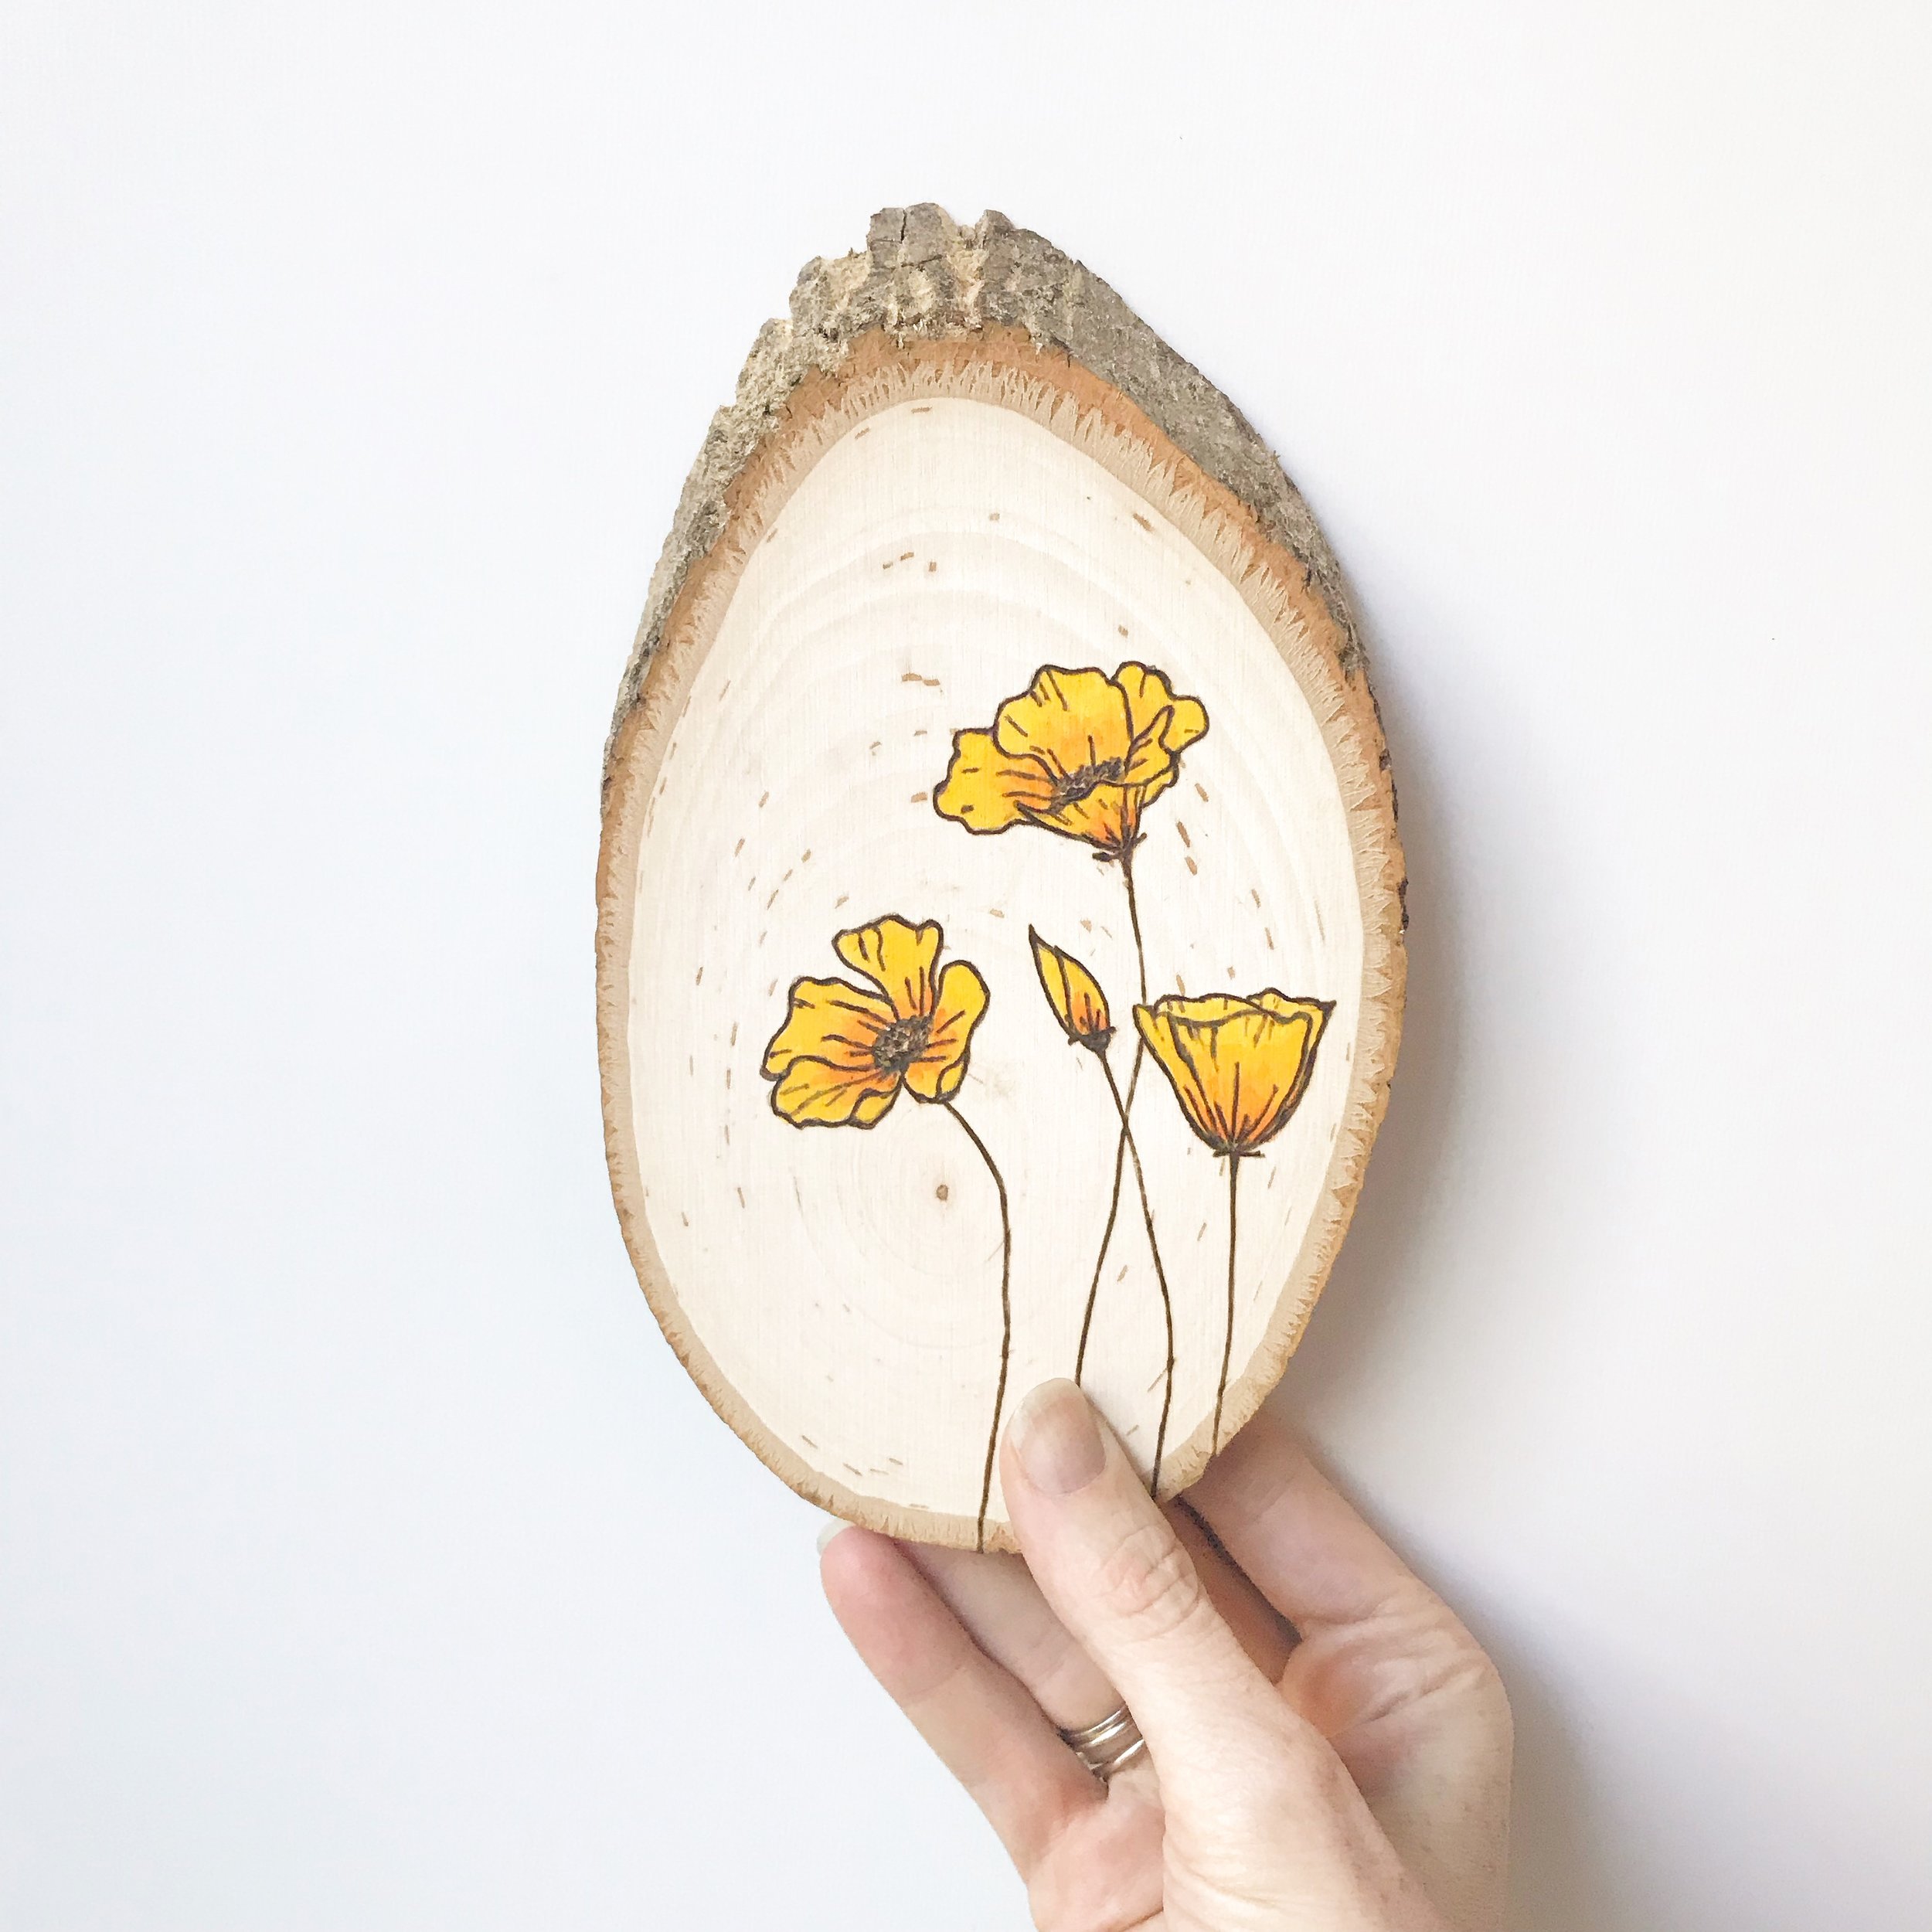
There are so many different ways to add color to wood, but watercolor is probably my favorite.
There are a couple things you are going to want to know before you start adding watercolour on wood.
It doesn’t act the same way that watercolor paper does. Where you place it, it will soak in and stick. You can’t blend as easily as you can on paper. Especially if you are adding wood to a dried piece of wood, that wood will soak it right up because it is very thirsty.
Be careful not to use too much water or you can split the wood. (Trust me, I have done this!) You will think you can create more blending by adding more water, which you can, but it can be at the coast of the entire piece.
I prefer to use water brush pens for my paintbrushes. These are paintbrushes that hold the water or water color in their handle, and you squeeze them to get water onto your brush. I love these, because I have more control over the amount of water I am using, and it saves me time from having to dip back into the water glass.
There are some preferred watercolor manufacturers that I love like Arteza and Windsor & Newton, but a cheap pallet of colors from your local craft store will do just fine. If you are looking for metallic pigments, I can not recommend Fine-Tec Paints enough.
In this quick 5 minute video I cover how to add watercolor to wood, and what to avoid. I talk about the tools and materials that I use, and some tips and tricks I have learned.
No matter how you choose to add color, please remember, color goes AFTER burning. Never woodburn over color! Never ever! You do not want to be breathing those fumes. Always wood burn first then add your mixed media.
Affiliate Links for the materials I used:
Embossing Tool (or pen or pencil)
Walnut Hollow Birch Coaster is non longer available but THESE wood slices will work!
I cover 9 ways to add color to wood in my book, The Wood Burn Book.
You can also check out this blog post for a list of alternative mediums to use with pyrography.

