Practicing pyrography means different things to different people.
For some, it’s a meditation.
For others, it’s business.
For many, it lives somewhere in between.
But whether you sell your work or keep it personal, one question eventually appears:
How do you keep coming back to the burner without burning out?
It’s a question that I should have asked myself a while ago, one that I ask myself even now, and one that comes up often in conversations across the pyrography community.
***If you’re already part of the Burn Club, join us in this conversation HERE.
If you’re not in yet, sign up here and head to the Burning Questions channel!

Over the years I have experienced the ebb and flow of creative motivation. Sometimes pyrography fit naturally into my life. Other times the motivation just wasn’t there. The most noticeable turning point, for me personally, came when this peaceful hobby became a business.
Making money from the craft was incredibly rewarding, but it also introduced pressures I didn’t fully anticipate…
That experience made me start thinking more deeply about longevity in practicing wood burning, and honestly creativity in other mediums too, because let’s face it… who really sticks to just one craft?
So the question becomes: how can I build a creative life that can actually last?
These are exactly the kinds of conversations happening on Pyro Toasty Talks, one of the first podcasts dedicated entirely to pyrography. Many of the discussions come directly from the lived experience of artists working within the craft, and every experience has similarities as well as their own differences.
The Conversation Happening on Pyro Toasty Talks

Pyro Toasty Talks is a podcast created for the pyrography community. The show explores wood burning not just as a technique, but as a creative practice and a profession.
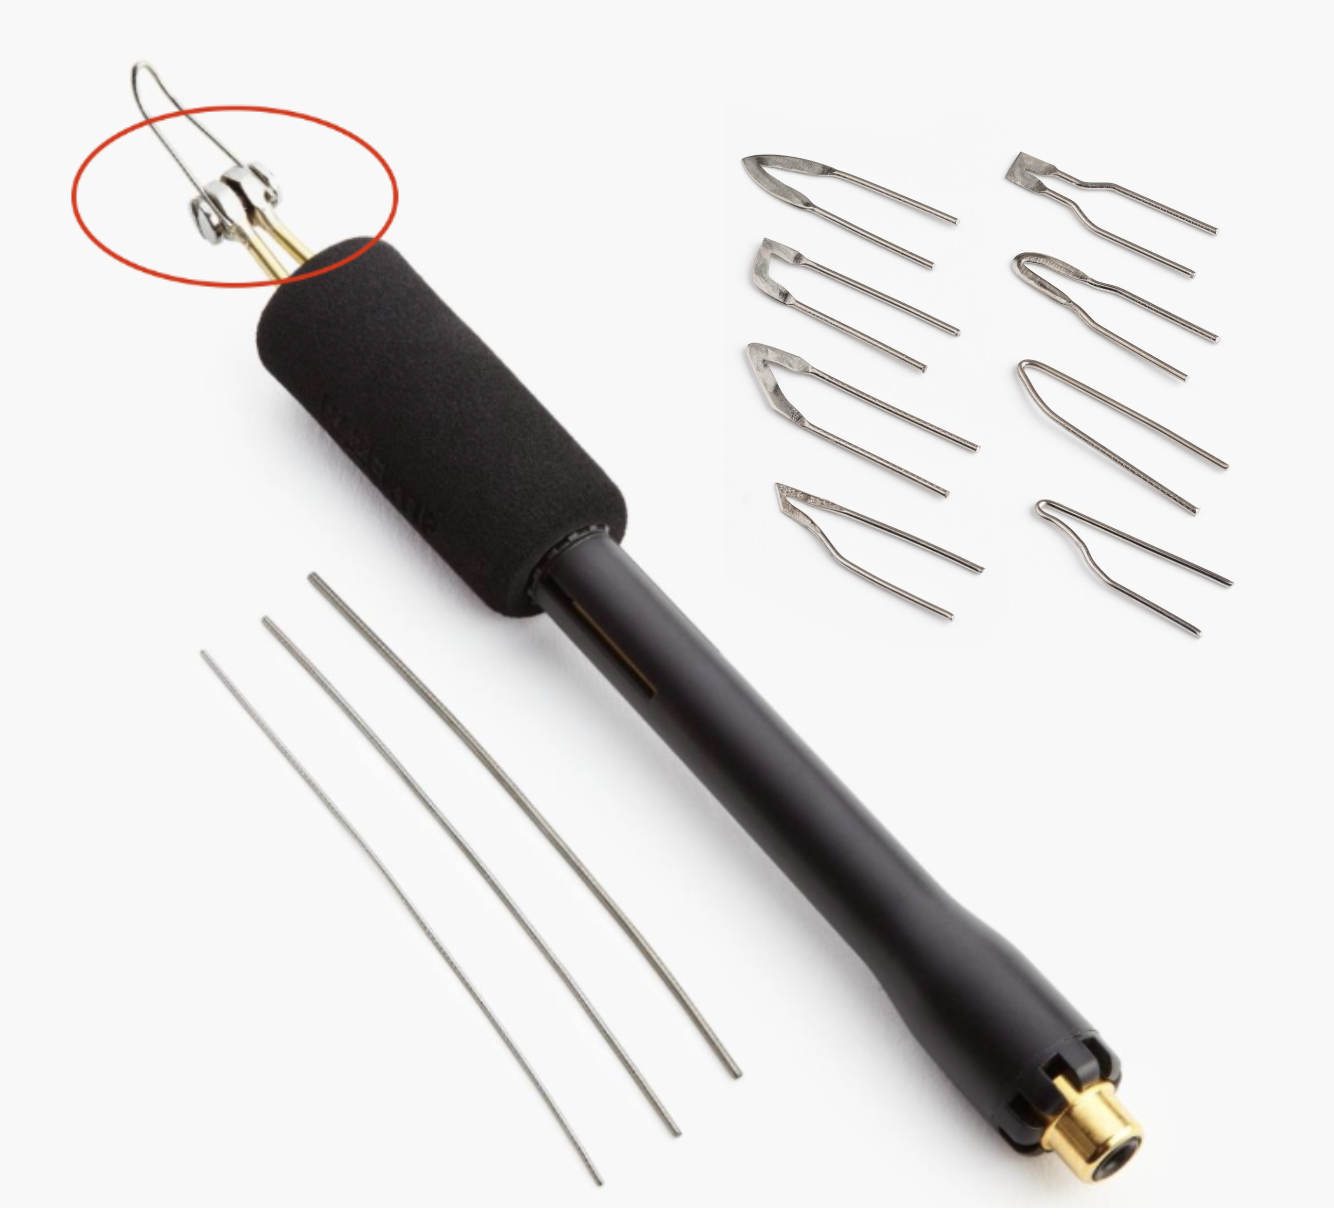
Episodes dive into pyro tools, process, experimentation, and the realities of building a life around art.
Conversations often explore running a creative business, navigating motivation, and figuring out how to sustain the craft long term.
You can listen to Pyro Toasty Talks on several platforms:
• Spotify
• Instagram (episode announcements and updates)
The Voices Behind the Mic
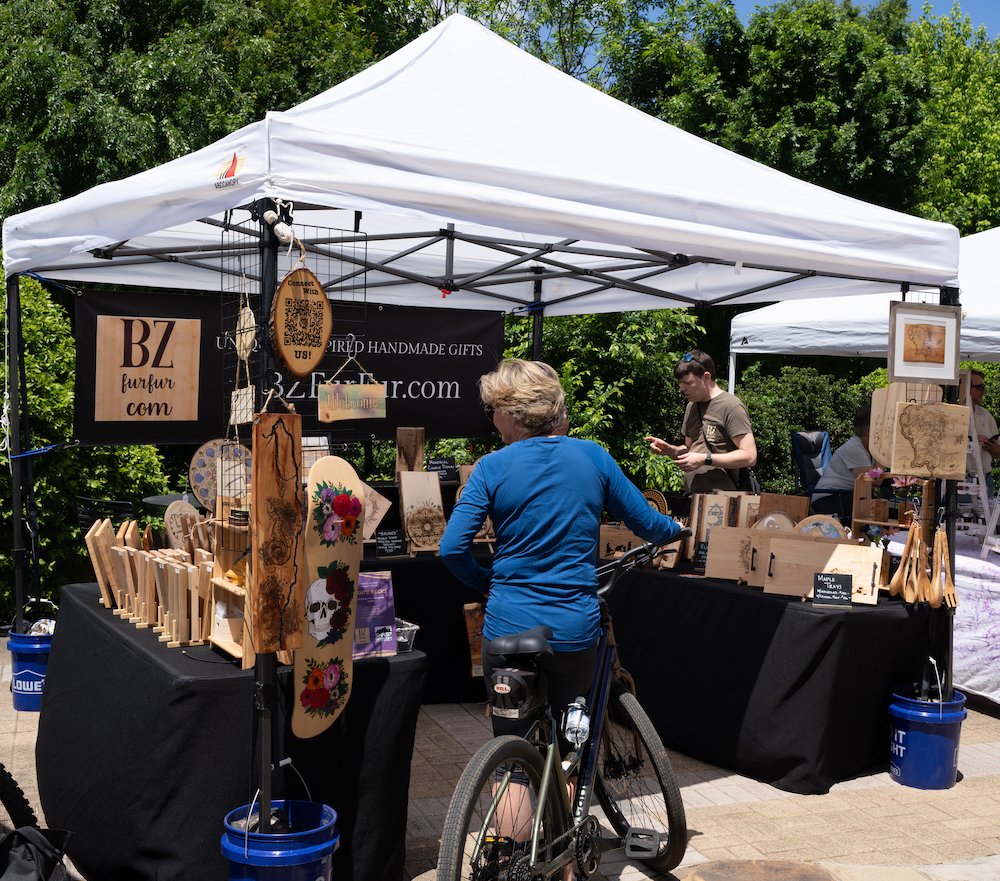
Pyro Toasty Talks is hosted by Zona and Brian of BZ FurFur with occasional appearances from former co-hosts David and Renee of It’s David and Renee. The podcast also regularly welcomes artists and entrepreneurs from across the world, creating a diverse mix of voices all built around pyrography, creativity, and entrepreneurship.
For this article, I had the chance to pick Zona’s brain.
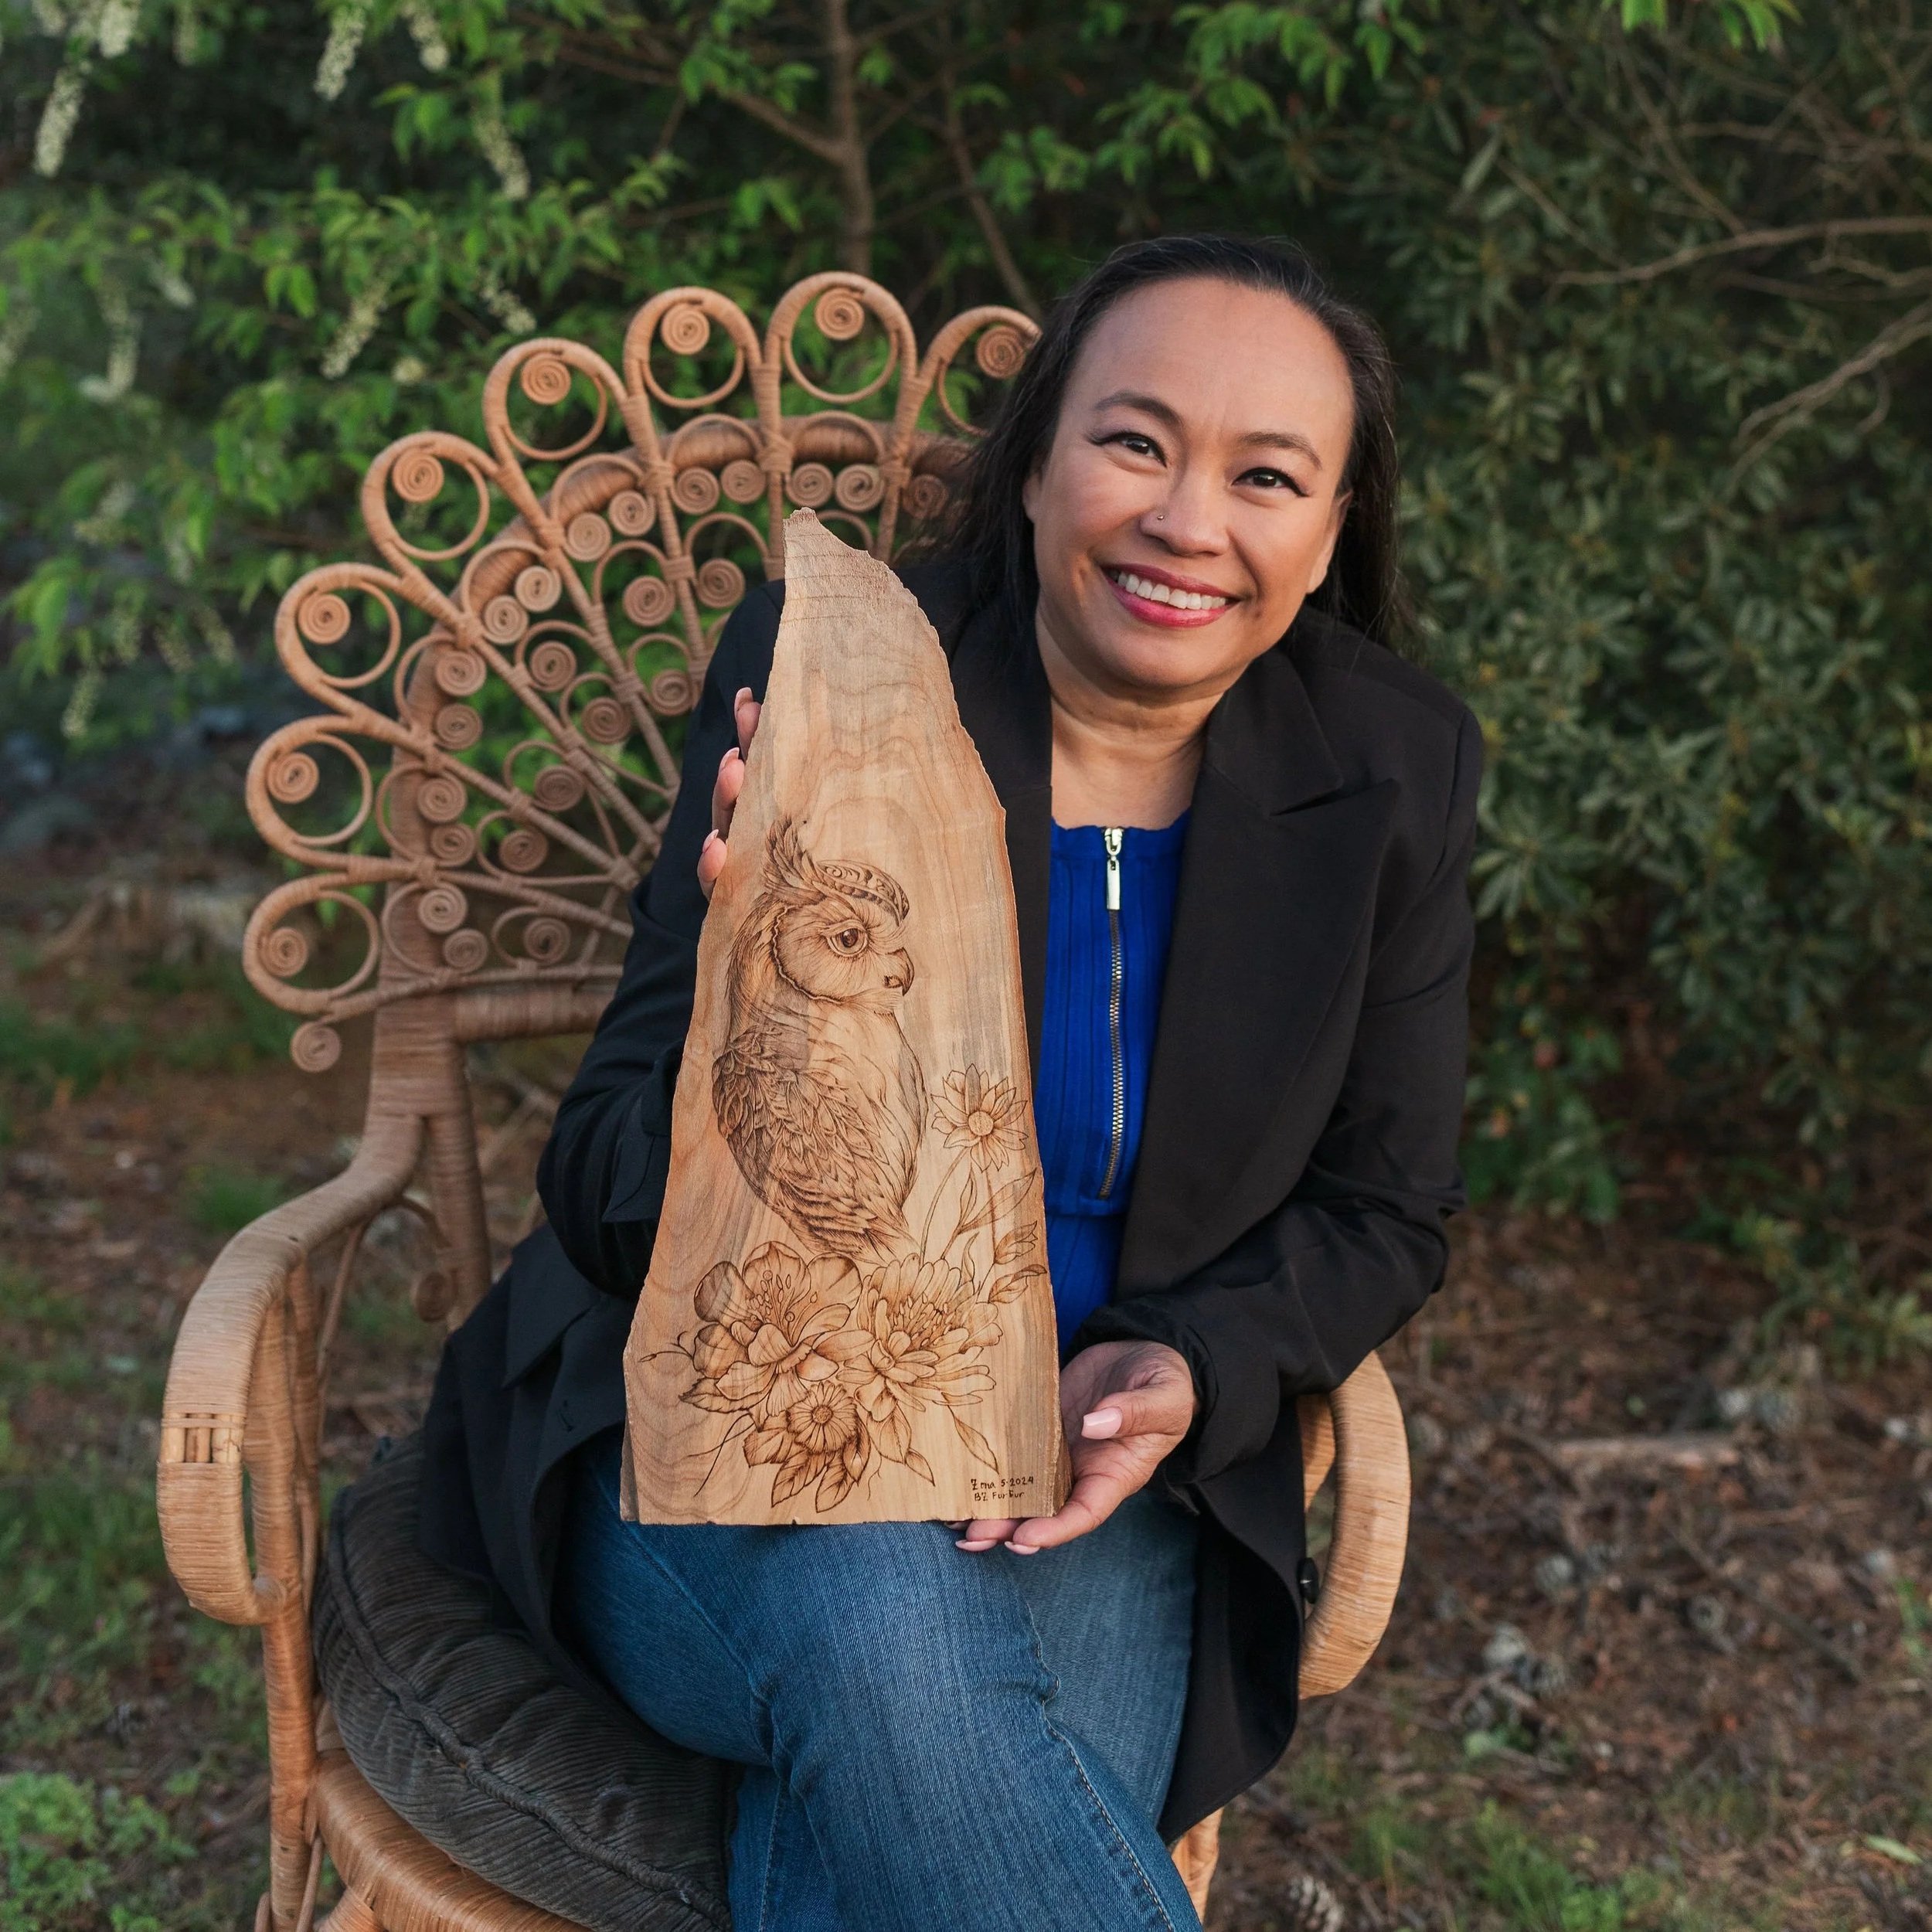
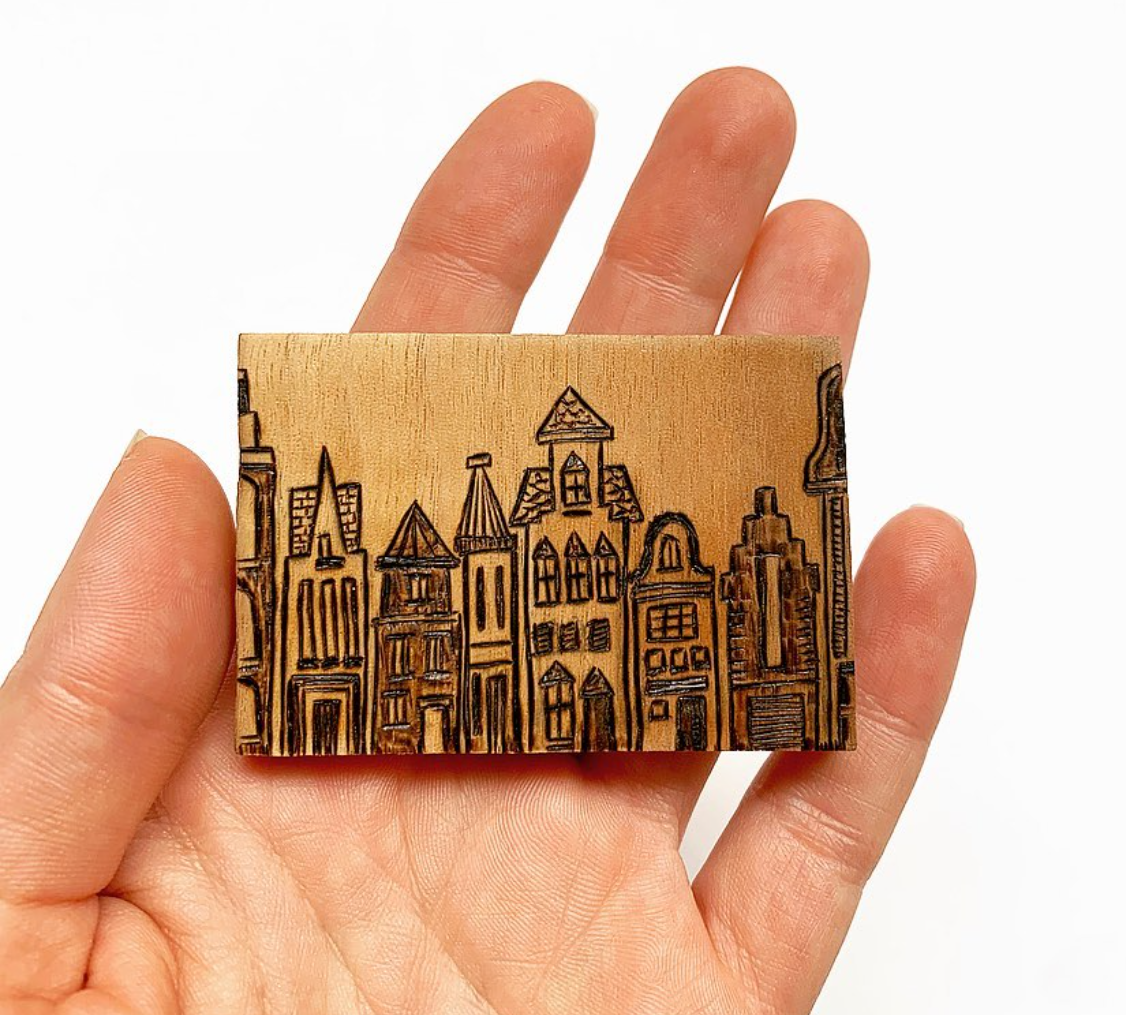
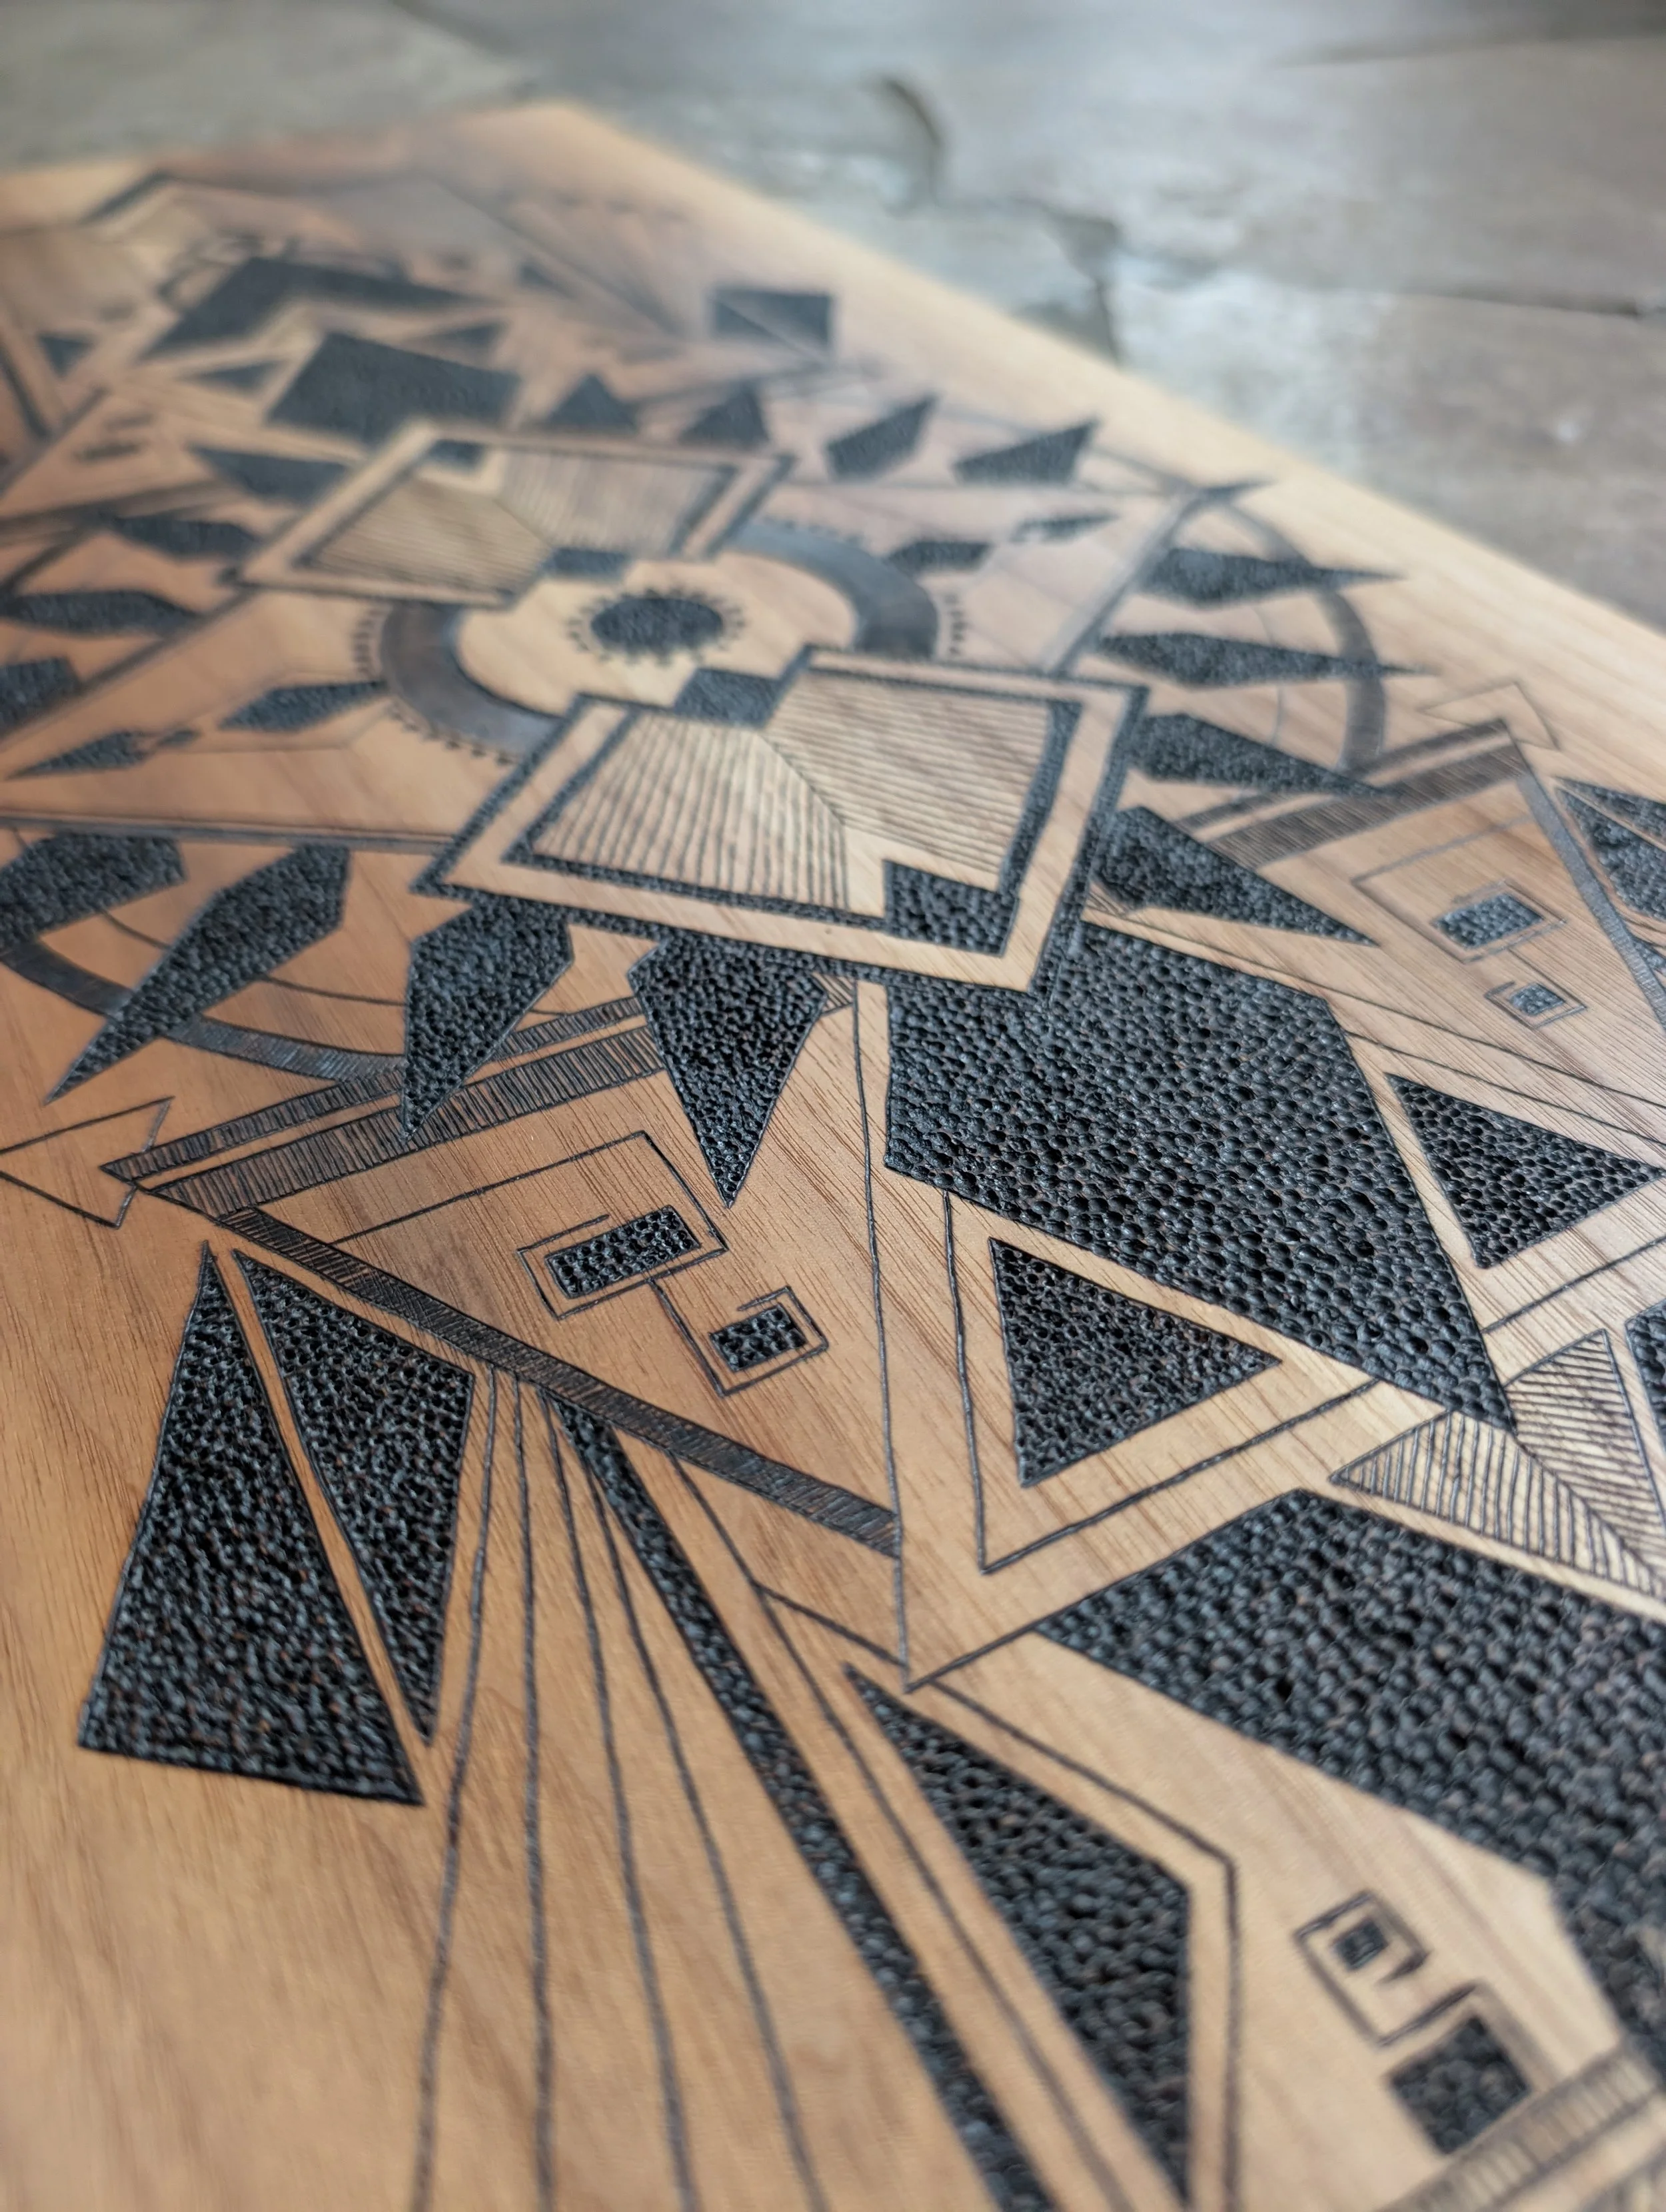
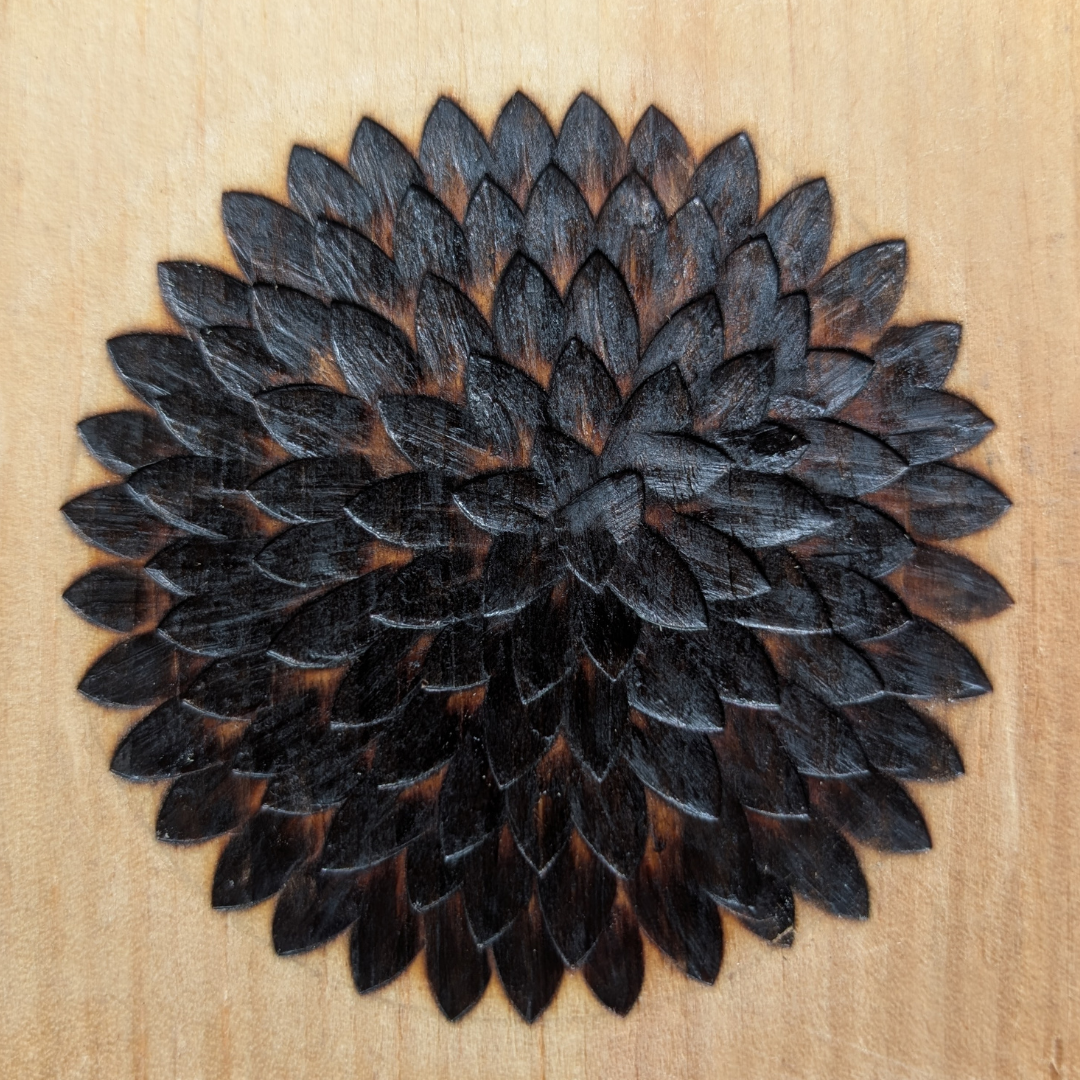
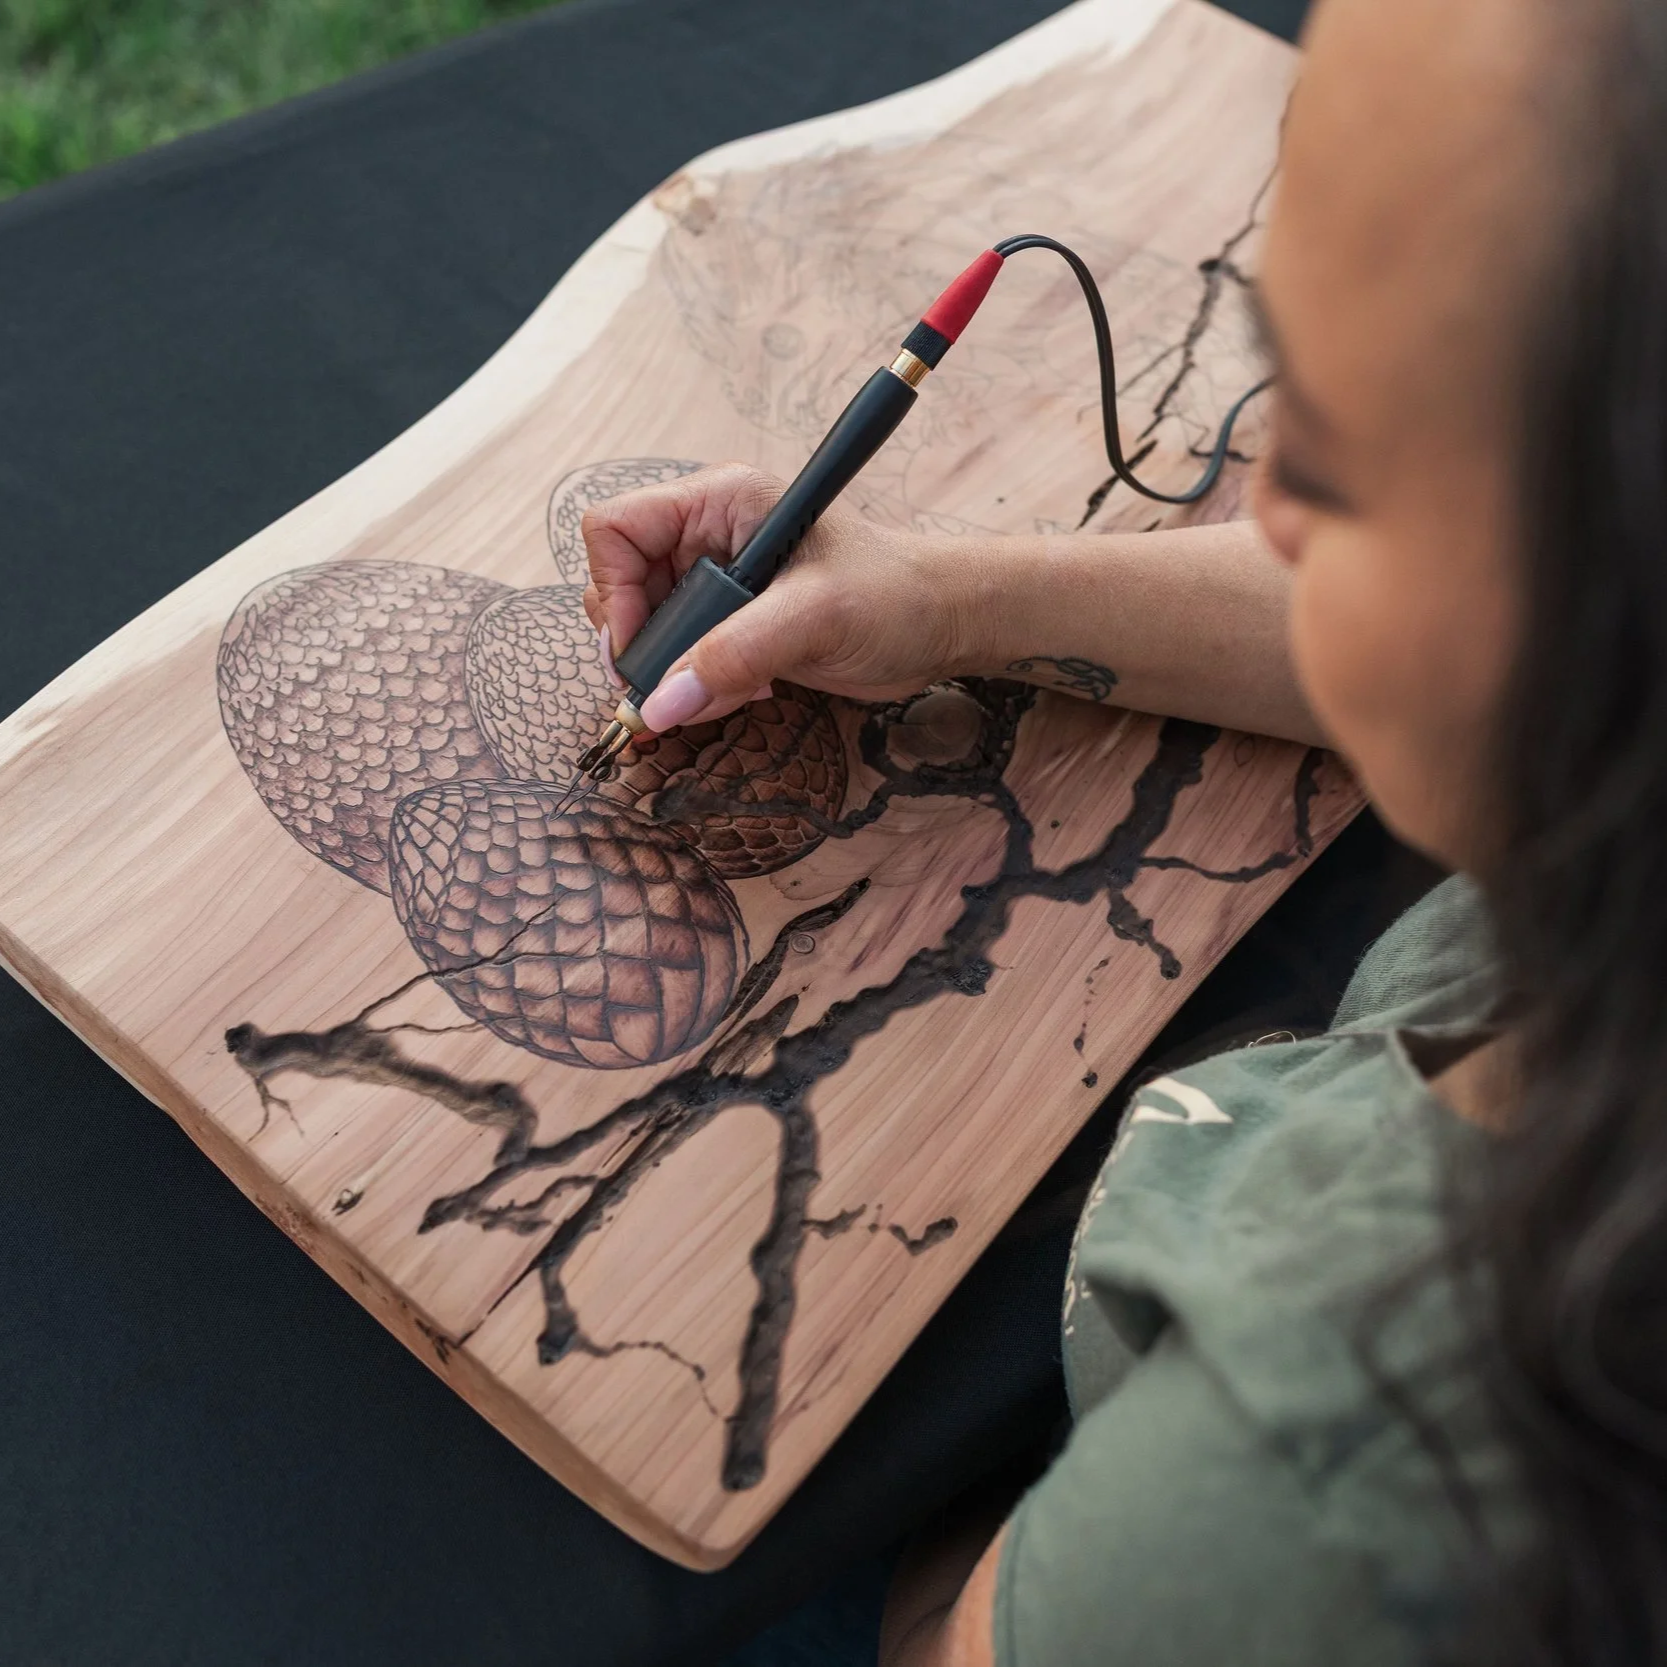
Zona is first and foremost an artist. Her pyrography is intricate, controlled, and deeply intentional. The level of detail she achieves reflects years of dedication and a strong passion for the craft.
That same care and thoughtfulness also comes through in the way she speaks about creativity, practice, and building a life around what you love.
What To Expect From Episodes
Episodes range from gear discussions and creative process conversations to business insights and guest interviews. Topics have included balancing creative work with the rest of life, processing your own wood, decorative mediums, hosting classes, pricing strategies, selling work at markets, planning art pieces, and interviews with other creatives in the pyrography world.
Whether you’re an experienced pyrographer, a newer maker, or someone curious about turning creativity into income, Pyro Toasty Talks offers valuable insight. The blend of artistic passion and entrepreneurship gives listeners a well-rounded look at what it means to pursue art with intention, and to make a living from it.
Continuing the Conversation with the Hosts of Pyro Toasty Talks
The conversations happening on Pyro Toasty Talks, with the hosts and guest speakers, often circle back to something many artists eventually discover: that sustaining a creative practice requires both the art itself (in all its forms) and the systems that support it. Sometimes those systems are practical, like routines or business structures. Other times they are quieter supports, like time in nature, creative play, or moments of rest and reflection that help reconnect with why we create in the first place.
I am excited to hear how Zona thinks about that balance in her own creative life.
Wood Burning as a Long-Term Practice
It’s easy to feel motivated in the beginning. Everything is new and every new piece or technique learned feels like discovery. But inspiration shifts over time. It deepens. It matures. Sometimes it quiets…
For me, creativity comes and goes in waves. Sometimes I can’t sleep without getting an idea out of my head and onto wood. Sometimes, I have no desire or energy to make anything at all.
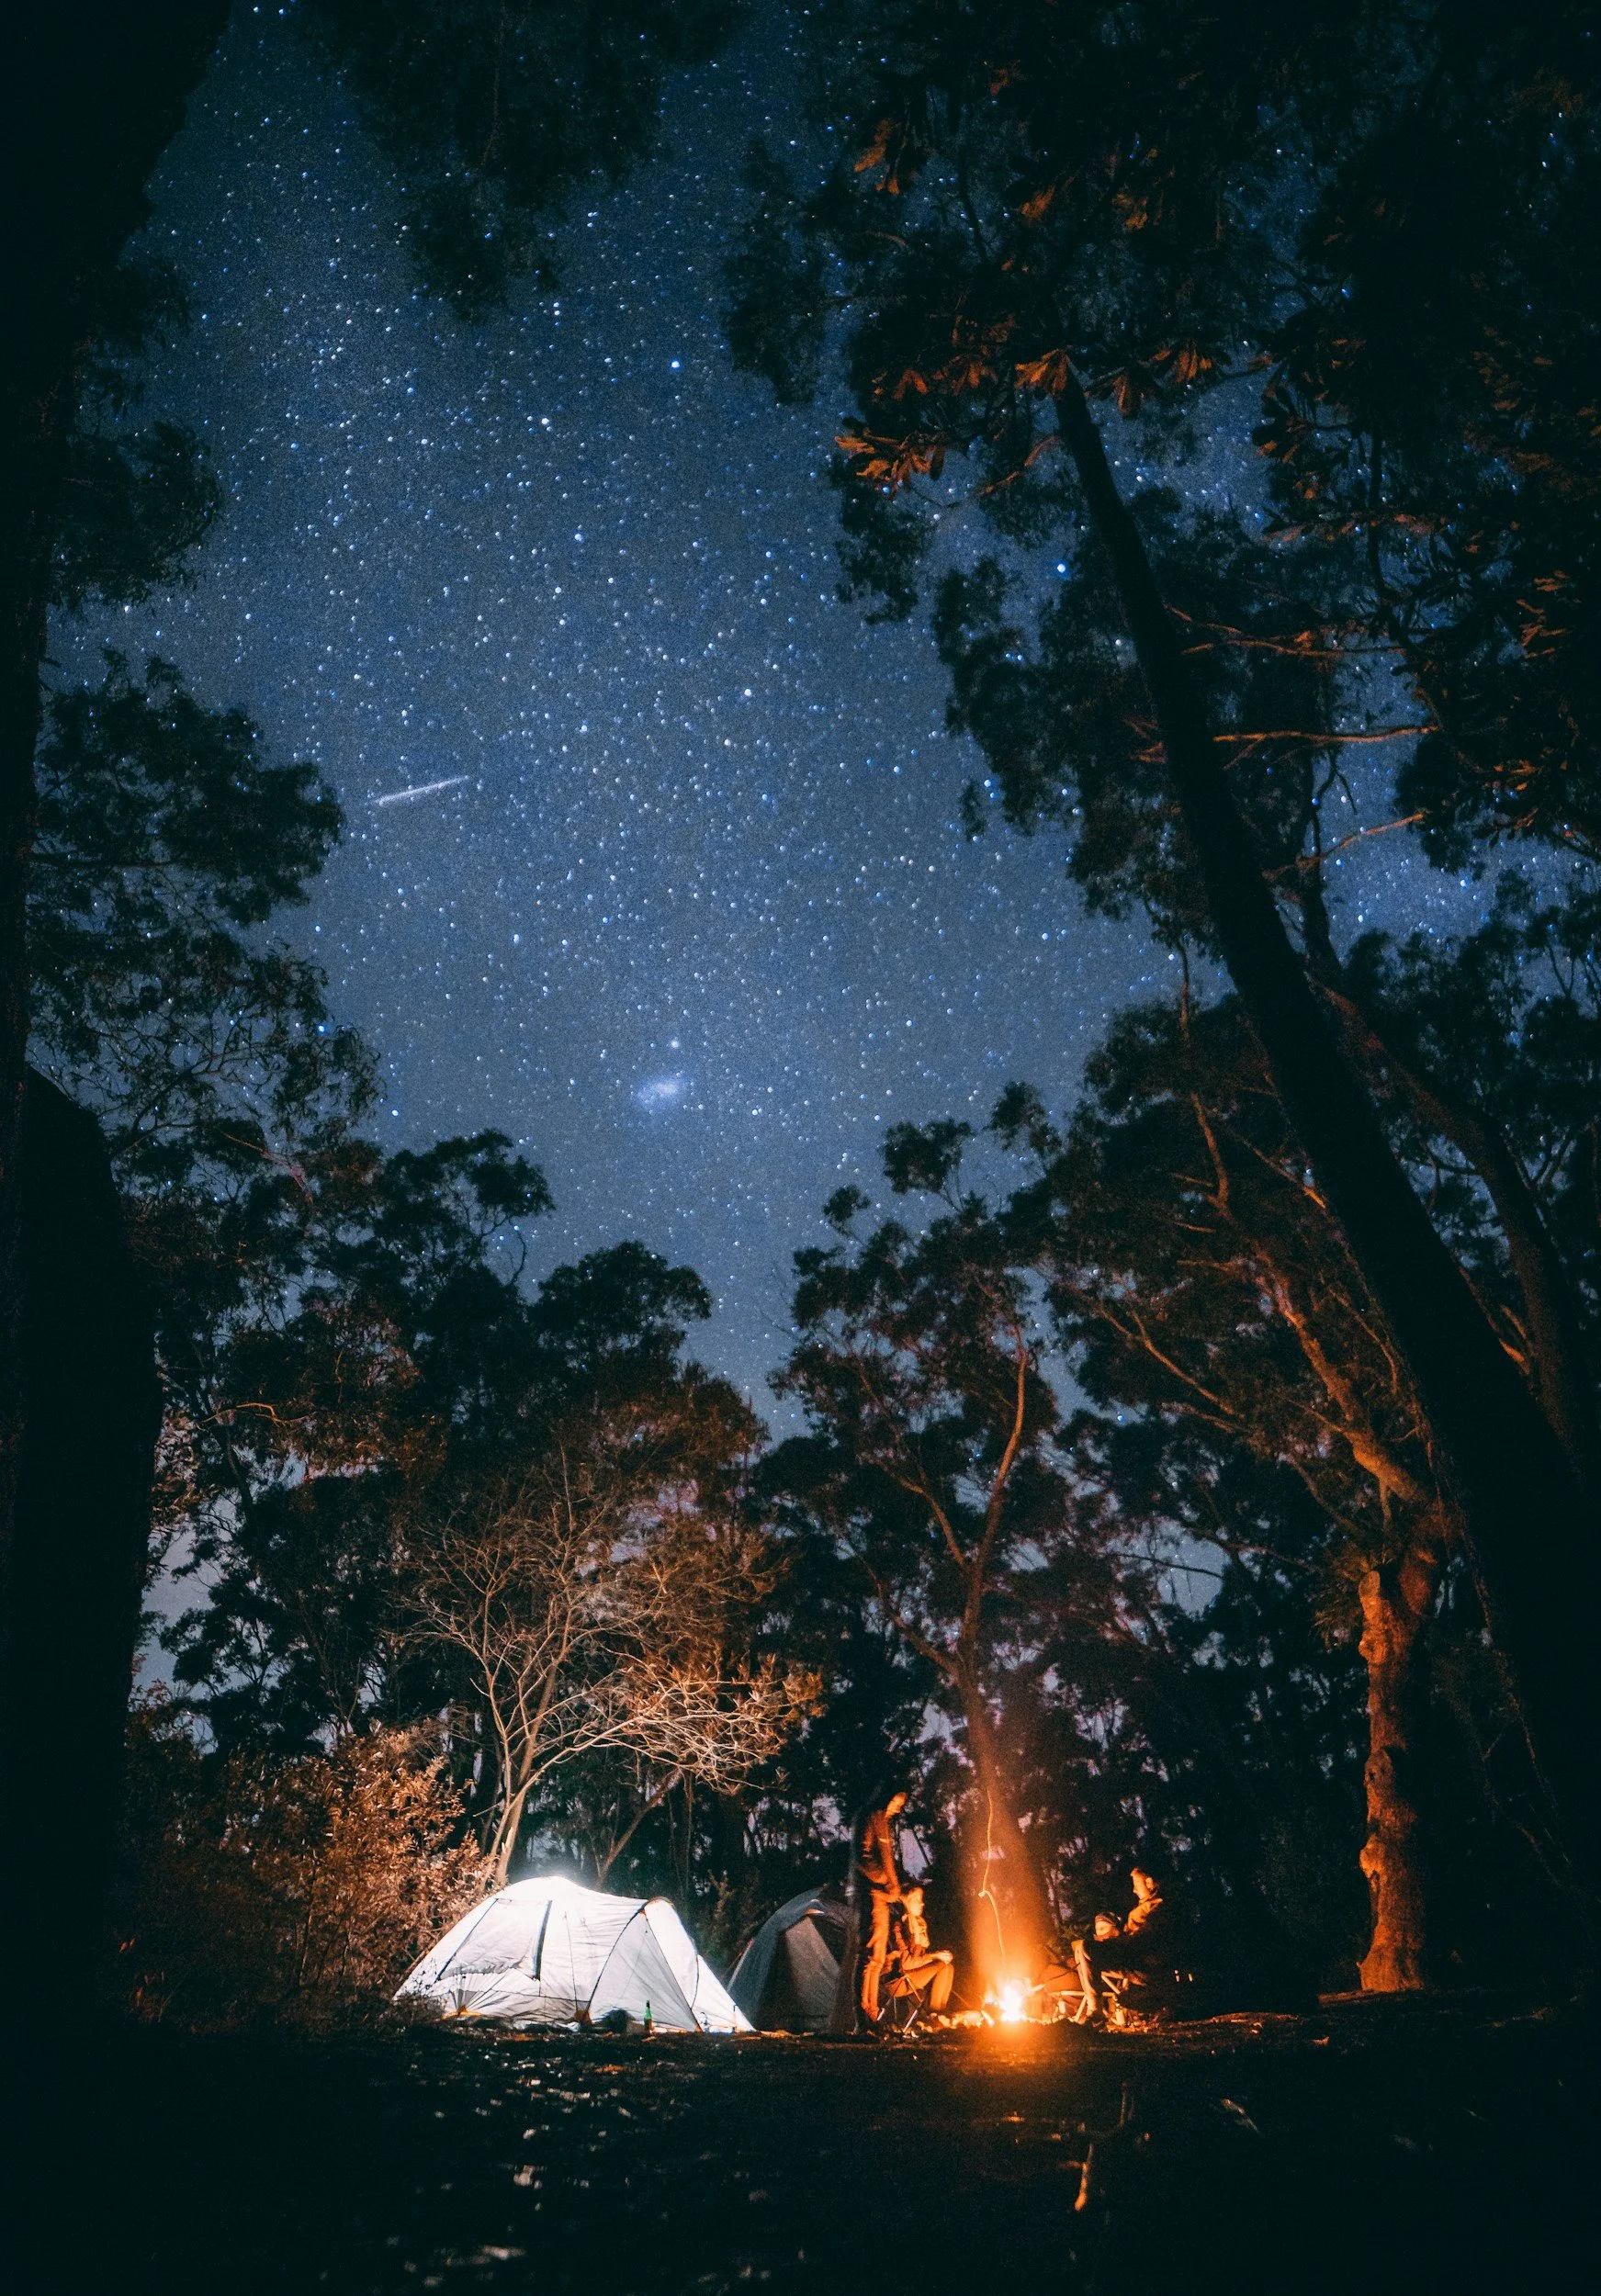
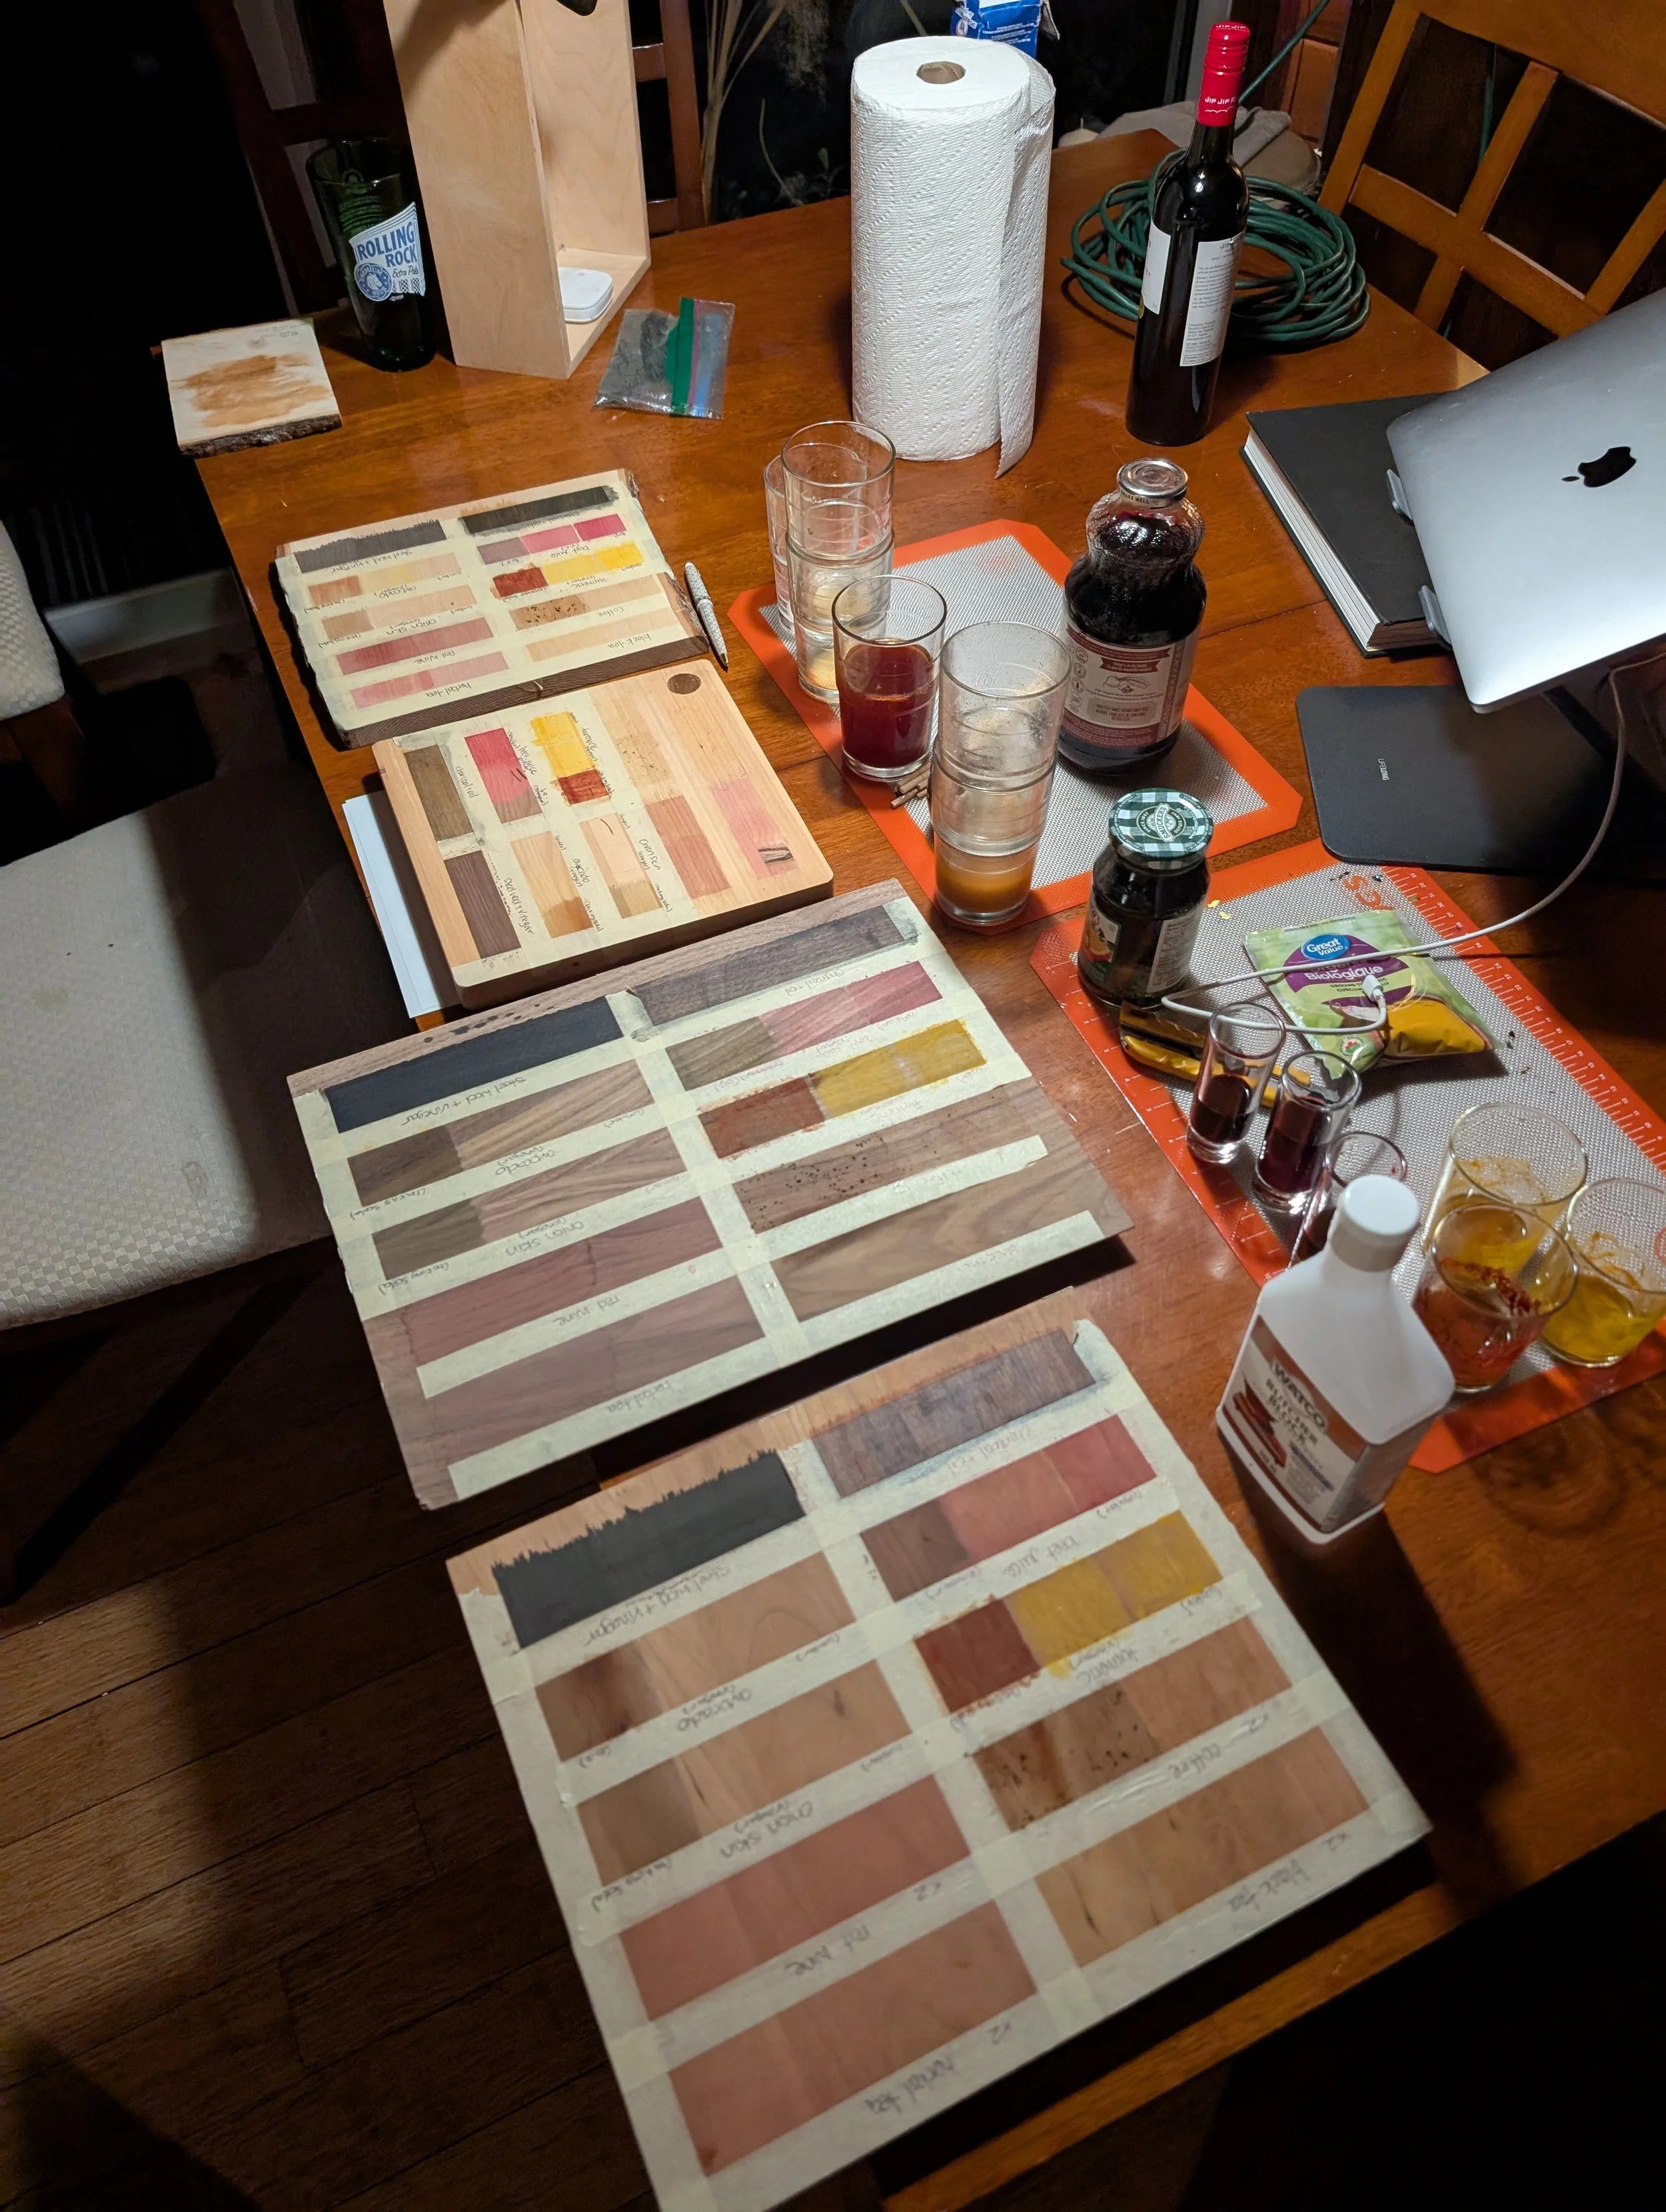
Sometimes it’s as simple as going for a walk in nature that gives me the mental space for those creative sparks to appear. Other times, I need a few days with nothing but a canoe and a fire. Nature really fuels me... 🌳
That balance between “nothing” and “everything else” has become important in my life. When there is enough time doing “nothing” (meditation, walking, art that is for pure pleasure etc…), the space to create is more readily available.
But getting into the creative state, or maybe out of a creative rut, looks different for everyone…
On Pyro Toasty Talks, these kinds of questions come up often, and Zona has been in the pyrography game since 2021, so I asked her directly:
What keeps you inspired and motivated?
“I often think about the first time I created a piece for “I Am the Storm.” It was a collaboration with another artist that incorporated fractals. A woman came by the booth, saw the piece, and told me that the quote meant something deeply personal to her—her daughter had just gone through chemotherapy and was finally in remission.
In that moment, the artwork meant something real to someone else. It wasn’t just something I made—it connected to someone’s life and their story.
That experience has stayed with me. Knowing that something I create can resonate with someone in that way is what keeps me inspired and motivated.”
It’s a feeling many members in Burn Club share, especially when a piece is made as a gift or created with someone specific in mind. That sense of connection can be deeply motivating.
But when art starts to carry expectations, deadlines, or financial pressure, the relationship with it can begin to change.
When Art Becomes Business.
Monetizing a craft can create freedom but it can also create tension.
I found myself creating not because I wanted to explore an idea, but because I needed something to post, something to feed an algorithm. And that shift changed how it all felt… I actually dreaded starting a piece because I would feel obligated to record it and guilty if I’m not recording it (insert the once trending tune of “everything is content, everything is content”).
Wood Burn Corner took a pause when Rachel stepped away from the business, and since I was also going through a difficult time personally, everything slowed down for a while. But that pause ended up giving me space to rethink how I wanted to move forward.
I stepped back from chasing consistency for the sake of performance. It was my meditation space and I wanted to protect that.
Now I only record tiny snippets or take a photo of the finished piece and burn guilt free, mostly whenever I feel like it. I say mostly because as a business, it require SOME consistent output, but the key is, that it is balanced with my own projects and stuff I do that is not for show.
I realize that kind of pause is not always possible when a business, audience, or other responsibilities are depending on you. So, it made me curious how the transition from artist to artist entrepreneur had shaped Zona’s relationship with pyrography.
What happened to your relationship with pyrography when you made it your business?
“There was a point when it stopped being fun. It became work, and at times it even felt like a burden. I realized something was wrong when I caught myself not liking it anymore—because if I didn’t like it, I certainly wasn’t loving it.
That was the moment I knew something had to change. I had to stop making things I didn’t care about and start focusing on work that actually filled my cup.
I don’t enjoy mass production. I don’t want to make the same thing over and over simply because I feel obligated to. If I get bored with a design, I want the freedom to say, “I’m not making this again for a while.”
The moment I stopped allowing myself that freedom was the moment the joy started disappearing. Remembering that this is my business—and that I get to make those choices—helped me reconnect with the work.”
How do you keep your practice grounded instead of performative or forced?
“For the most part, I don’t make things for the gram. I rarely go into a piece thinking about how it will perform on social media. Honestly, I usually forget to take progress photos entirely—beginning shots, middle shots, final shots. I’m still figuring out product photography.
Occasionally something works out. For example, the reveal for Majesty’s Dawn happened completely spur-of-the-moment, and it turned out great. But that wasn’t a calculated marketing decision—it was just instinct in the moment.
Brian handles much more of the social media side because it’s important for growing the business. For me, it’s always the last thing on my mind. If it were entirely up to me, I’d probably just snap a quick picture every once in a while and post it.
My focus is always on the work itself first. The rest comes after.”
I love that perspective. Making space to create things that are not for sale or for show can make a huge difference. When the work comes first and everything else follows, it’s much easier to keep the practice grounded.
But many artists run into another challenge once their craft becomes part of their livelihood.
So I asked Zona:
Have you ever caught yourself creating out of obligation instead of desire and how did you manage that?
“Absolutely. That’s what much of 2025 felt like for me.
Last year was a season of obligation—meeting deadlines, honoring commitments, and pushing through when my heart wasn’t always in it. There were events and opportunities we had committed to, and I knew the consequences of backing out would have been damaging to the business.
So I created because I had to. Not always because I wanted to.
That made it difficult to find motivation and reconnect with the joy of creating. At times it felt like I was running a business rather than practicing an art form I loved.
Recognizing that feeling was important, though, because it helped me realize that something needed to shift moving forward.”
I really relate to that. Knowing your threshold and understanding how you work creatively is huge. Being able to recognize when something feels off before it turns into burnout is even more important.
The Role of Community in Longevity
Community has many benefits. It can sharpen our skills, steady our confidence, and sometimes help us see our own progress more clearly. It reminds us that growth does not have to be solitary, and that creative risk feels very different when you are not taking it alone.
Zona has been a big part of that spirit within the pyrography community, generously sharing her knowledge and experience with others over the years. So I was curious how community has shaped her own journey as an artist.
What role has community played in your journey as an artist?
Community has been incredibly grounding for me. It inspires me, challenges me, and reminds me why I started in the first place.
In the pyrography world specifically, the community really lit the spark. Early on, when I was still figuring out where I fit and whether this was something I wanted to pursue seriously, I discovered the Wood Burn Corner Summit.
It felt like a godsend. I remember telling Brian that I wished there was a place where people shared knowledge and supported each other in this medium—and then I found it. Through the summit I connected with people like Minisa and a broader community of artists who were passionate about the craft.
That sense of shared learning and encouragement helped me realize that pyrography was something I truly wanted to pursue.
Hearing that really meant a lot to me. The Pyrography Summit was built around that same idea of artists coming together, sharing knowledge, and learning from one another.
It’s something Pyro Toasty Talks continues to nurture through the conversations happening on the show.
Moving Forward Intentionally
If there’s one thing I hope we continue to talk about as a community, it’s how to build creative lives that last. Not just projects, trends, or bursts of motivation… but practices that feel grounded.
If you are building a business, you need to build it in a way that protects your love for the craft.
If you are burning purely for peace, you need to protect that space fiercely.
And if you are somewhere in between, allowing it to evolve while keeping it sacred and balanced is key.
So I asked Zona:
What is your approach to maintaining balance in your creativity and what advice can you give artists to help them maintain theirs?
In some ways, my ADHD actually helps me maintain balance. I tend to move between tasks—starting something, remembering something else that needs to be done, and then circling back. Sometimes that means putting up a quick Post-it reminder or jumping away from the bench for a moment before returning.
Other times I’ll do the exact opposite and burn for twelve hours straight without realizing how much time has passed.
The key for me is intentionally setting boundaries around time. The same way you make time to create, you also have to make time for the other parts of your life. If you schedule time to work on a piece, you should also be intentional about time for chores, relationships, and rest.
Creativity shouldn’t come at the cost of everything else.
Brian and I try to approach it the same way we approach our marriage—with intention. We try to protect time for each other, whether that’s a proper date night or something simple like sitting at the workbench together, sharing a snack, and playing a quick game.
Balance isn’t perfect, but it’s something we actively try to maintain.
These kinds of conversations come up often on the show. Episodes like Season 1 Episode 12 and Season 2 Episode 15 dive deeper into topics like creative burnout, balancing business with art, and the realities of sustaining a craft over time.
That is what Pyro Toasty Talks does so well. It goes beyond technique and makes space for the deeper side of pyrography too. The shifts in motivation, the pressure that can come with turning art into income, and the effort to keep the craft meaningful.
Listening in feels less like a tutorial and more like being part of a conListening in often feels less like a tutorial and more like sitting around the workbench with other artists who understand the journey.