Not every burn needs to come specifically from a pyrography pen. Some methods give you more detail, some give you atmosphere, and some create more organic textures.
Below are a few of the most popular alternative pyrography techniques and what you can use them for.
But first, a bit about the most common way to practice working with heat to create art:
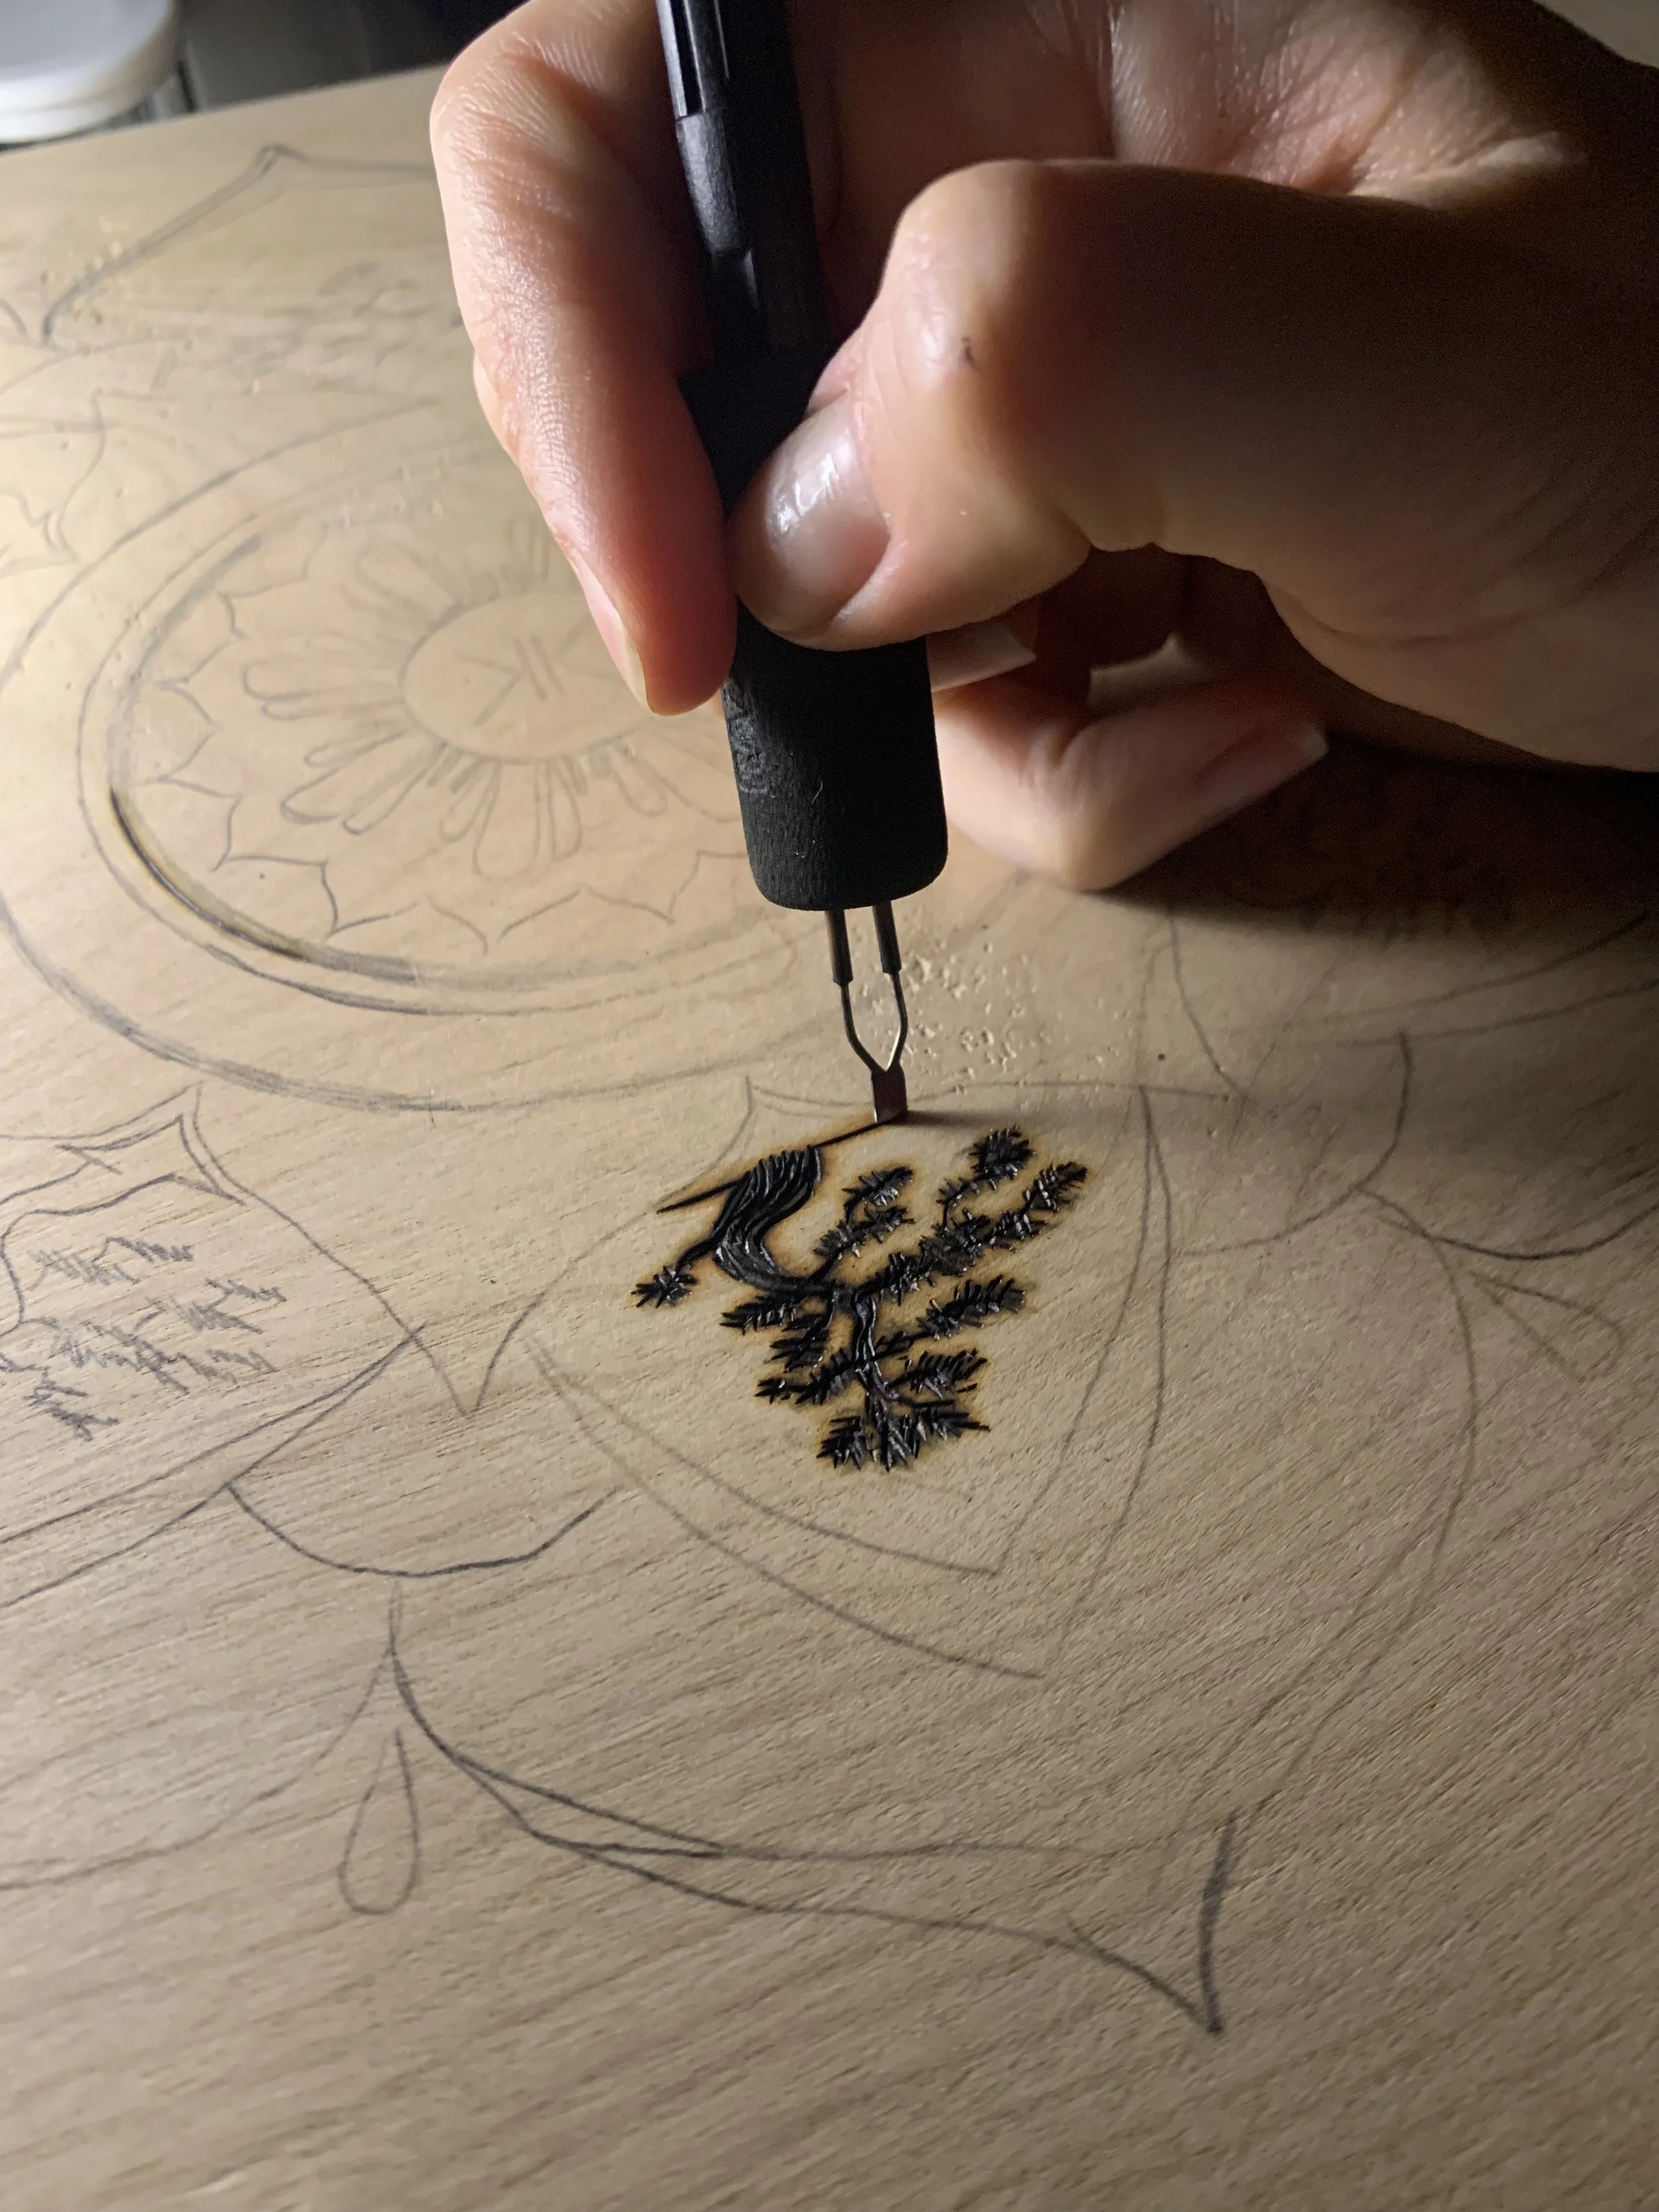
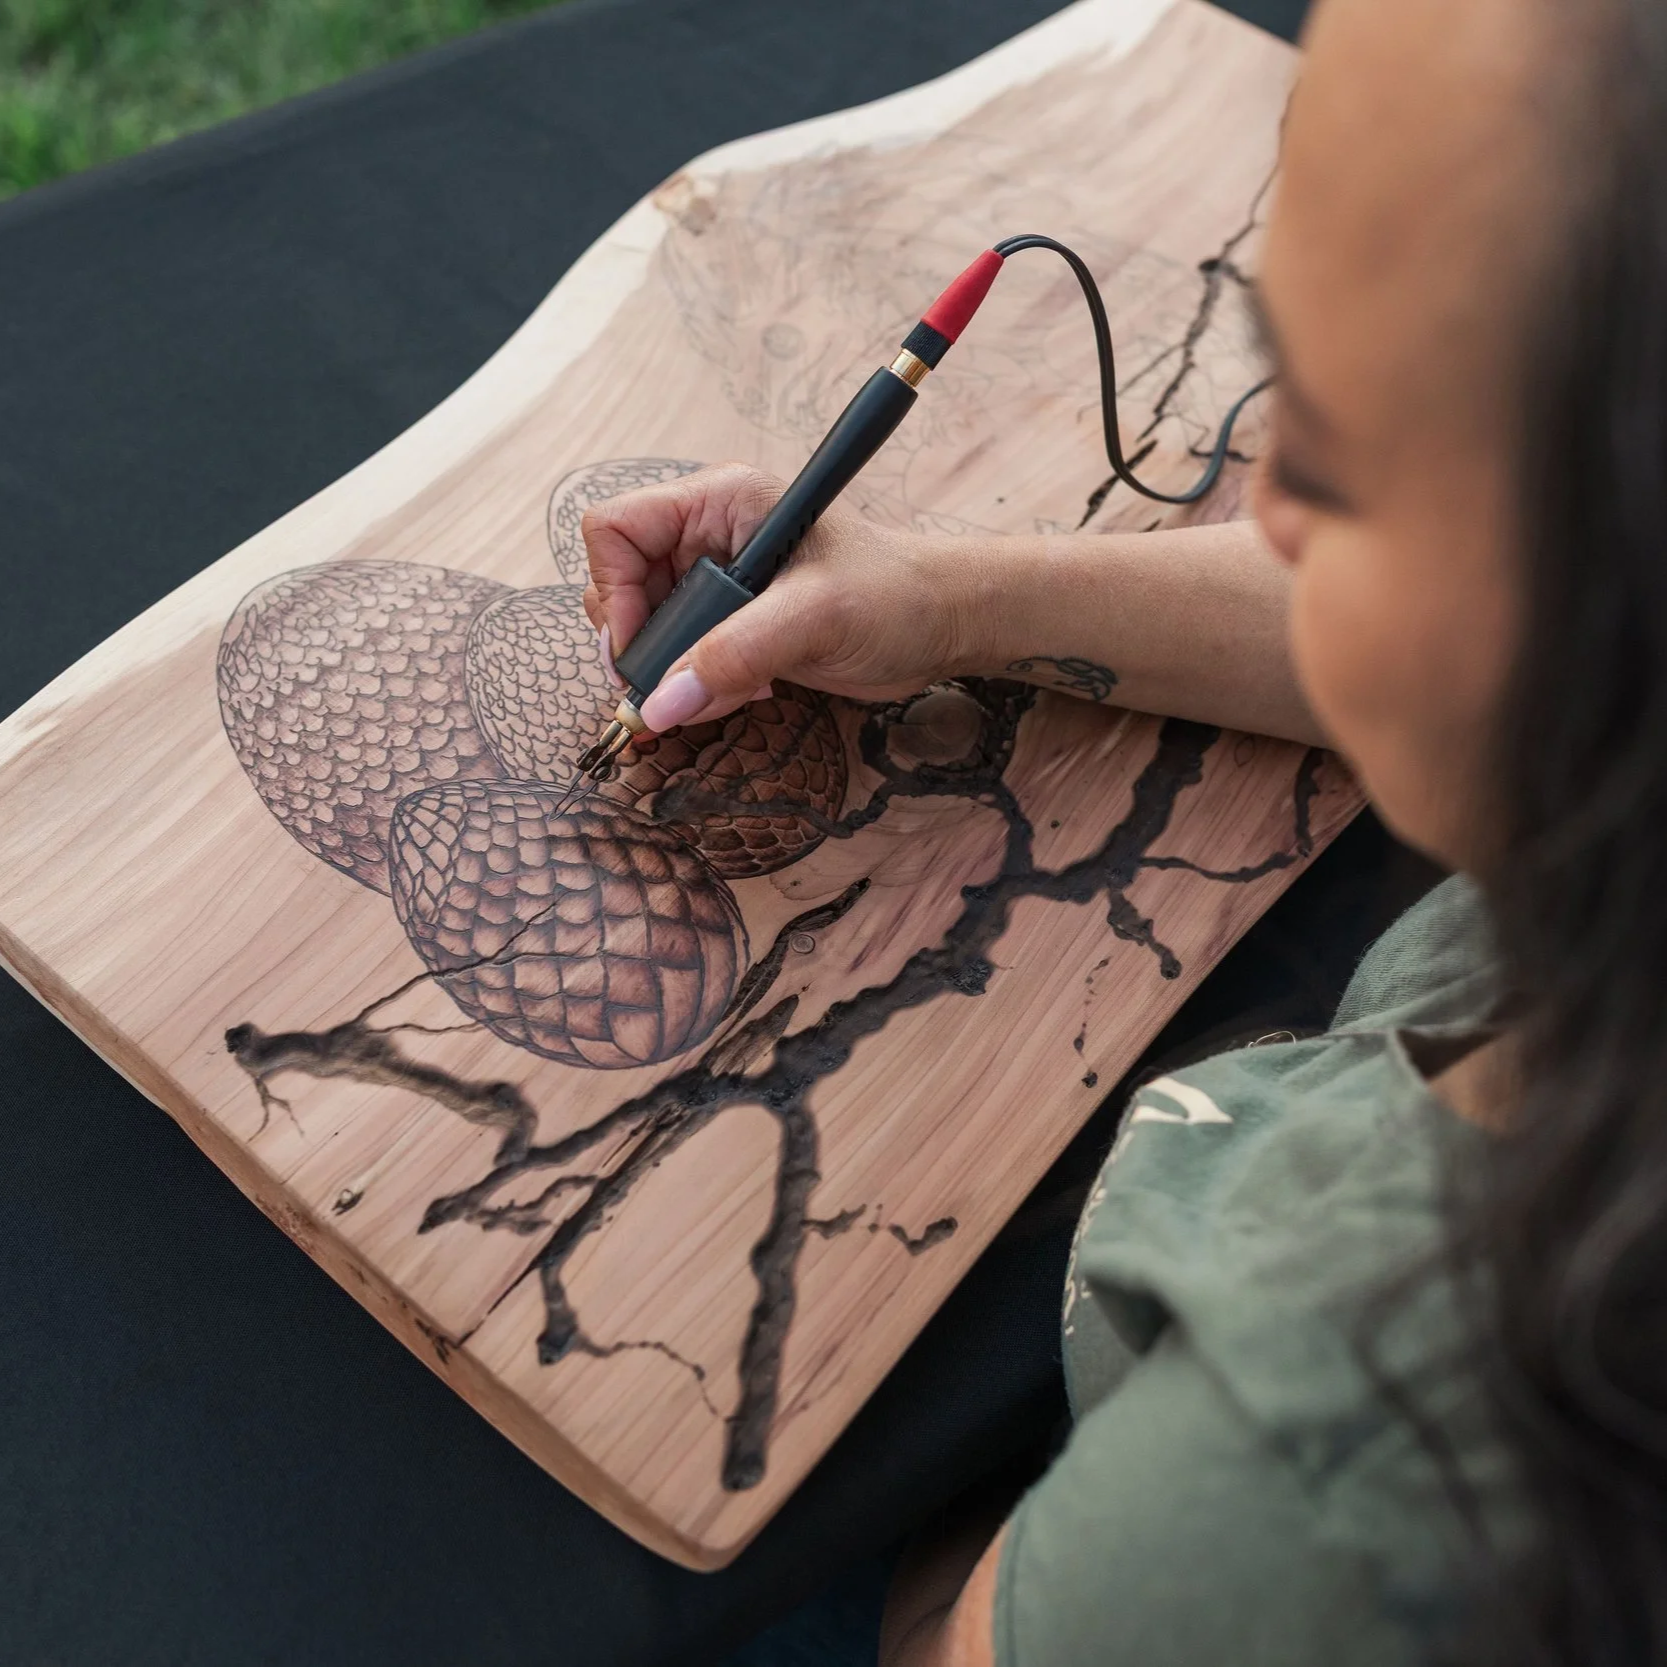
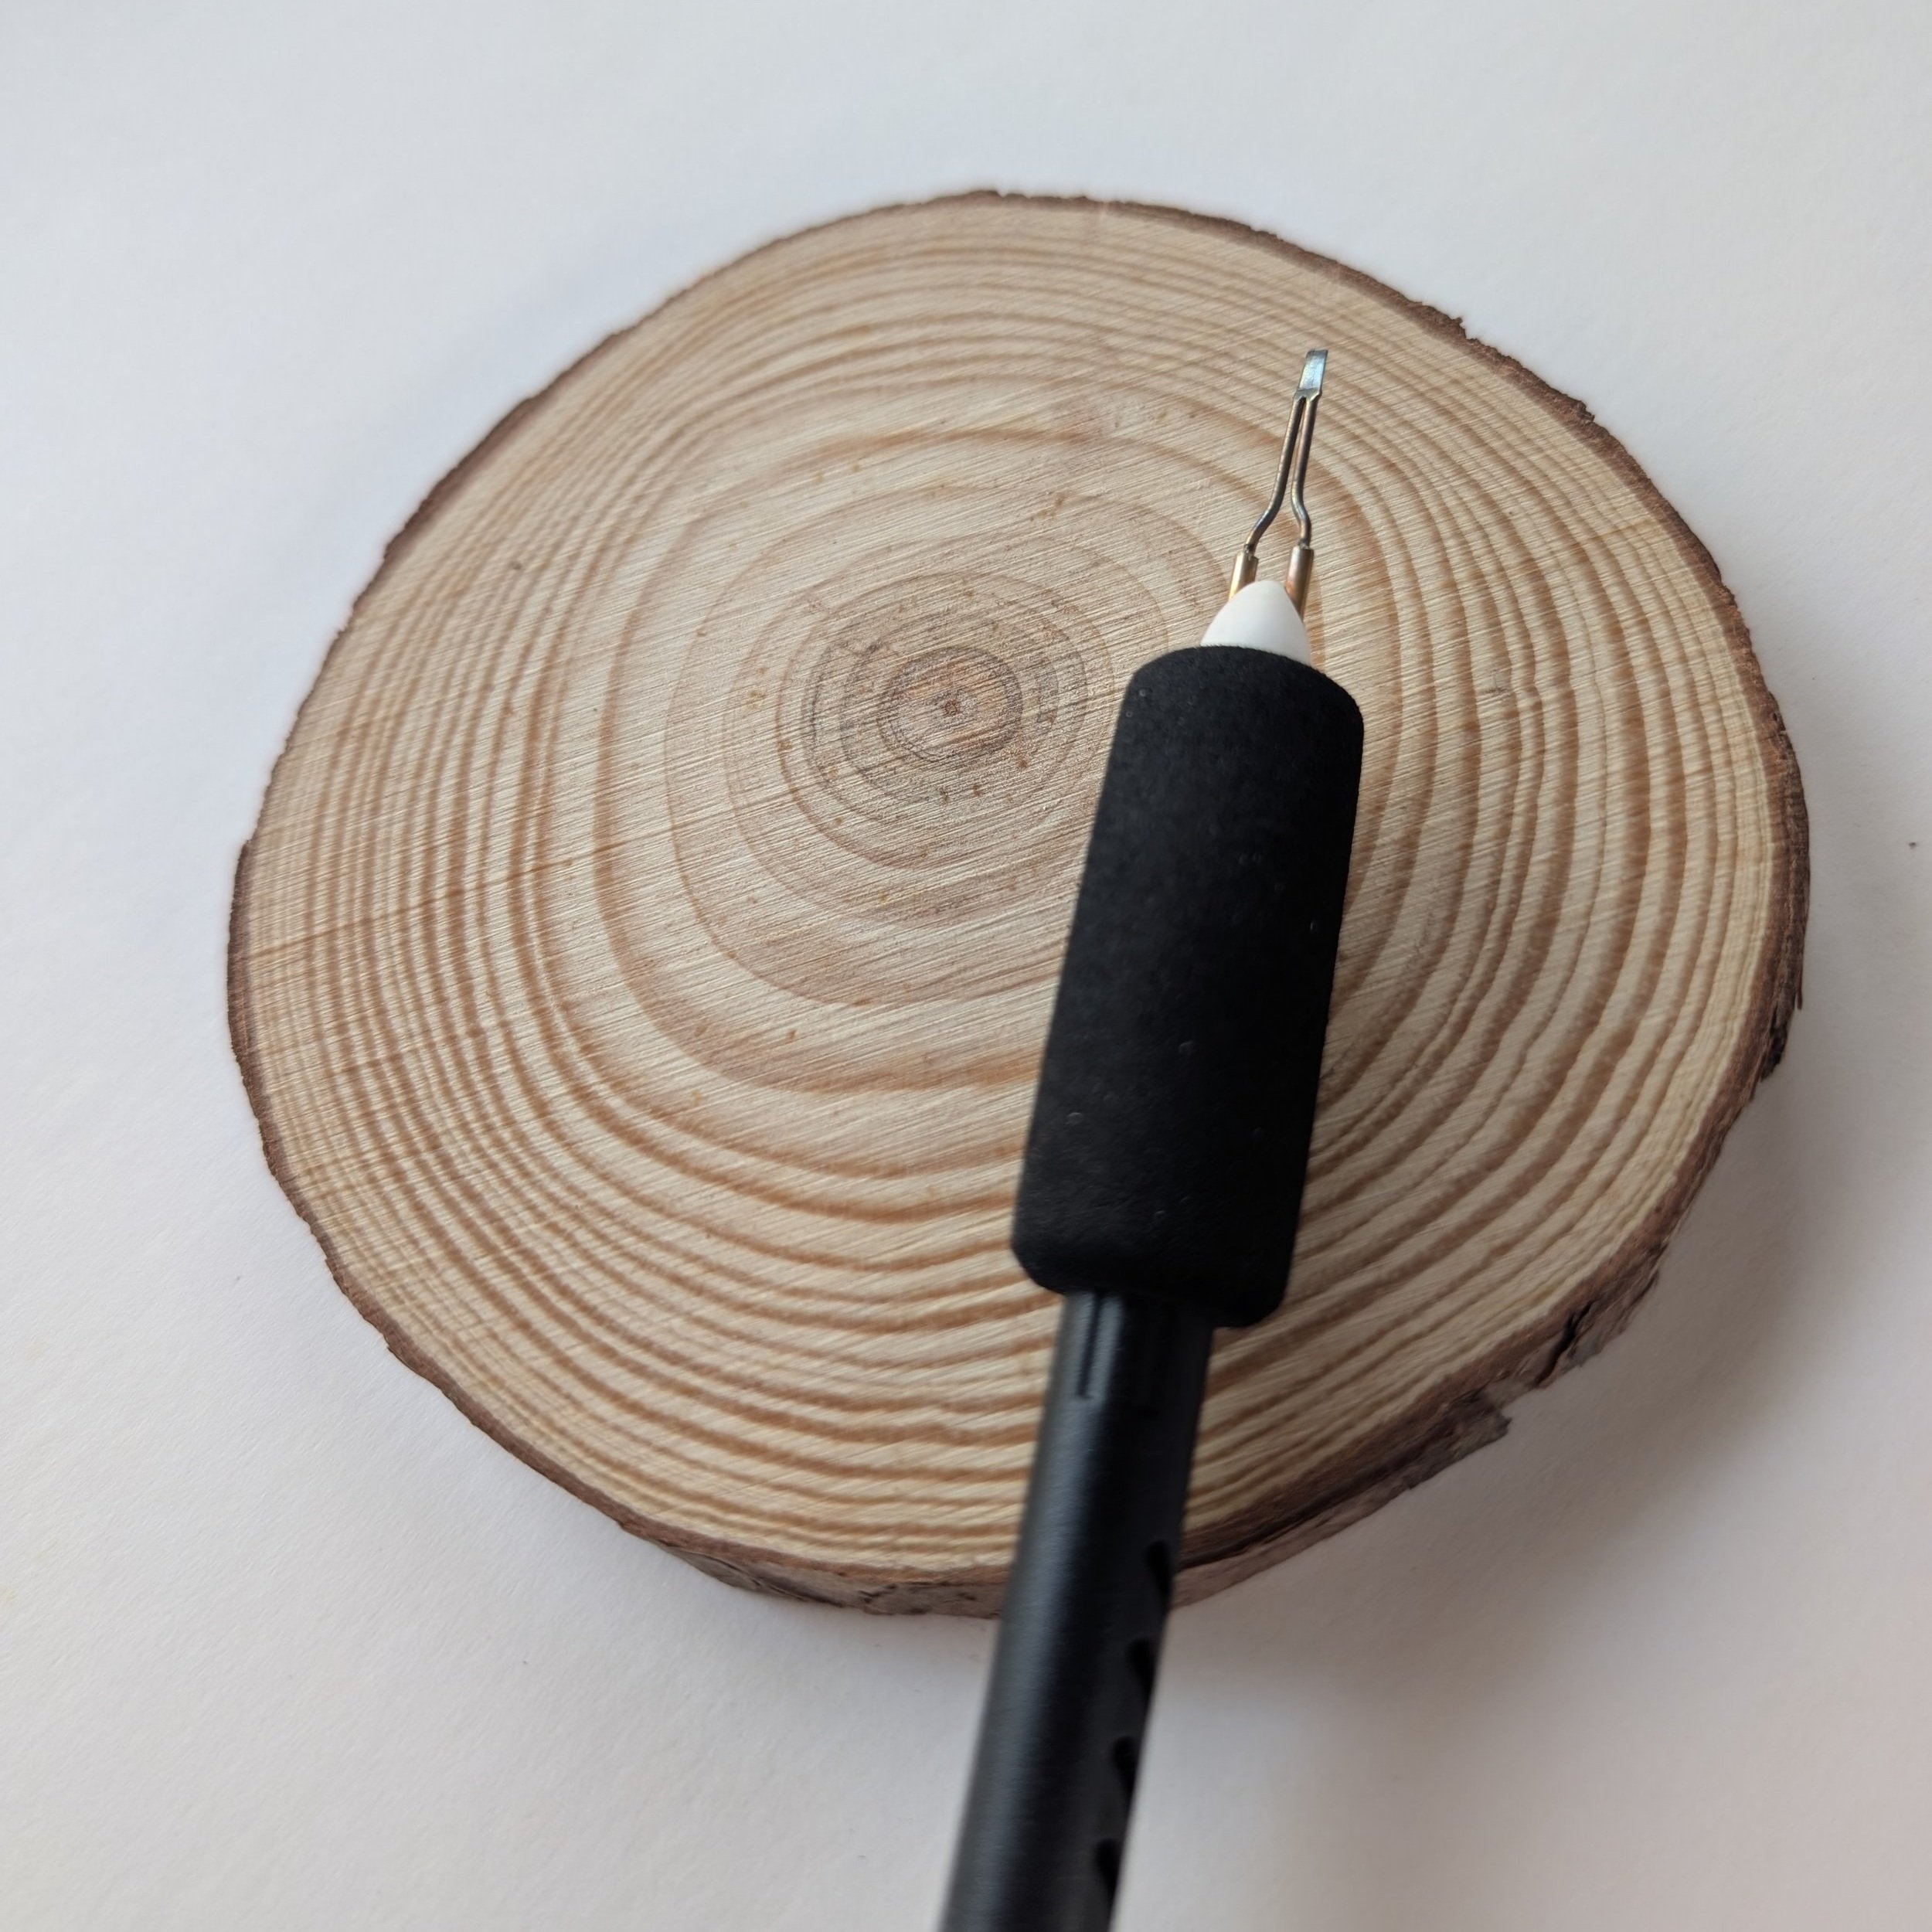
Pyrography pen
A pyrography pen uses electricity to heat a nib/tip/point which is metal and it burns lines, shading, texture, and detail directly into the wood. Depending on the tool, you may have interchangeable tips or wire nibs designed for different effects, and some tools use solid brass tips that screw into the unit (learn more about that here: Wire Tip Vs. Solid Tip Burner).

This method is best for (but not limited to):
detailed artwork
lettering
almost any texture work
controlled shading
fine lines
For most artists, this is what pyrography really means. It gives you the most control over line quality, temperature, and detail. Plus, the burners and pens are pretty easily accessible with a wide range of price options which is why it is the go-to method for beginner and experienced wood burning artists alike.
Okay, now to methods without using a common wood burning machine.
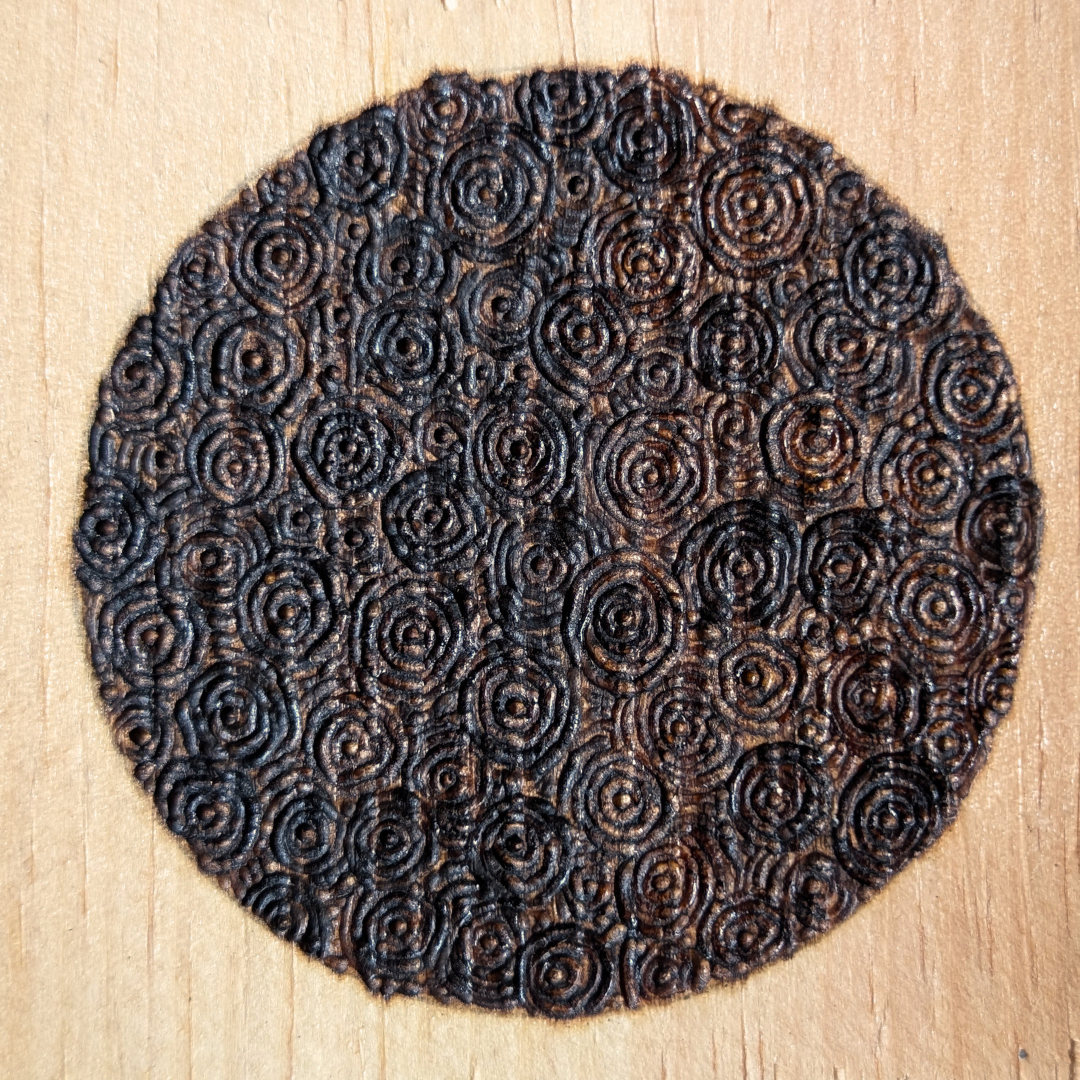
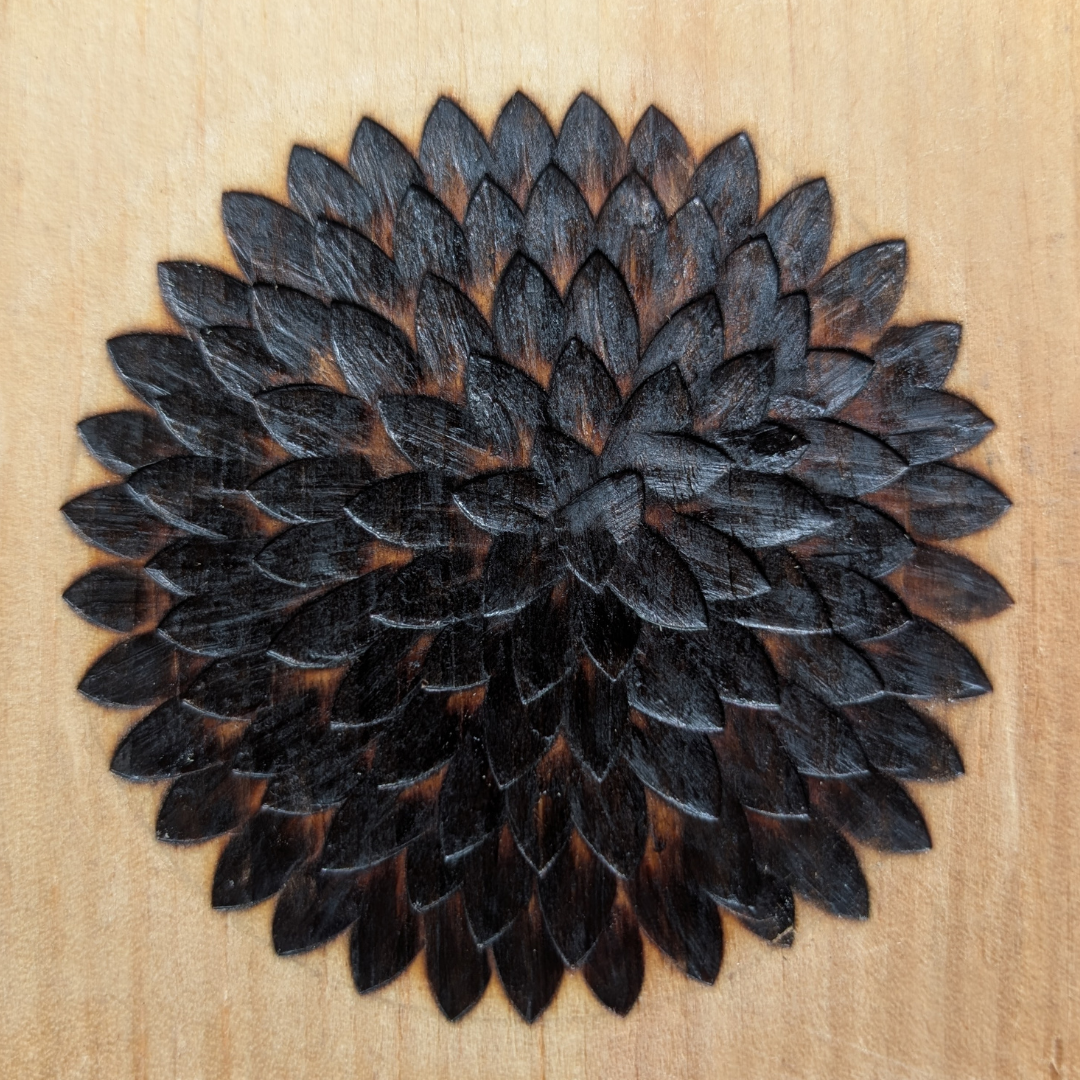
1. Heated metal tools (pokerwork)
I'm starting with this one because it's most similar to a pyrography pen, but there are some big differences.
Historically, this was one of the earliest ways people decorated wood with heat (check out this blog post for more: A Brief History of Pyrography)
Before modern pyrography burners became common, people also burned wood using heated metal tools. This approach is often called pokerwork, and it relied on metal points or shapes being heated (in a fire or stovetop for example) and then pressed onto the wood to leave a mark. Now we have electric versions as well (check out this blog post on the differences: Branding Irons: Traditional vs. Electric).
This method is best for (but not limited to):
traditional style experimentation
simple branding or marks (I use an electric branding iron on the back of my work because it gives me a clean and official looking logo. Every time.)
repetitive marks
Compared to a pyrography pen, it offers much less flexibility for smooth drawing and detailed line work, but it creates a very different kind of mark that can feel bold, repetitive, and full of character.
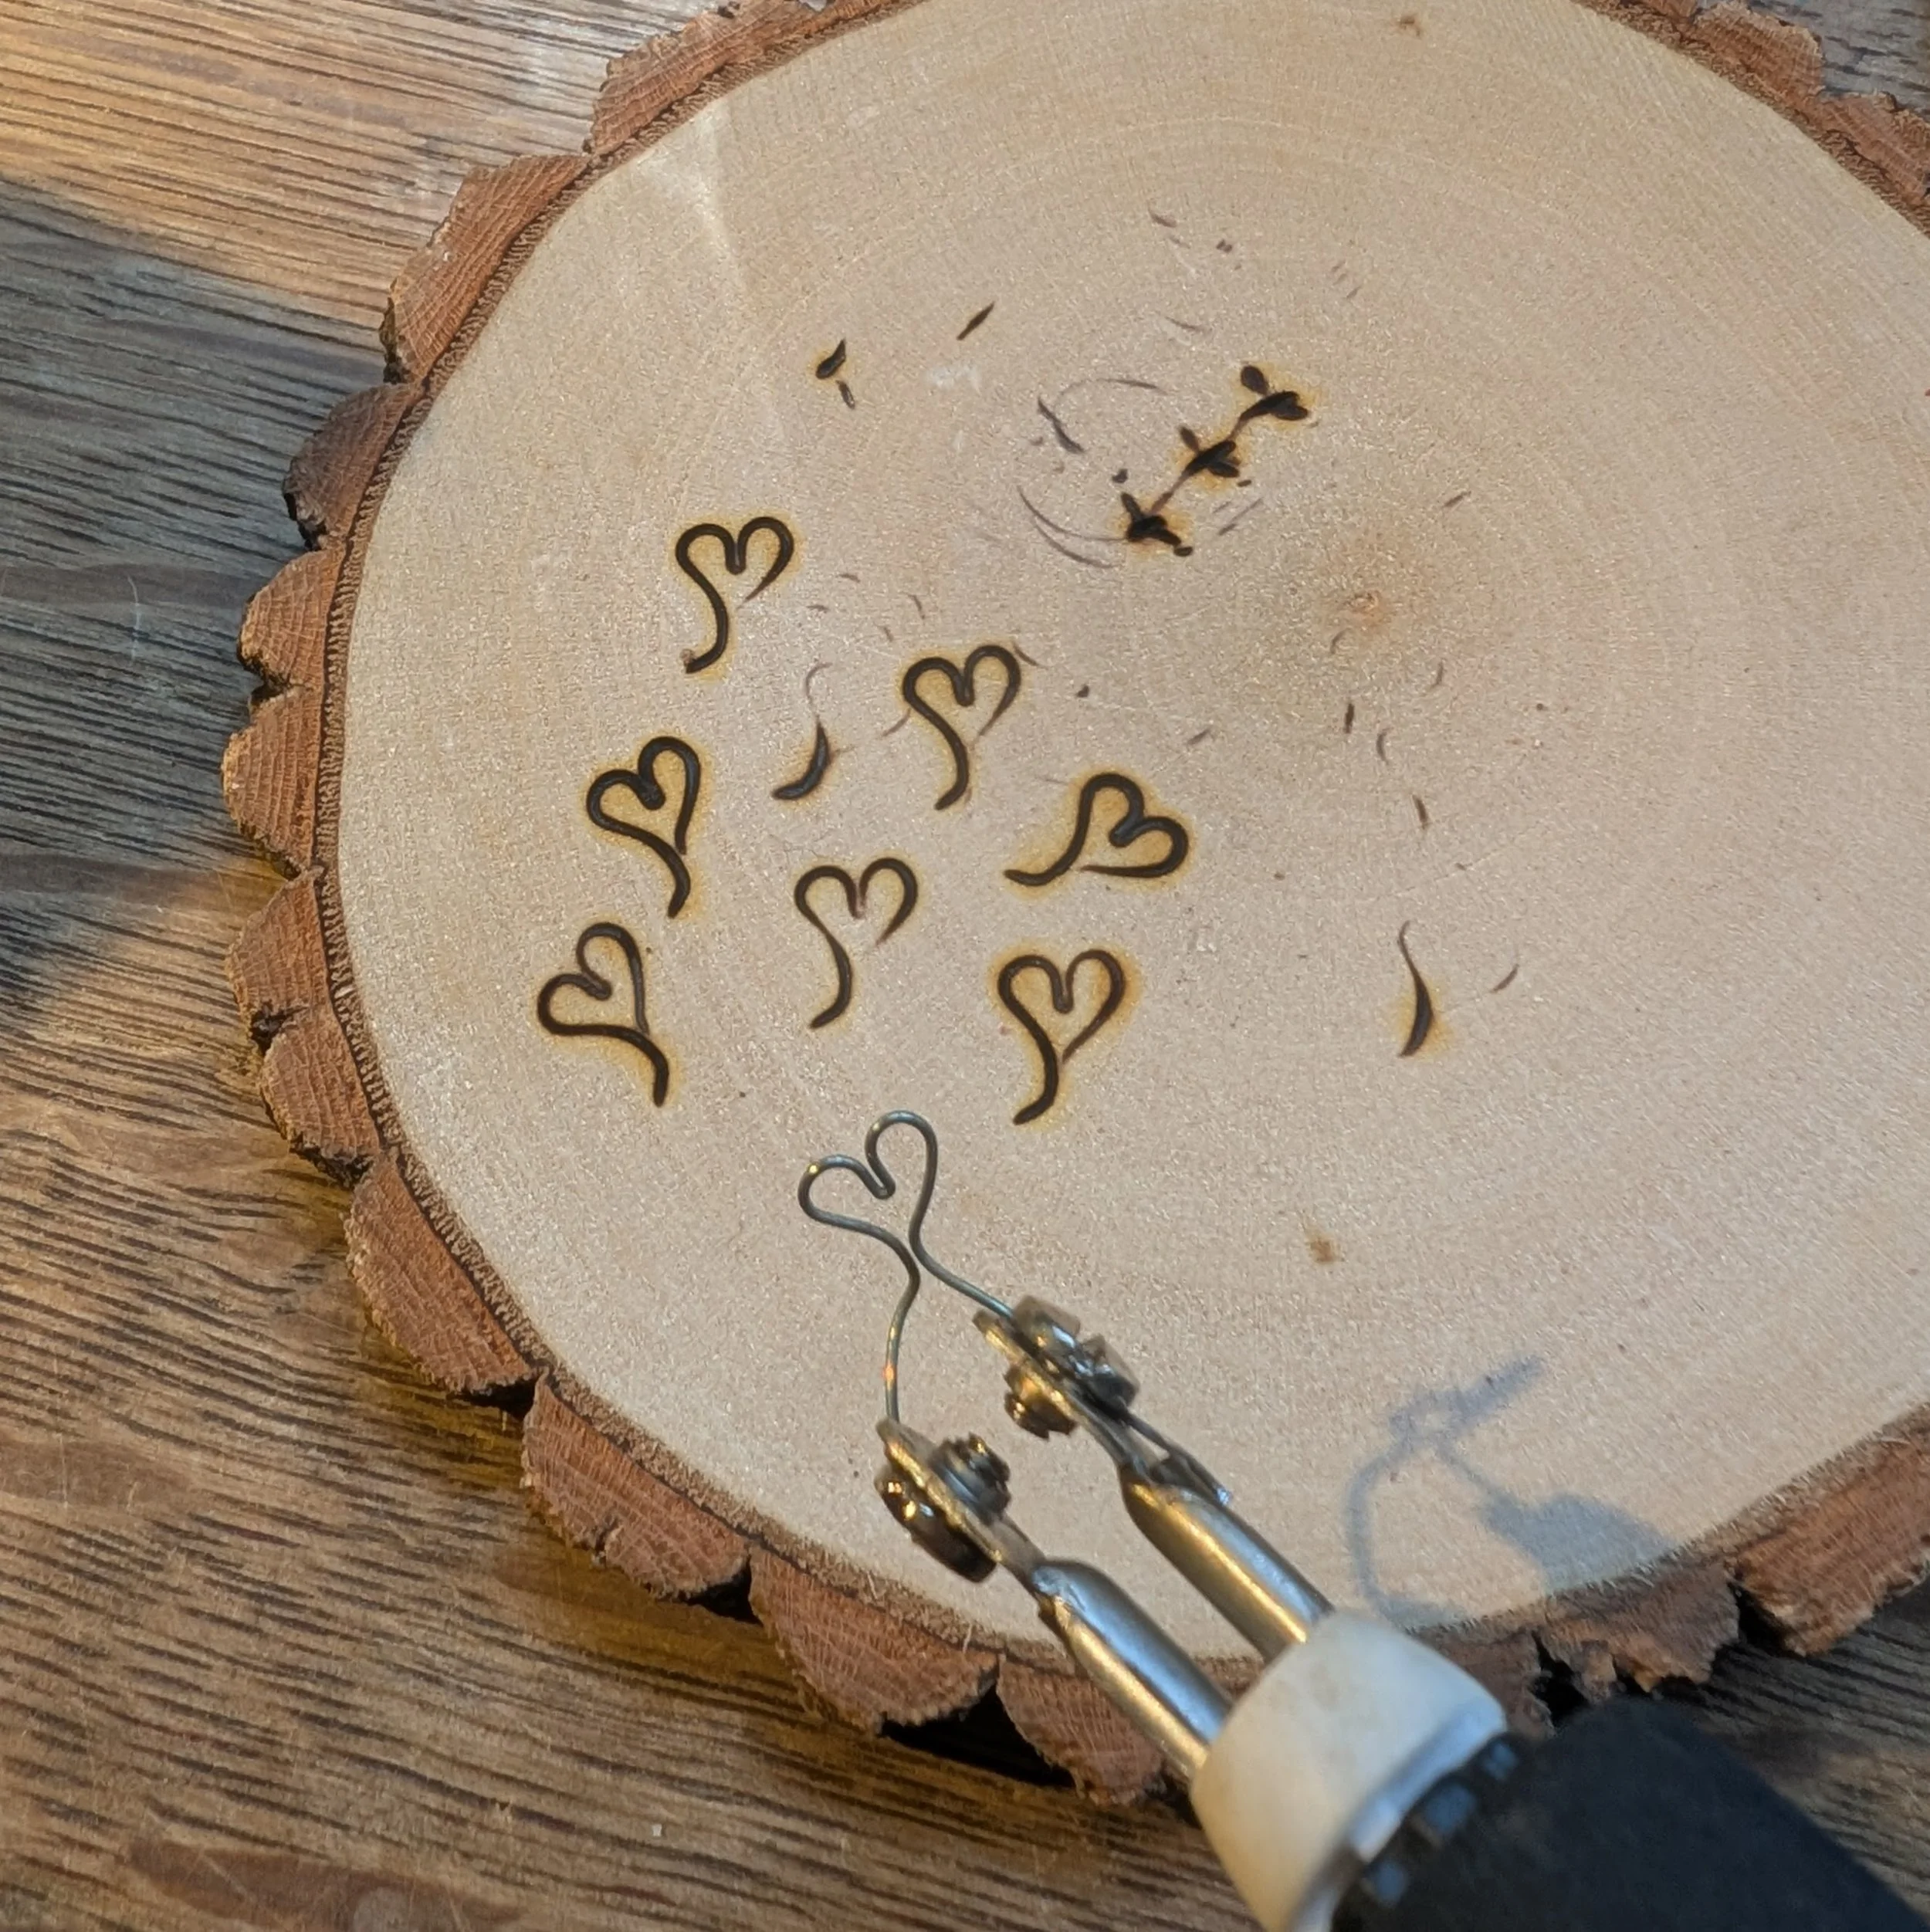
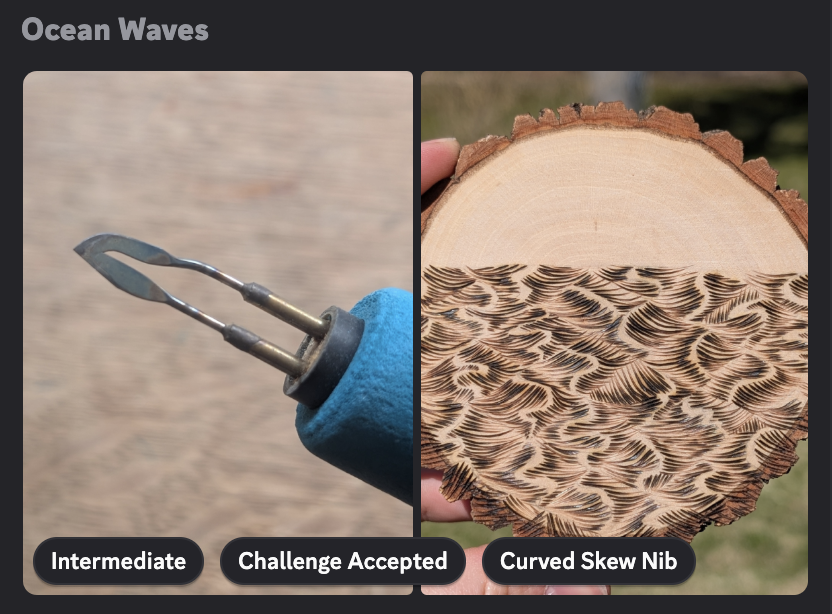
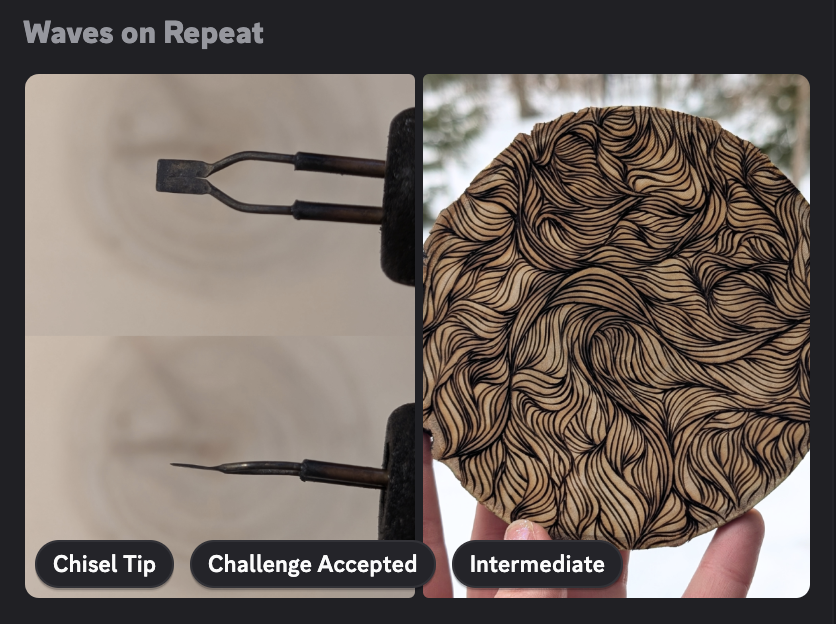
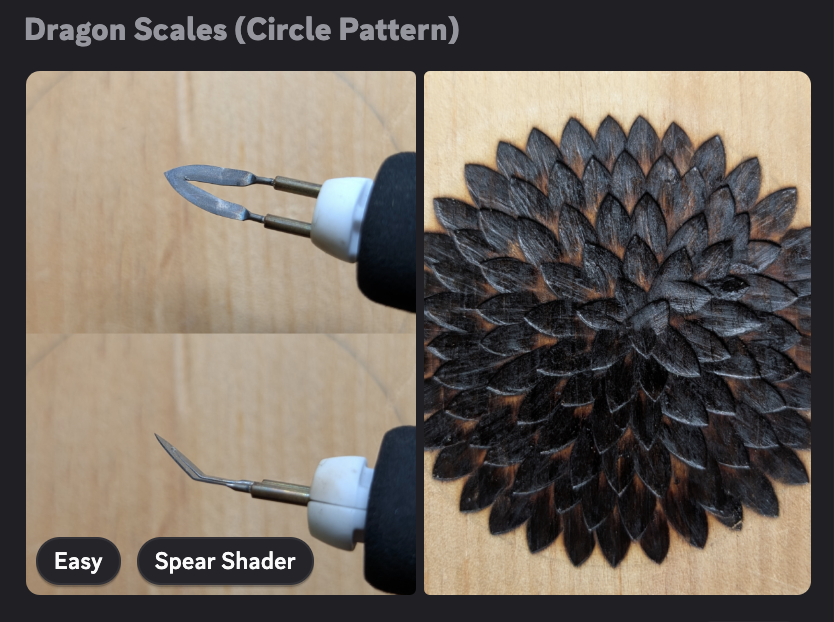
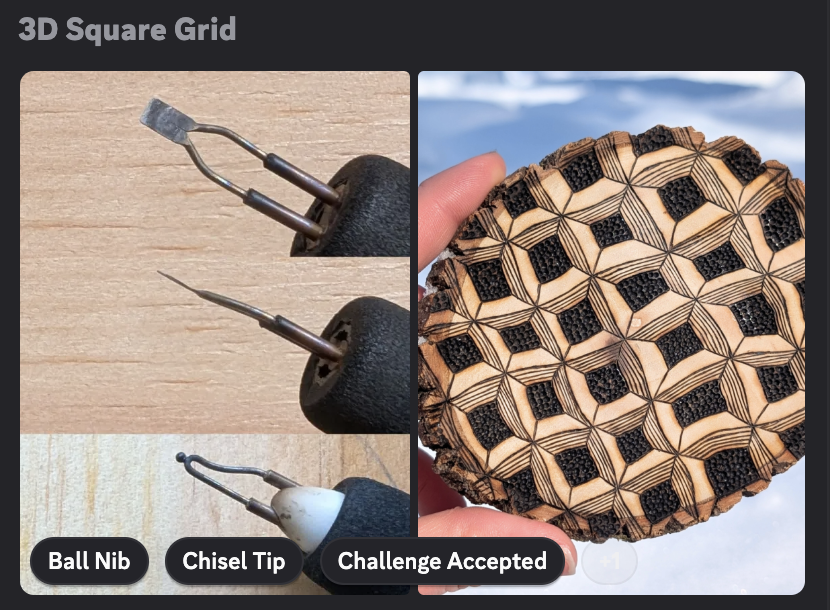
Recently in the Burn Club, we started playing around with new nibs, and I made a few wire nibs that acted more like stamps. Even though they were made from wire and attached to a burner, they still fall into this heated metal tools category in my mind because of how they are used. I could technically draw with one of those nibs if I wanted to, but that is not really where they shine. They are much more fun and efficient when used as stamping tools, pressing the same heated shape into the wood again and again to build texture or pattern.
That is part of what makes this category so interesting. It reminds us that wood burning does not always have to be about drawing clean lines. Sometimes it is about repetition, texture, and letting the shape of the heated metal do the work.
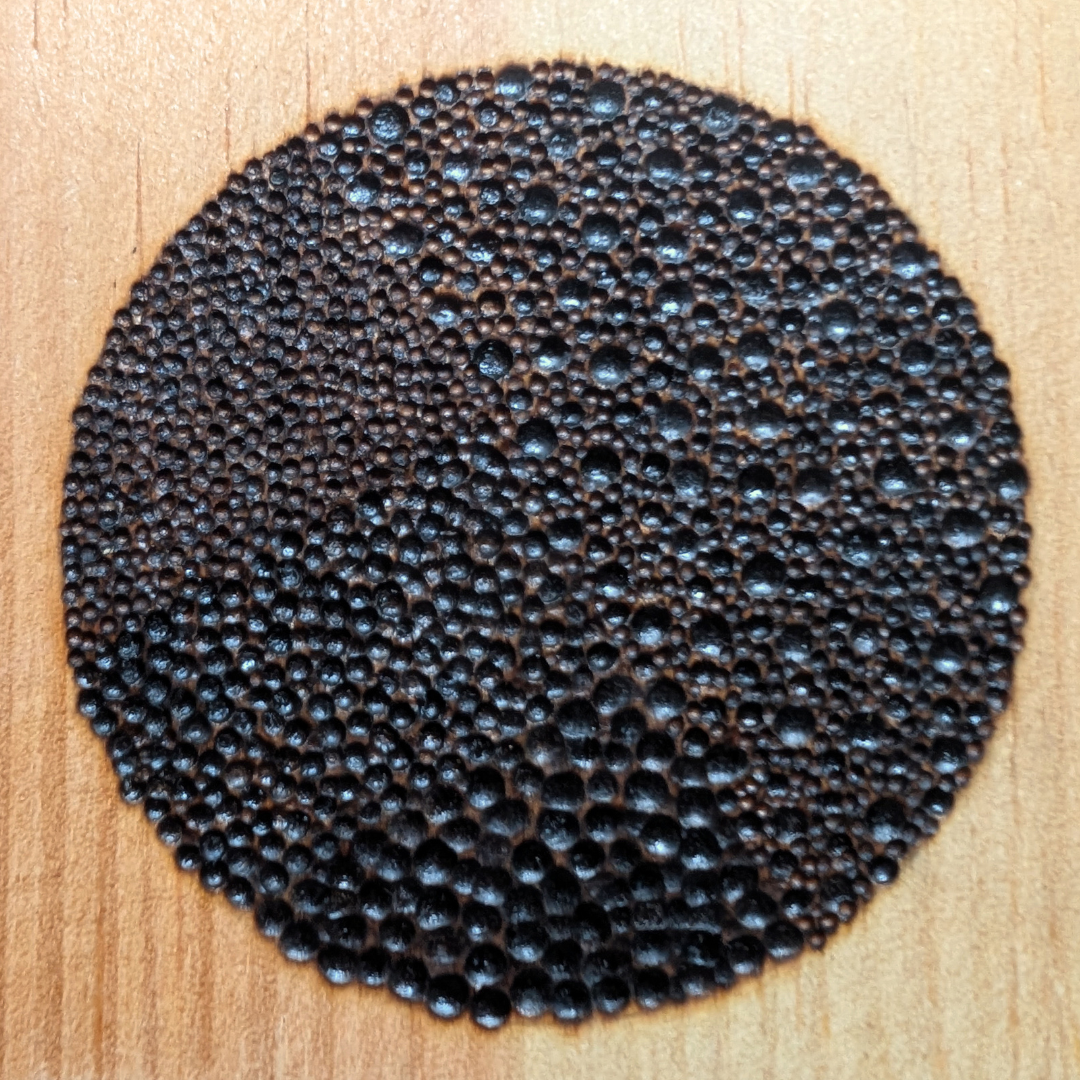
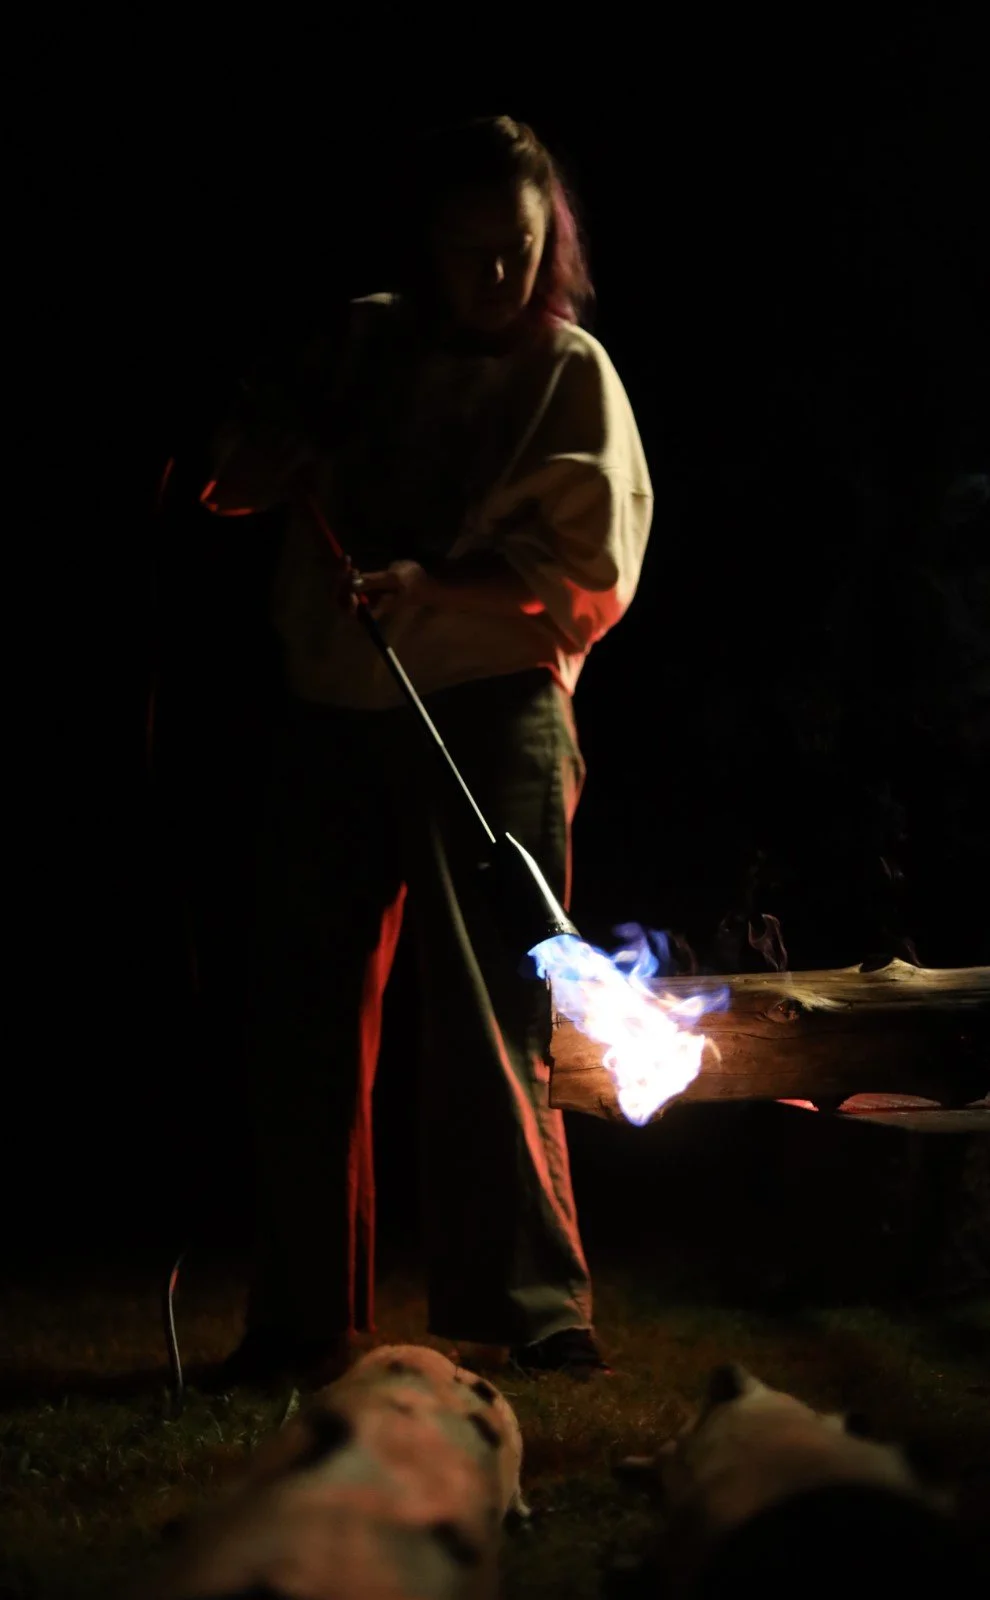
2. Blowtorch
Using a blowtorch is a bit more aggressive and less controlled way to burn wood, but it creates a completely different look.
Note: less control DOES NOT mean no control.
You can use metal stencils or random object to help create sharp lines, shapes and different kinds of textures. The flame has some strength and can push your metal pieces around if they are light. It can also warp the metal if what you are using is too thin (like aluminium foil for example). Often you can adjust the strength of your flame, which will make a difference, not only for what metal pieces you use, but also for control and how quickly your wood gets scorched.
Look for metal that is:
clean
plain
uncoated
thick enough to hold shape
not galvanized
not painted
not mystery scrap
Another factor is your angle at which you burn. You can burn a dot and centralize the heat, or you can burn across the top of the surface and get a sort of gradient. There is a lot you can do, and when I experiment more soon, I will share my progress.
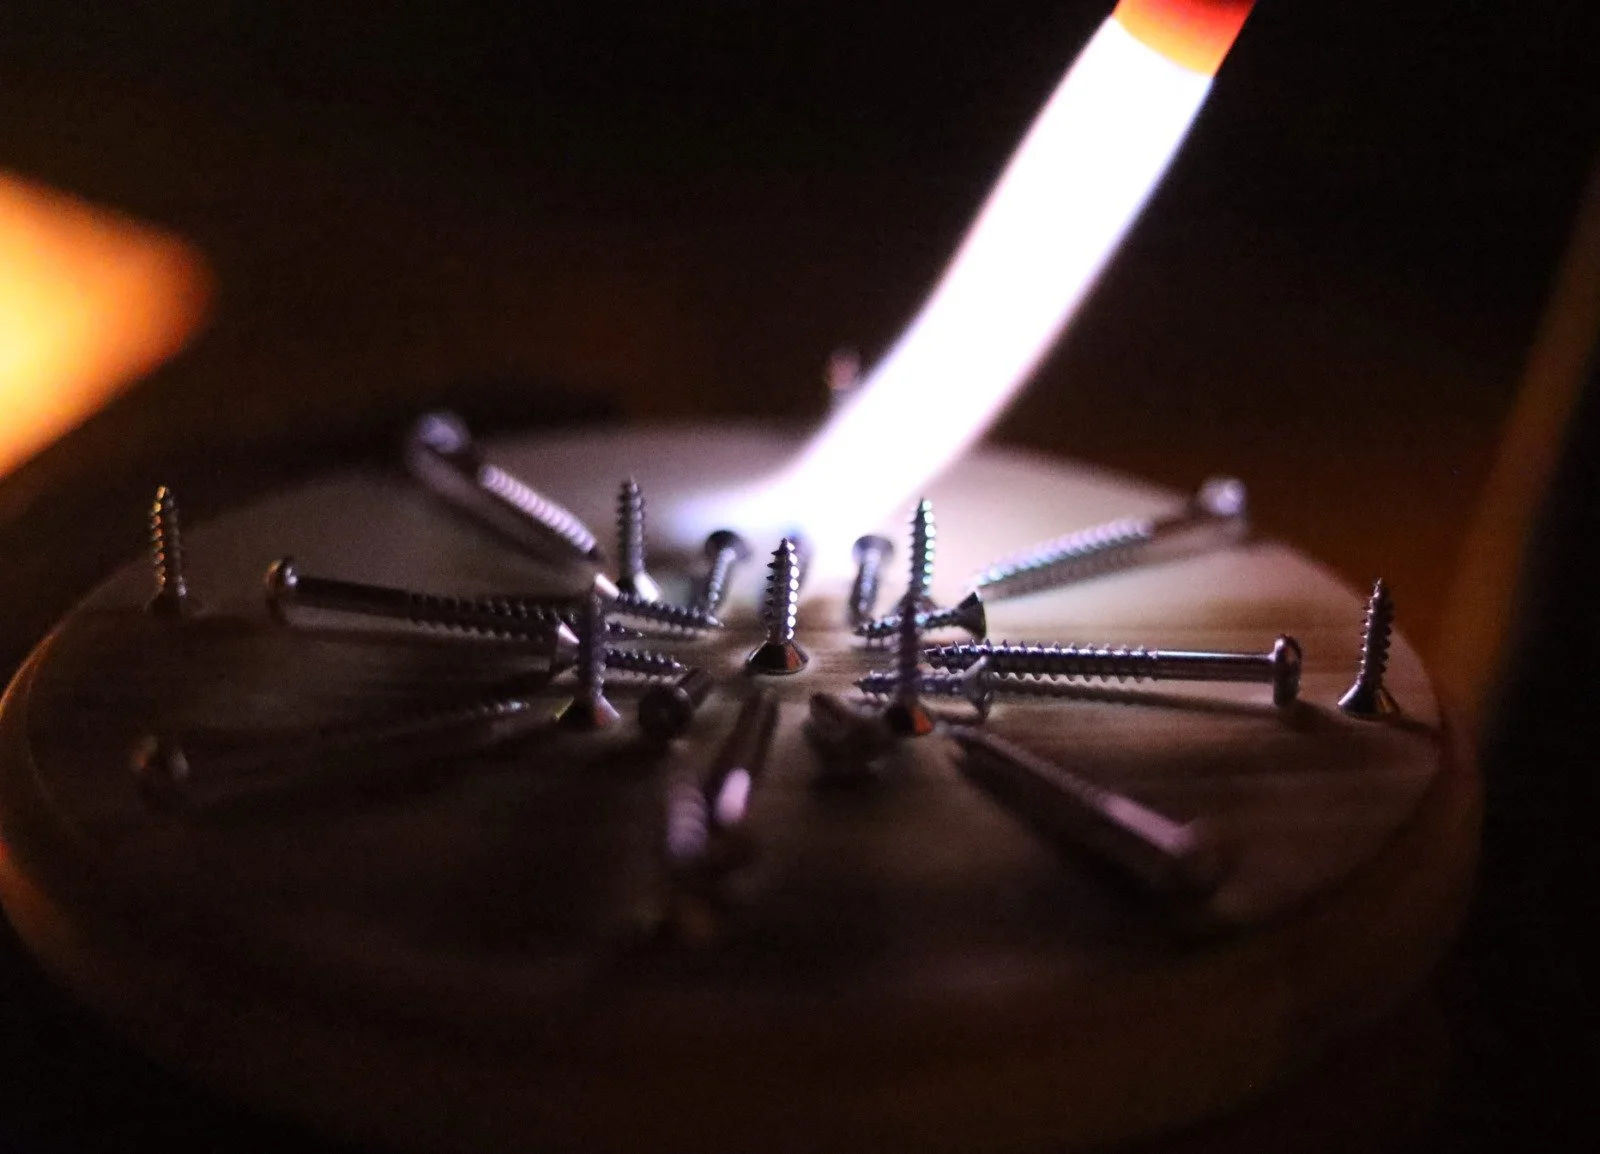
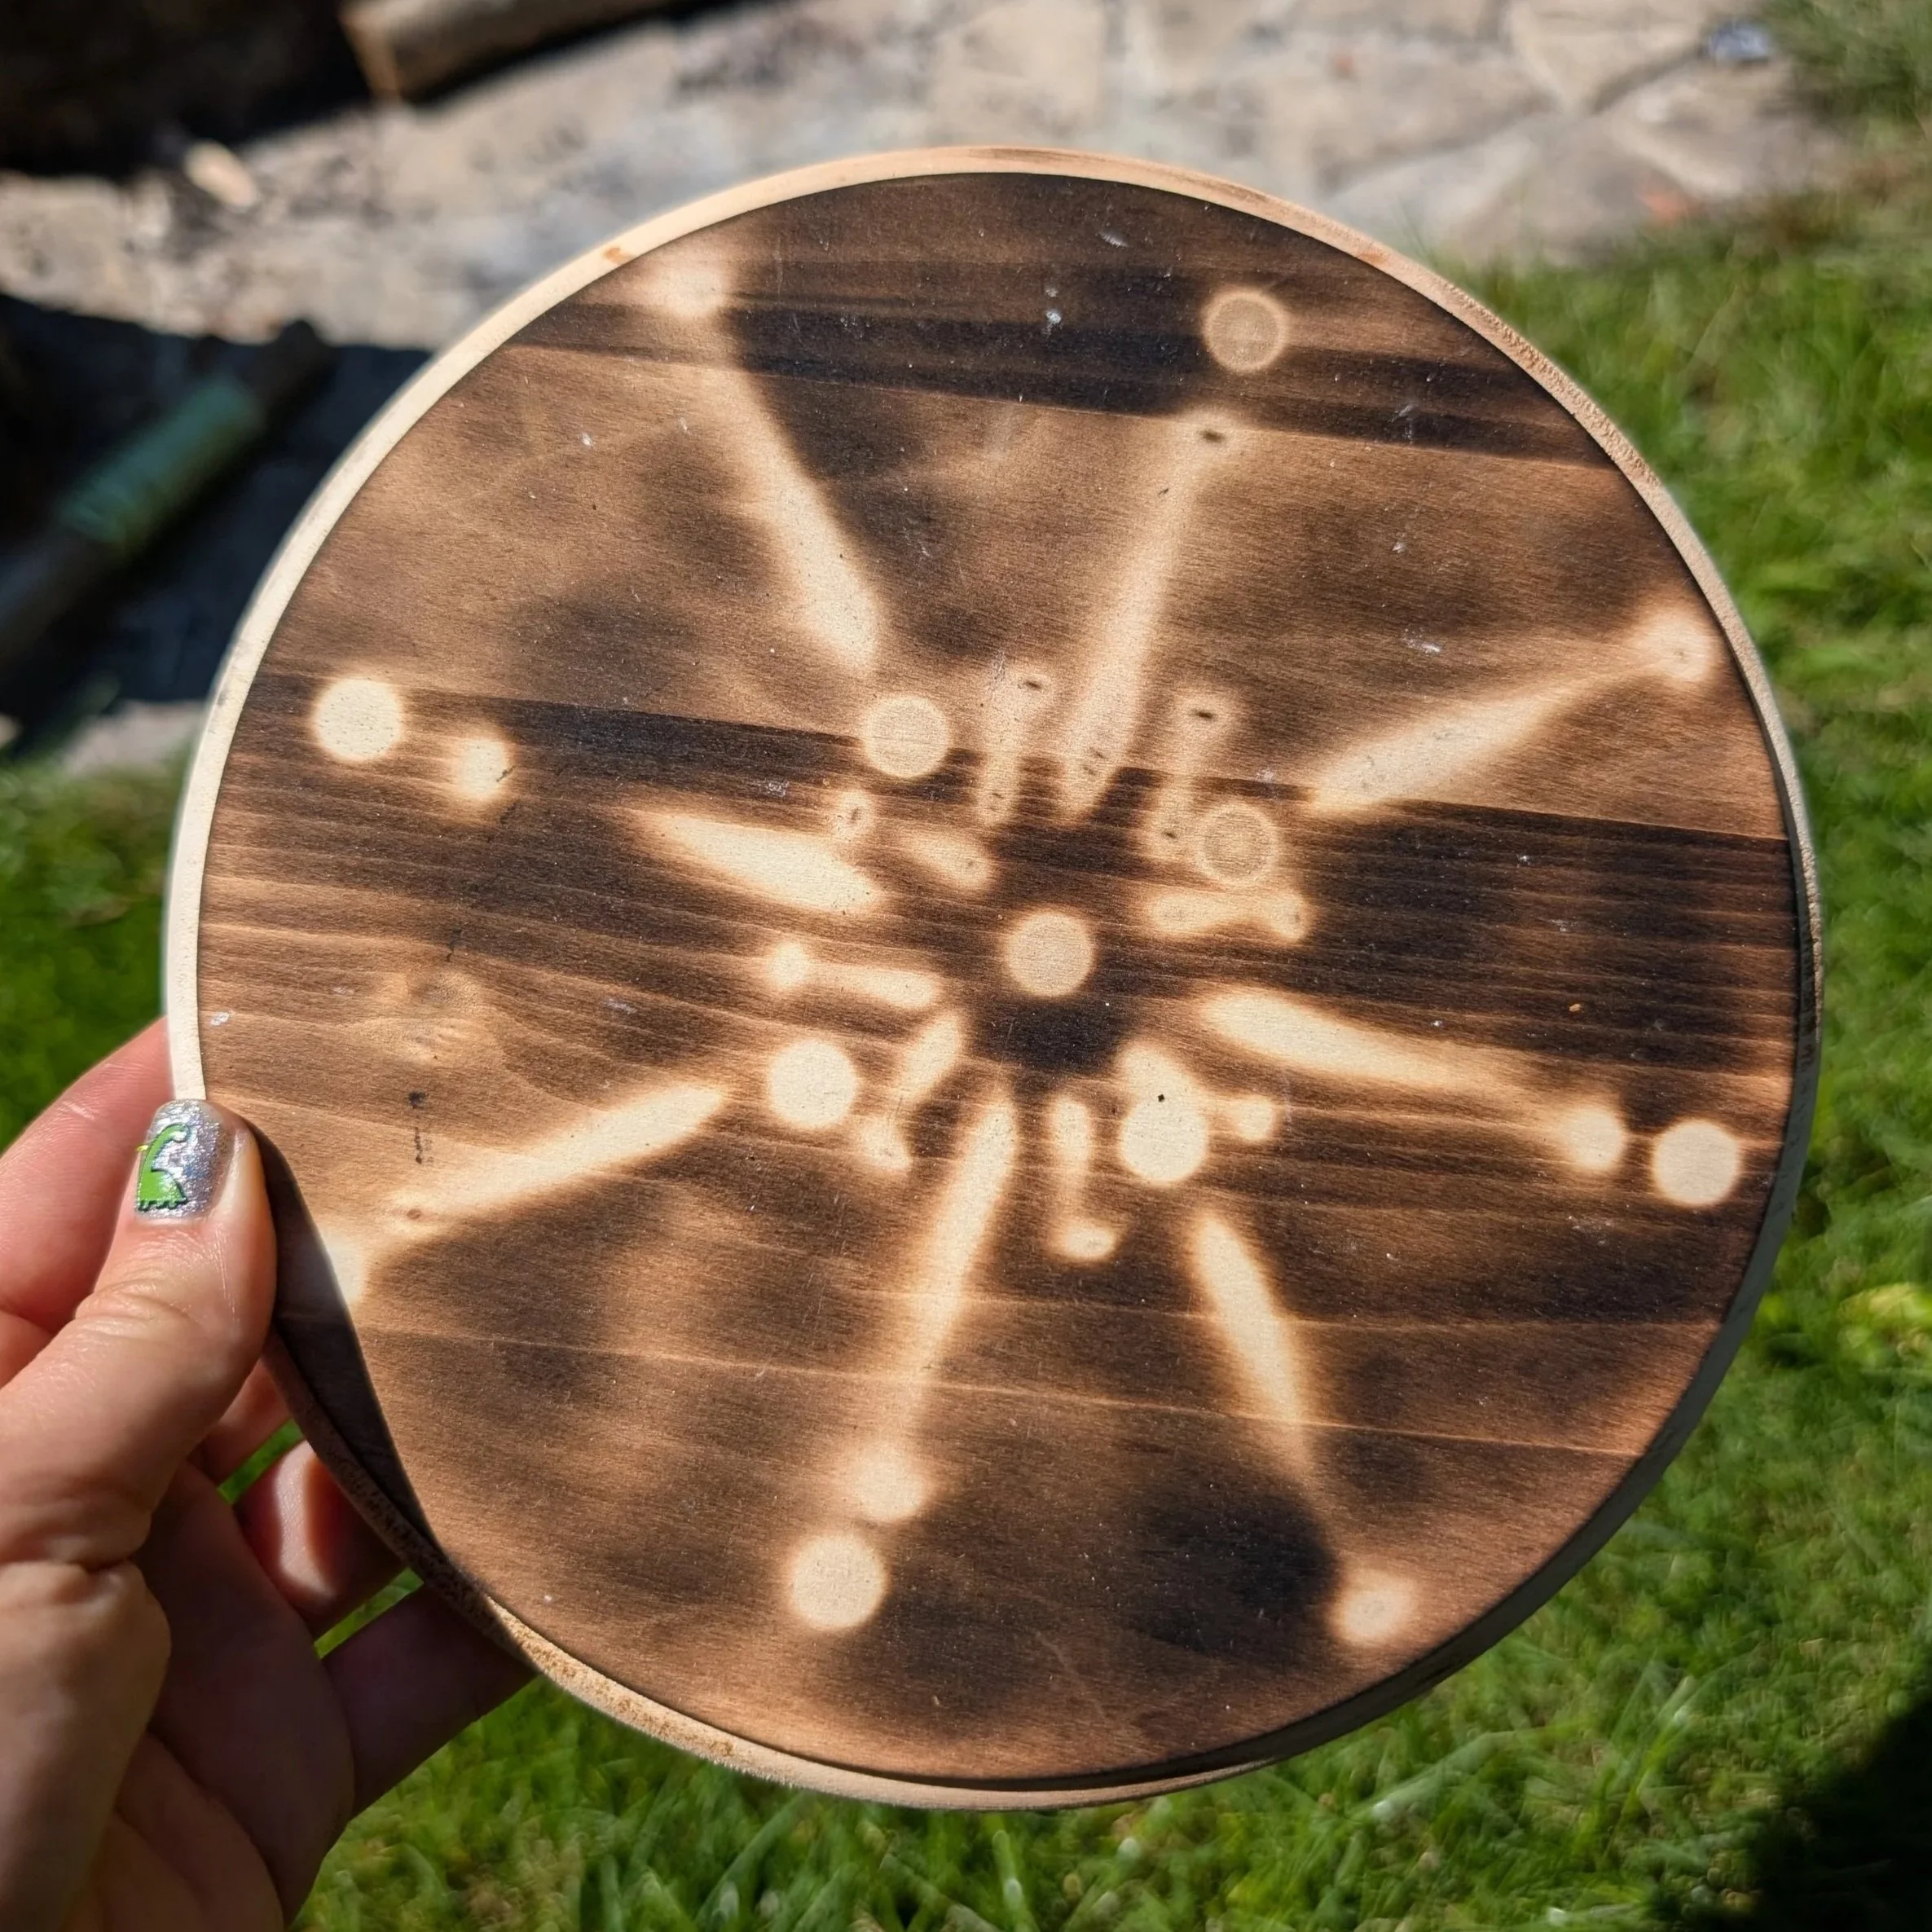
I had a chance to try it last summer, and I'm excited for the weather to get better and get back into it. My garage does not have enough room for this kind of playing, so I need to set up in the backyard. In this photo above, I have gathered screws because they were the only metal pieces I could find. Below are the results. I can't wait to play some more!
This technique can be used for darkening wood, creating rustic effects, sealing certain looks into the grain, or adding dramatic contrast. Some artists use a torch as part of the background or finishing process rather than for the actual drawing. It is easier to cover large areas with a torch versus shading tiny area by tiny area with a pyrography pen.
This method is best for (but not limited to):
bold texture
rustic effects
darkened edges
background burning
abstract work
large surface effects
bringing out the grain in the wood
A blowtorch is not ideal for detail, but it is not impossible with a bit of practice and experimentation. It can be interesting for style, atmosphere, and A LOT OF FUN. You can always mix it with other methods; try inverse carving or sanding using the Dremel on top of a scorched background for some really cool details!
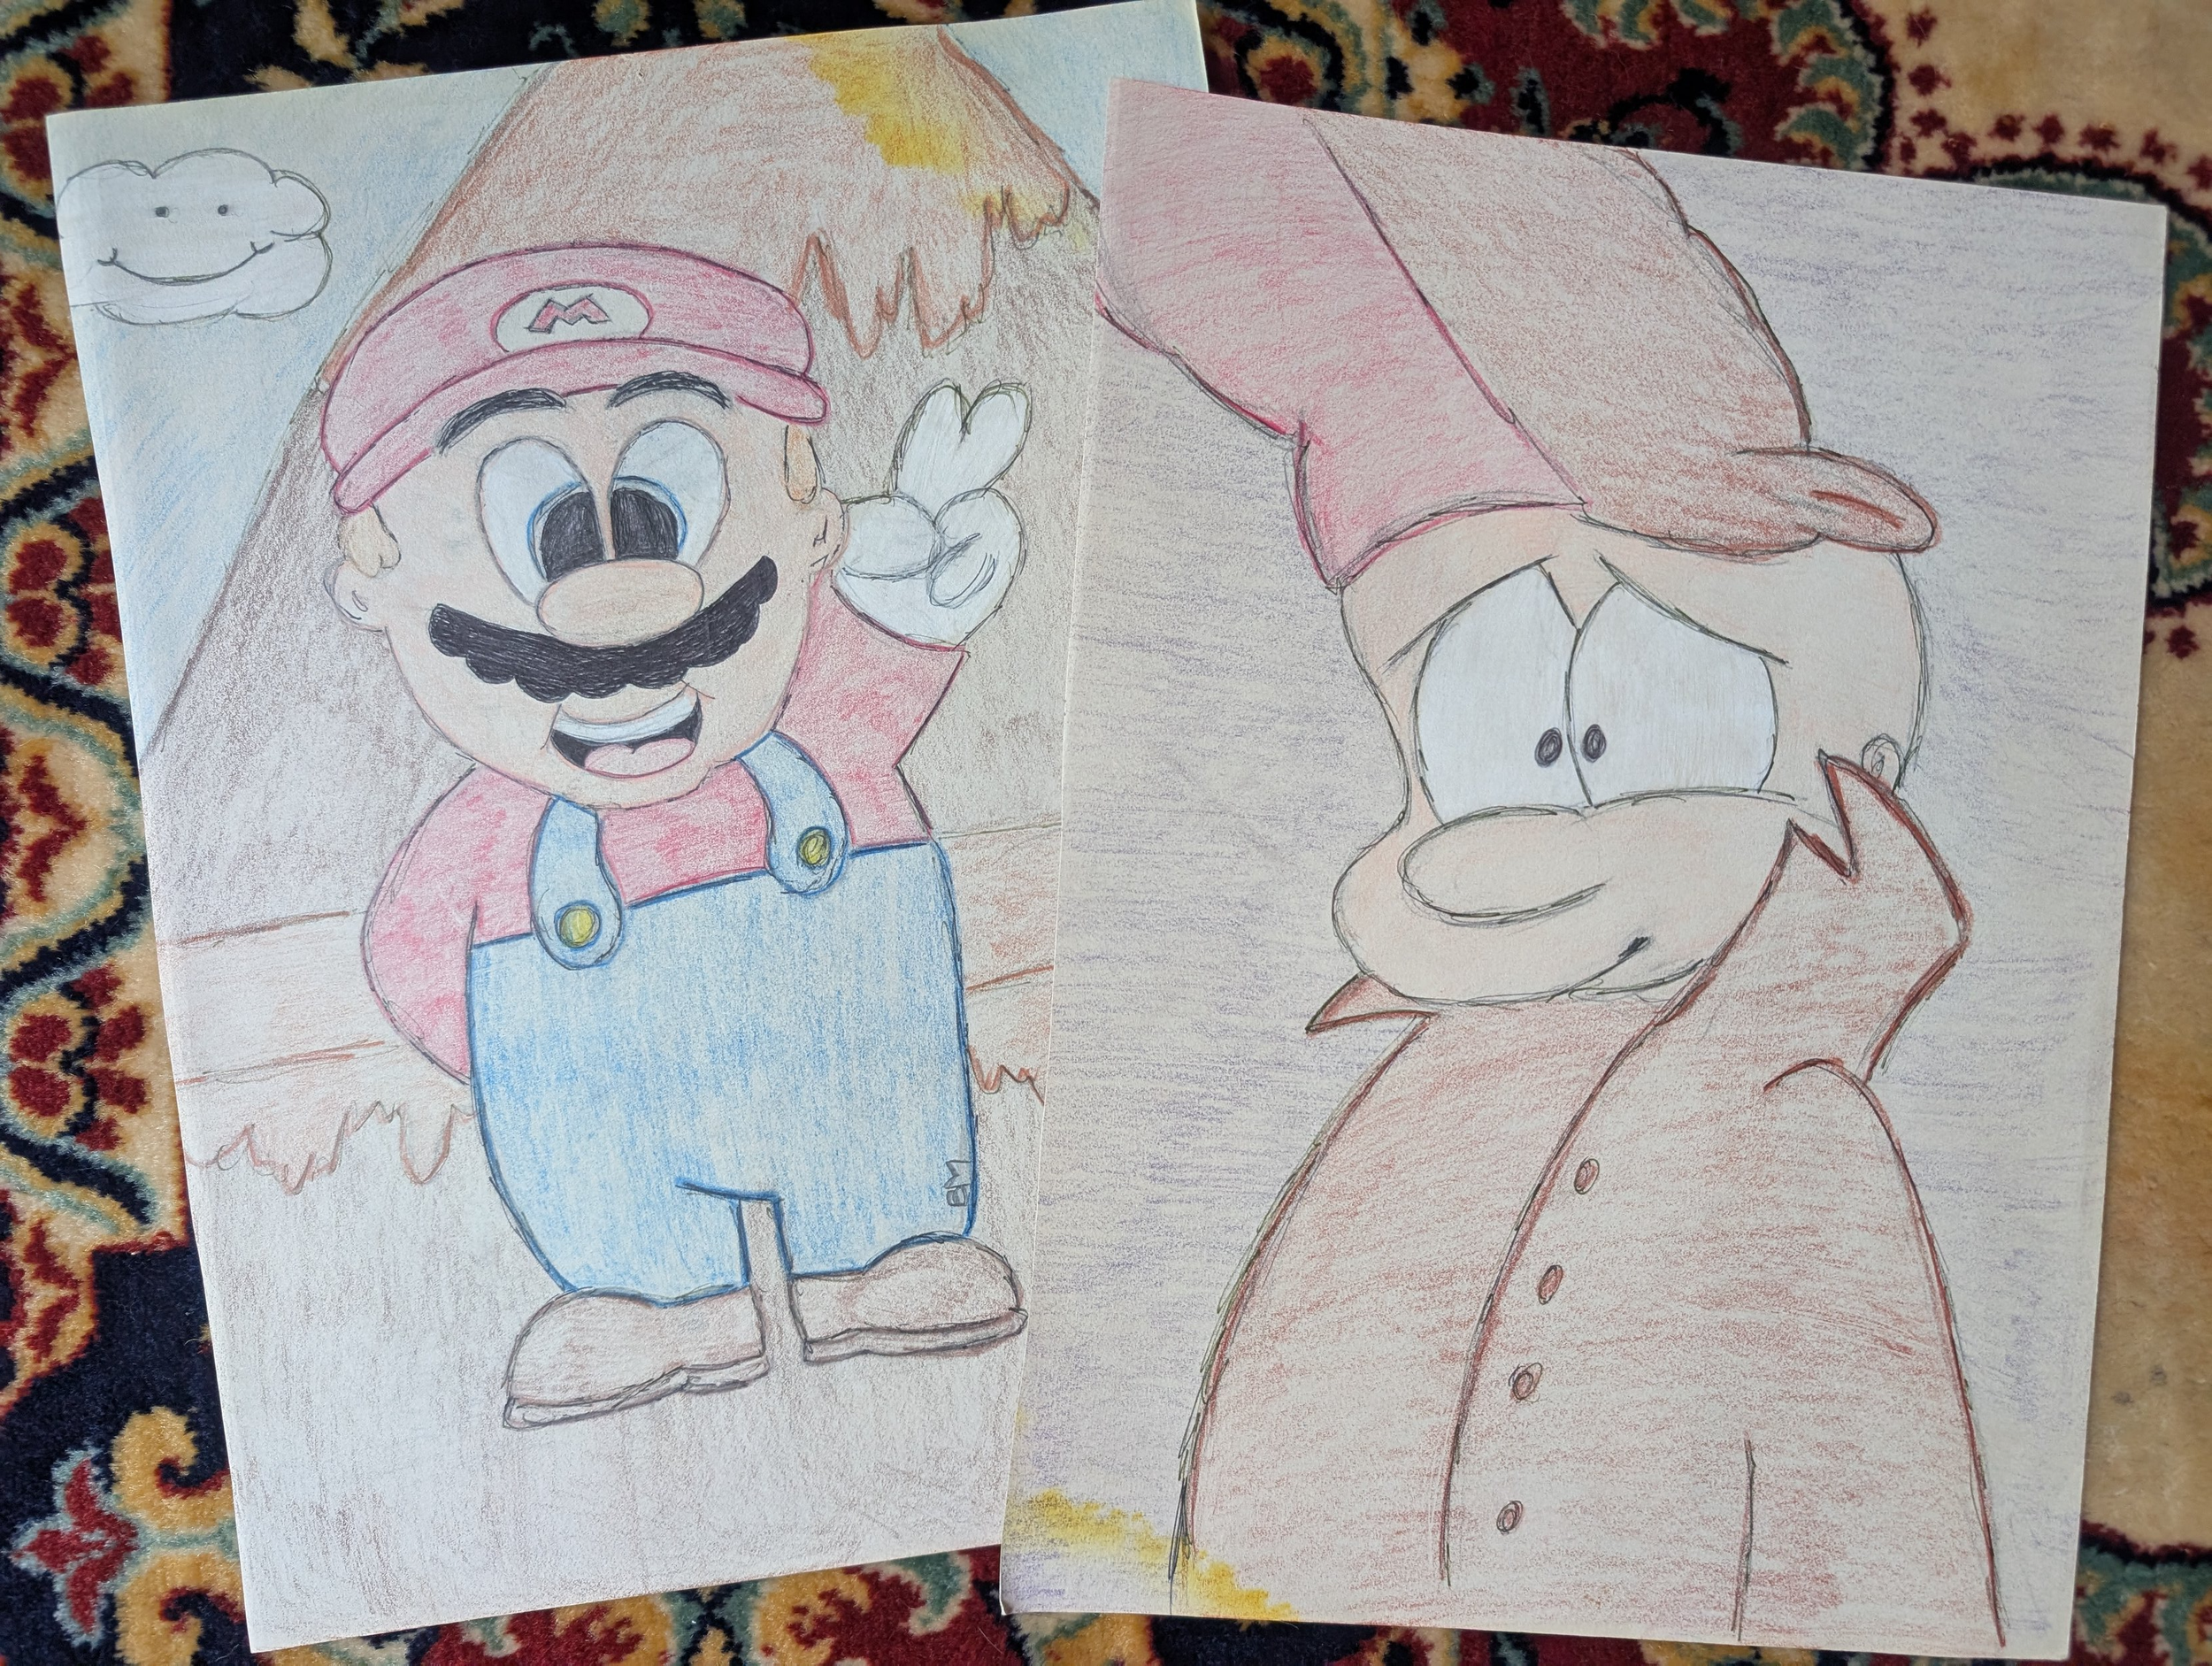
Just to drive home the idea that even though it is difficult, with practice and passion, you can create any kind of art you want with any tools and mediums:
3. Open flame or direct fire burning (aside from blowTorch above!)
Some people experiment with other direct flame options, such as from a candle, lighter, or other fire source. This kind of heat source is easier to come by (you don’t need to buy a tank with fuel or a torch etc…) and after playing a little bit, I found that the effects are more subtle overall and have a smokier vibe to them with more layers and levels of burns that are visible if not held too long on the flame.
This method is even less controlled than the blowtorch above, but the organic gradients and smoky vibe is just so beautiful! It can produce these smoky edges, scorched patches, or distressed effects, which you can probably achieve with a torch and lots of practice. But with a small flame or candle, the effect isn’t as quick or powerful so you can build up layers slowly.
A big downfall is that you wood has to be upside down. The top of the flame needs to touch the wood so you need to get down low, under your work or put it up higher. Not the end of the world, just something to adjust to as you experiment.
You can still block out spots you don’t want burned to create edges and shapes (check out the below torch section for which metals to look for). It will just take a little bit more planning and figuring out since gravity will not be on your side with this one. Try aluminium foil and wrap it tightly around for sharp edges. Using strong metal, placing the wood on top and burning from below, for example…
This method is best for (but not limited to):
distressed looks
abstract surfaces
experimental effects
rough rustic designs
smoke clouds and smokey vibes
textured backgrounds
So maybe not the most intricate and detailed but really good if you want an organic looking texture, atmosphere, or creative experimentation!
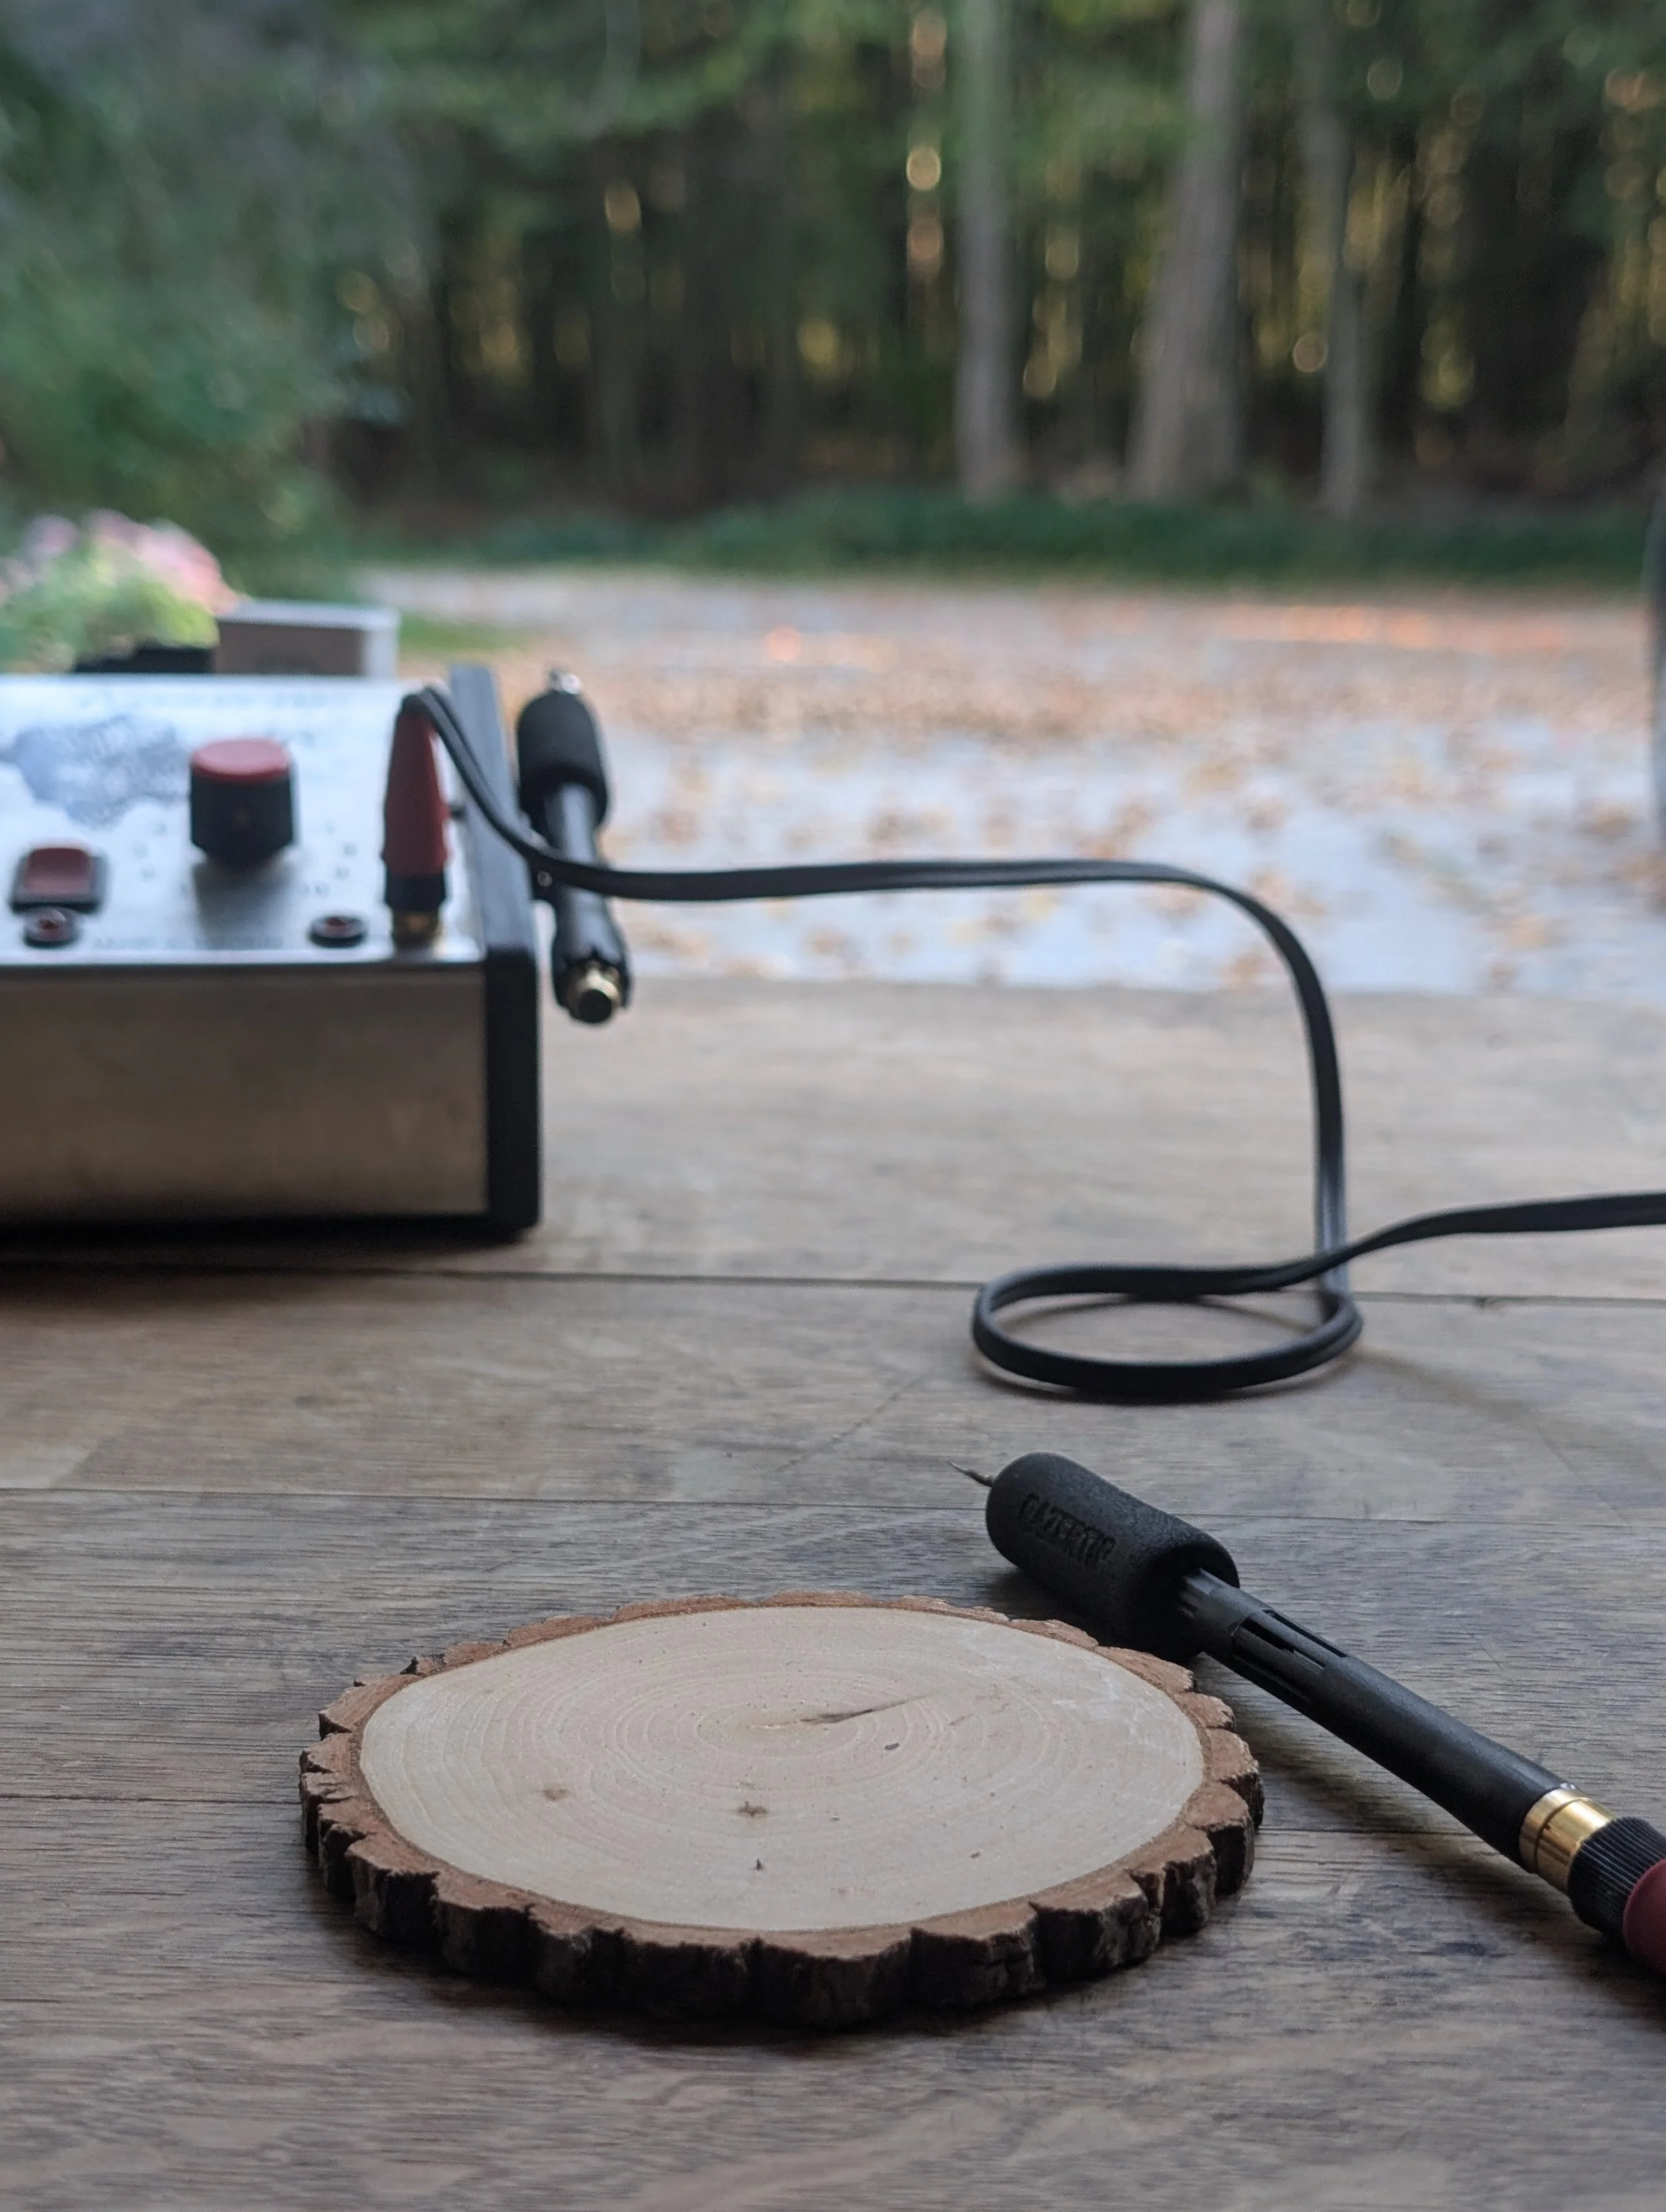
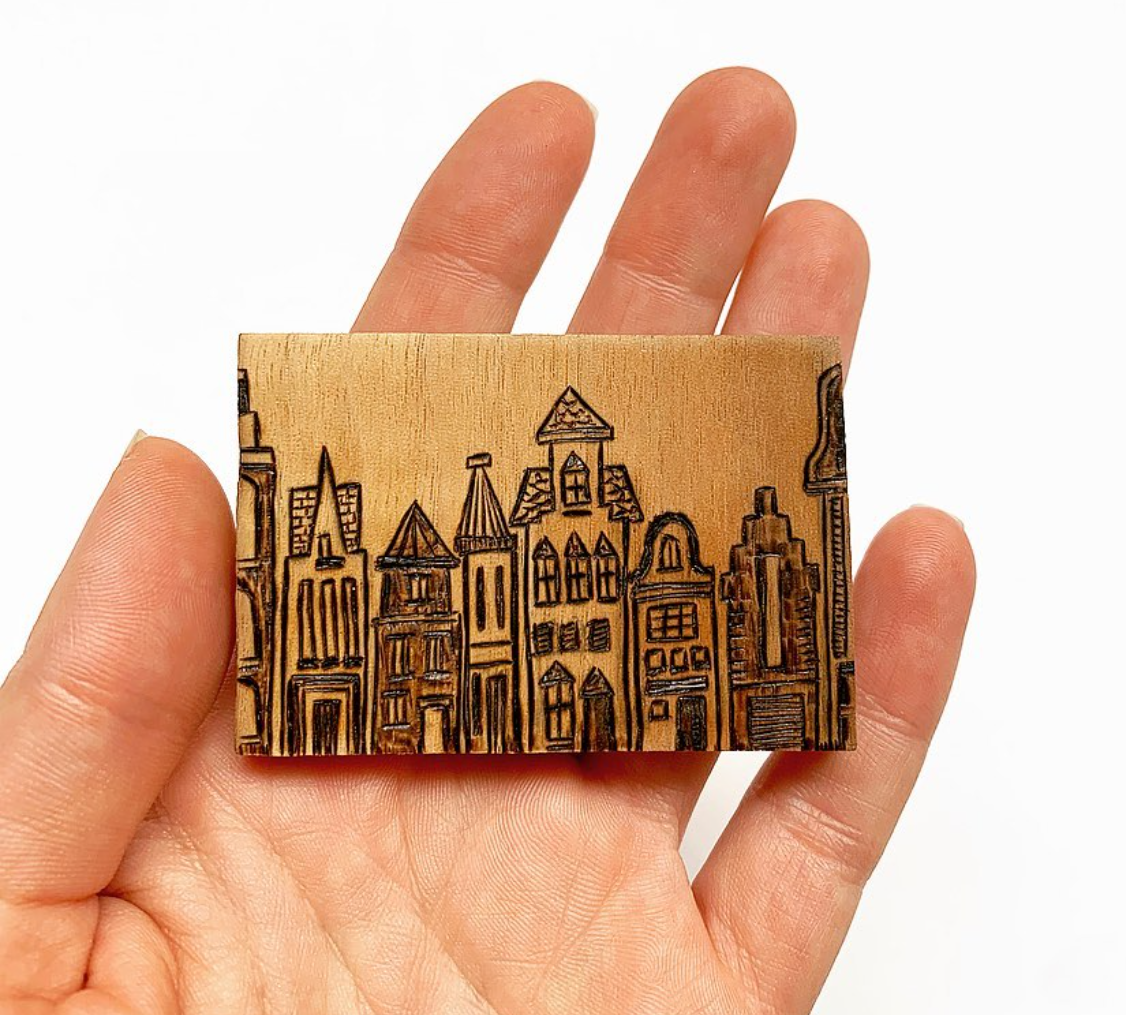
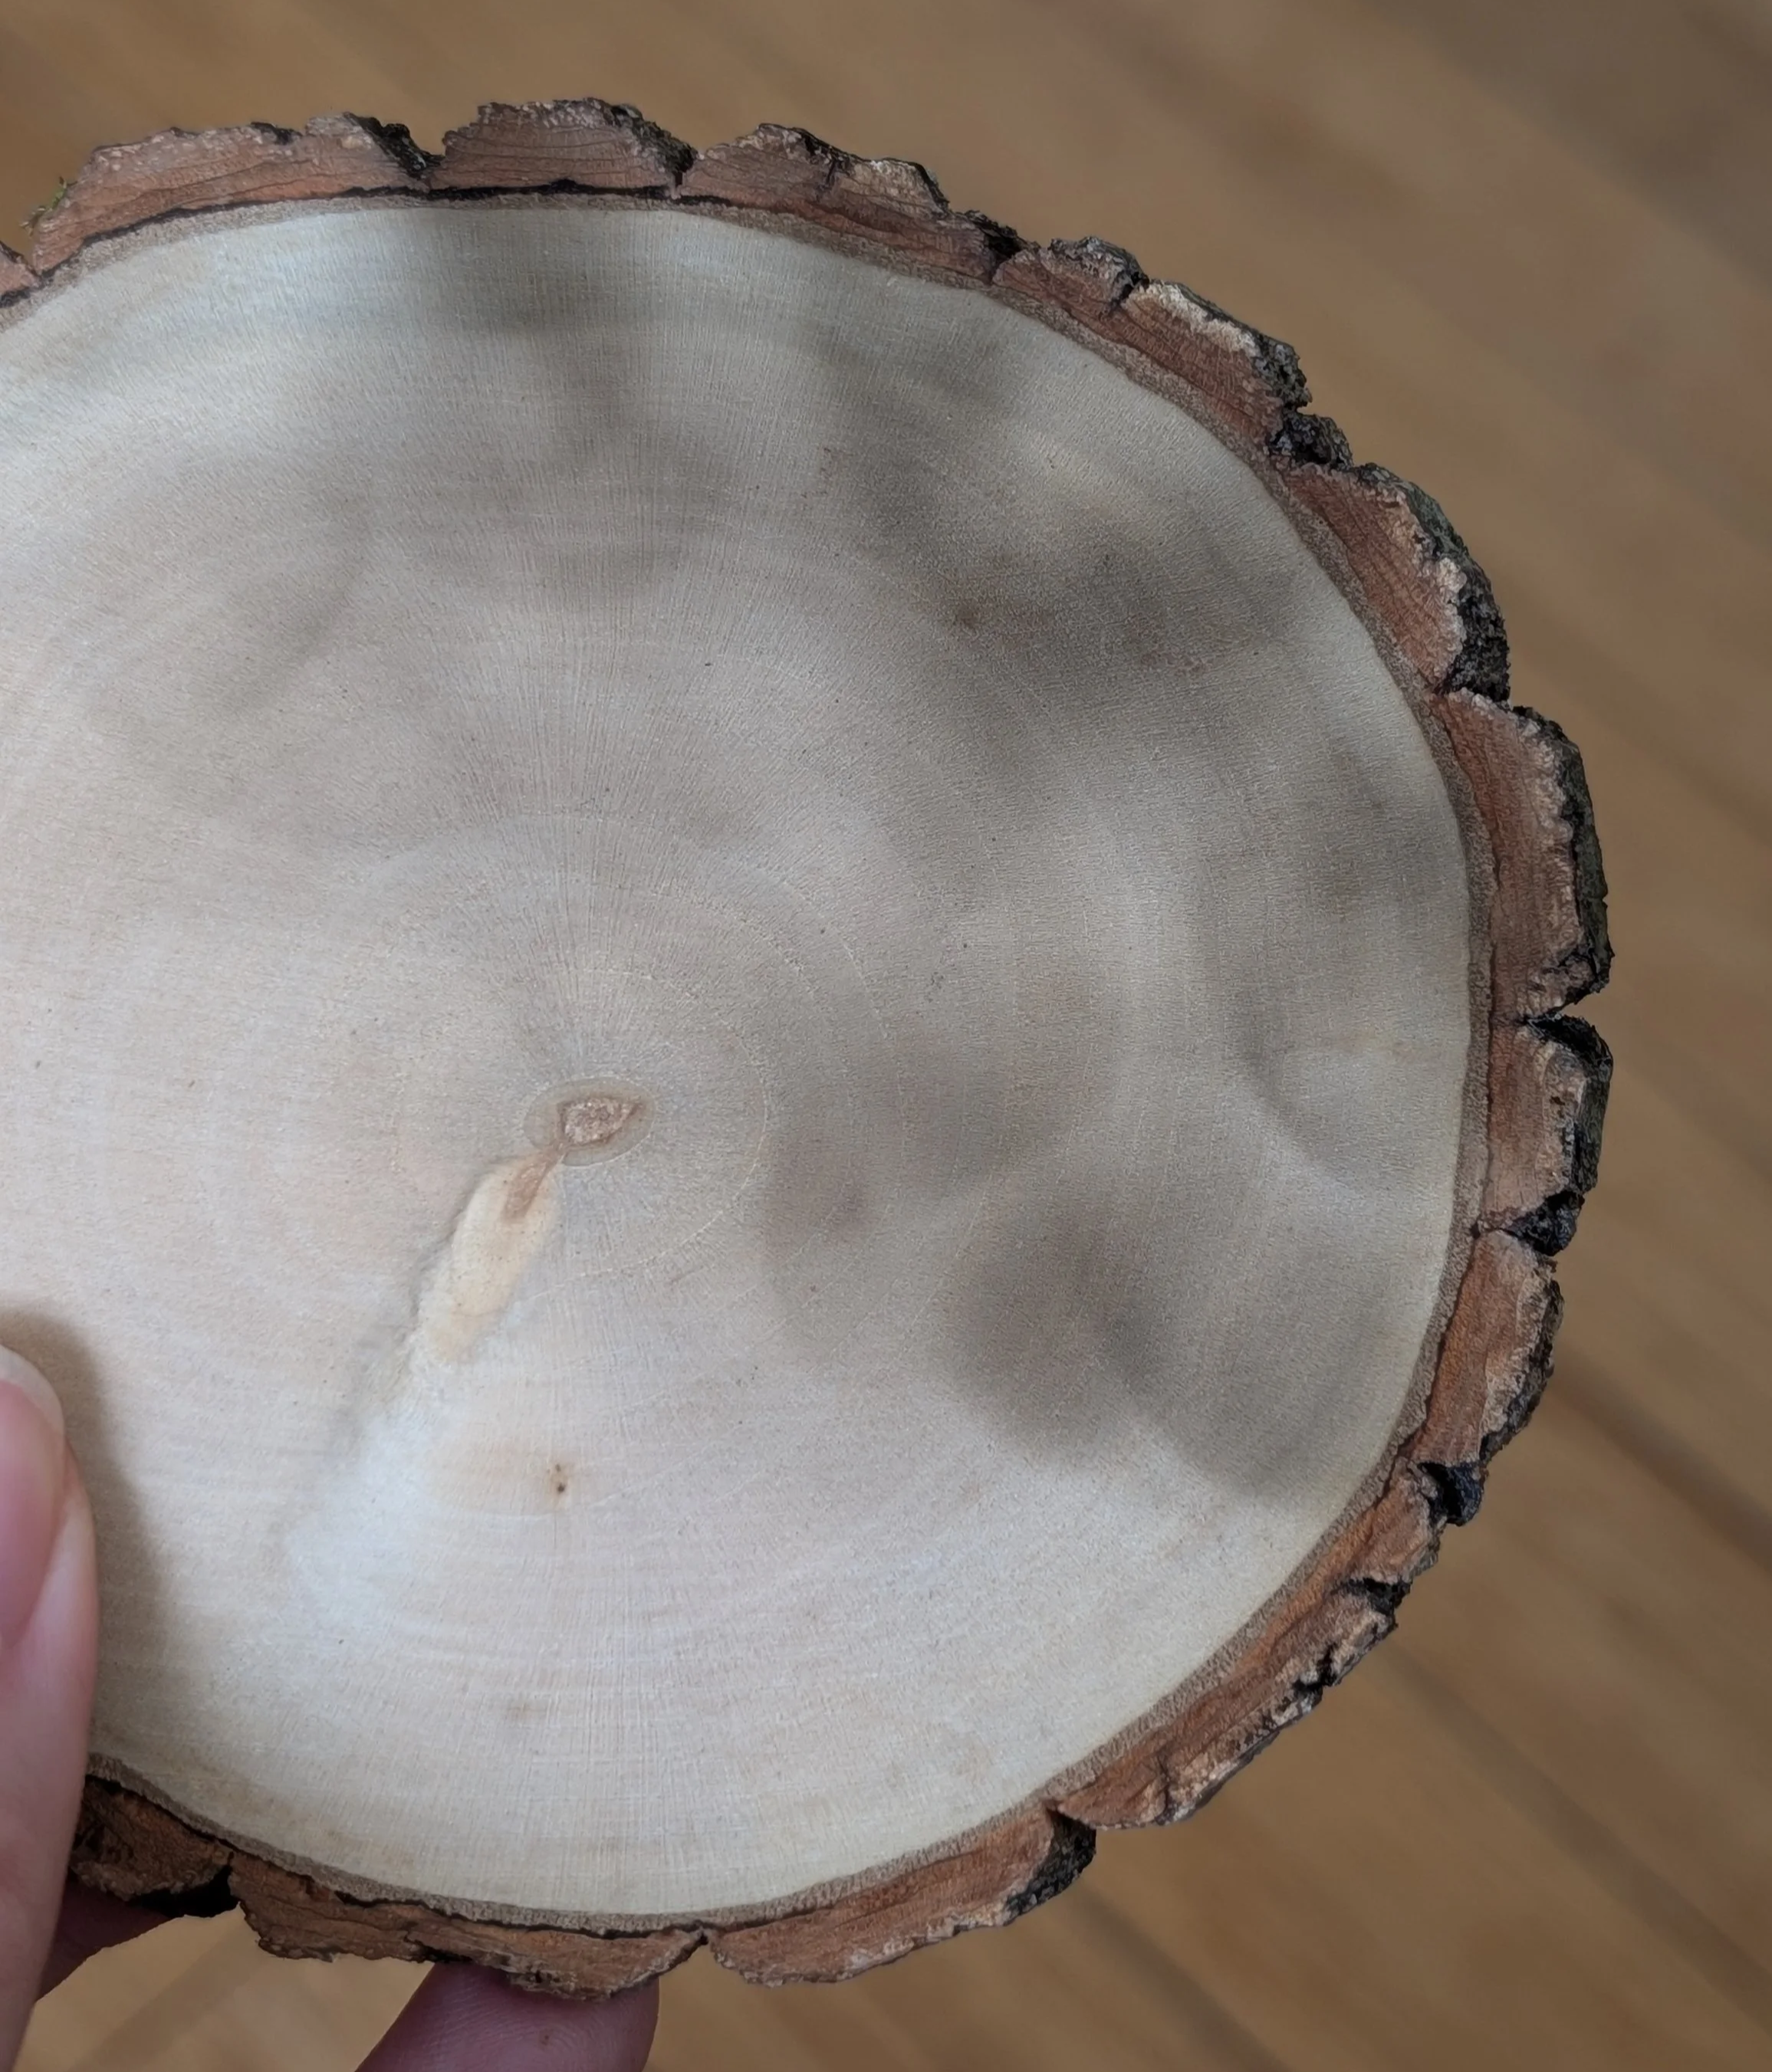
4. Magnifying glass and sunlight
By focusing sunlight through a magnifying glass, you can create enough heat to scorch the wood surface. It technically works and very very satisfying!
The burn is slow and builds gradually, which actually gives you more time to react than you'd expect. You move the focal point to intensify or soften the heat, and the mark it leaves has a warmth and subtlety that's hard to replicate with electric tools.
I first experimented with this on a portaging trip using a tiny compass magnifier. The weather was not the best so the results were not as strong as I would have like them. I'm excited to get my hands on a proper large magnifying glass and take it out into the forest when the sun is beaming. There is something so beautiful to create art with no power, no cords, just sunlight and wood.
This method is best for (but not limited to):
experimentation and process-based work
outdoor demonstrations
simple marks and organic shading
projects where using sunlight is part of the concept
There is something kind of magical about burning wood with the sun, but it comes with obvious limitations. You need strong sunlight, the right angle, patience, and a safe setup.
Check out this artist who made a dog portrait just by using the power of the sun!
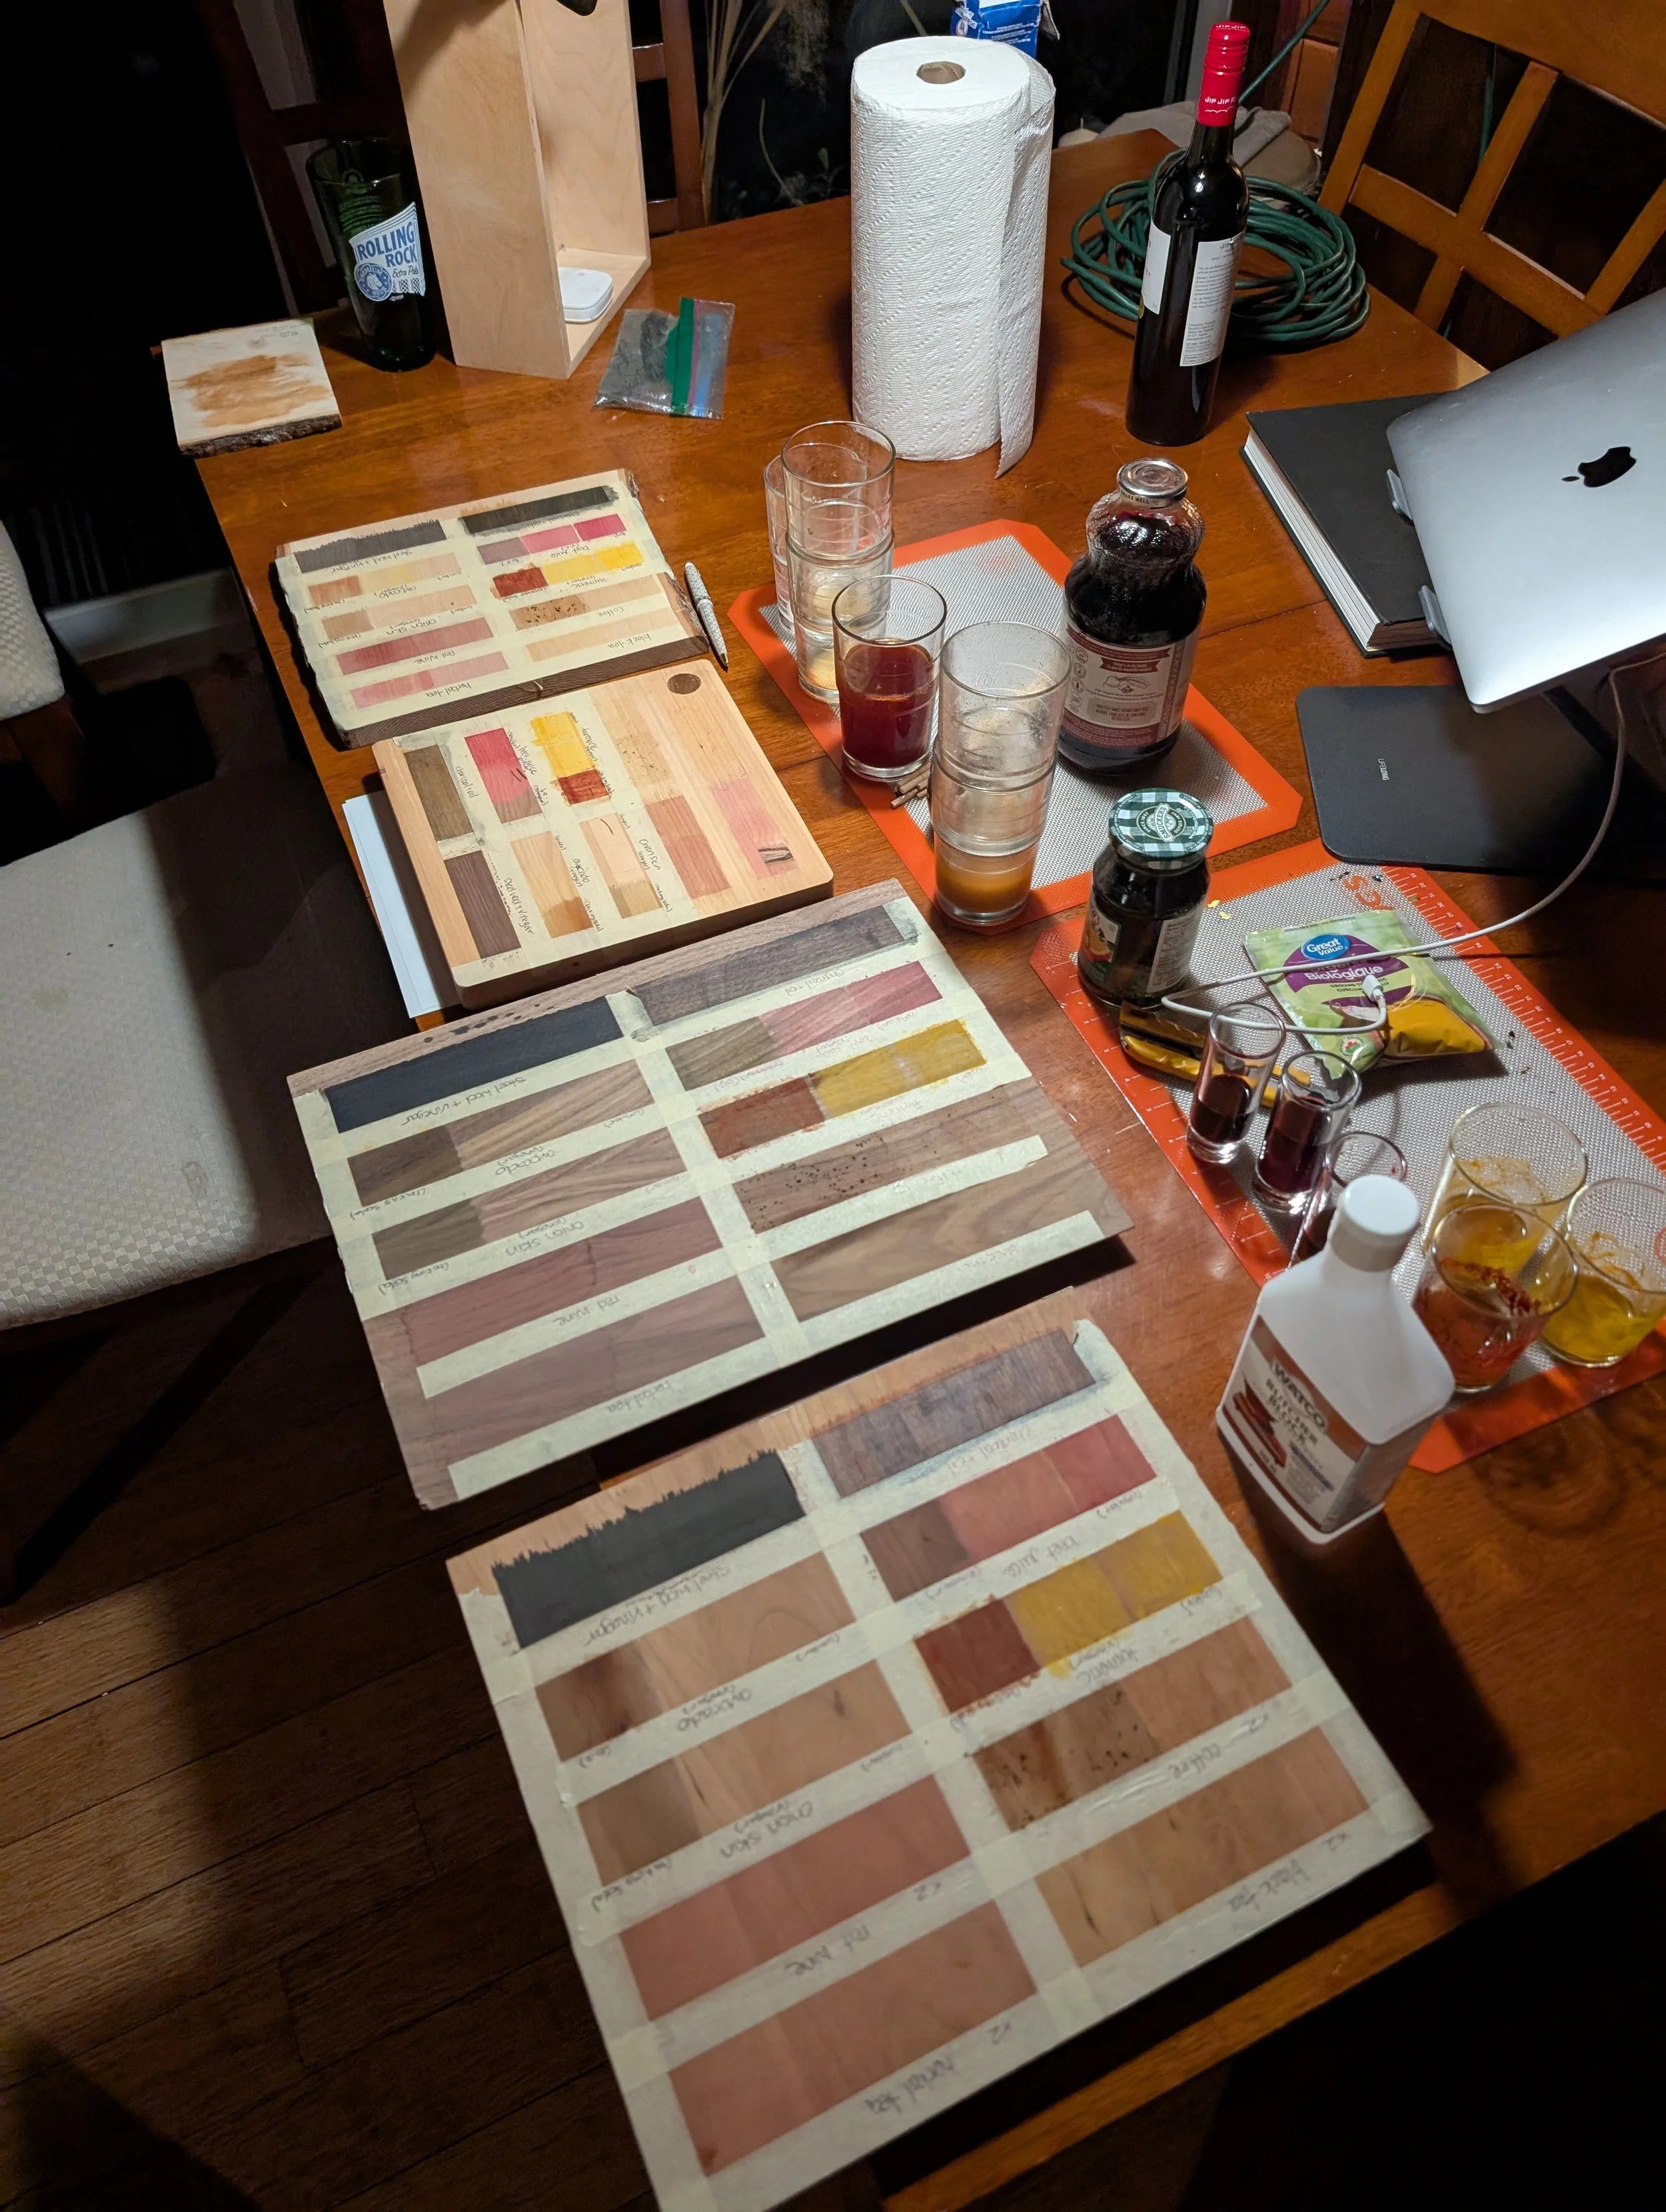
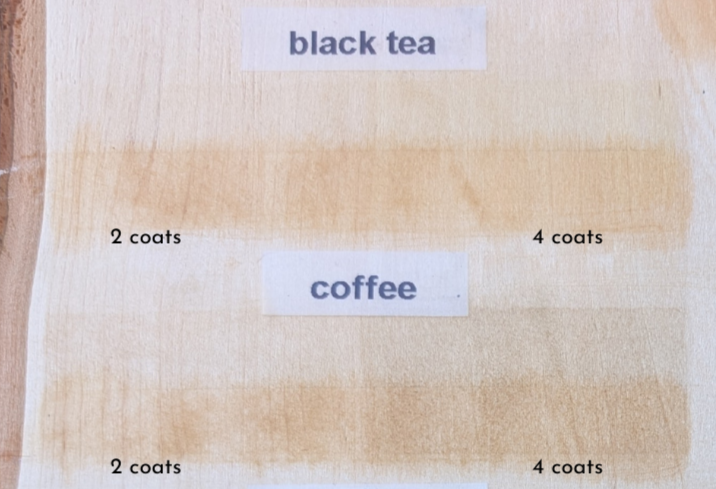
5. Scorch Marker/lemon juice:
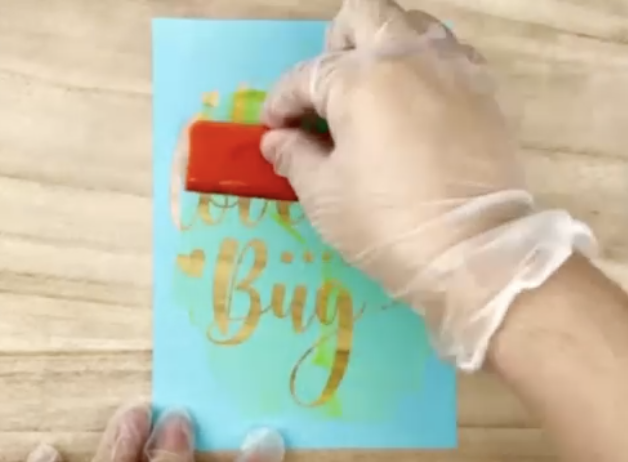
Both of these methods work on the same principle: apply something to the wood first, then apply heat (most often using a heat gun), and a chemical reaction creates a burn effect.
Scorch markers use a special ink that reacts when you hit it with a heat gun. You draw or stencil your design first, then activate it with heat. It's accessible, reasonably clean, and great for bold or repetitive designs over larger areas.
Lemon juice is the natural, low-tech version of the same idea. Apply it to the wood, let it dry slightly, then use a heat gun. The acid reacts with the heat and darkens the surface. It actually works better than most people expect.
This method is best for:
large surface areas
bold shapes and repetitive designs
experimental projects
artists who want to try something different without investing in new tools
I tried lemon juice a long time ago and my honest take: it worked, but I didn't love it. I lost control over the final result more than I wanted, and burning over anything applied to the wood surface left residue on my nib — even with something as natural as lemon juice. The smell wasn't great either, and it wasn't even concentrated to where the juice was, which was strange.
That said, for quick, experimental, or repetitive projects with a reusable stencil, it's worth trying at least once.
Some of the more dangerous alternatives:
There are many different ways to burn wood, including methods that go far beyond traditional pyrography tools. While they may be part of the broader conversation around burning wood, I do not recommend these methods without guidance, support and safety, as they can be highly dangerous, unpredictable, and capable of causing serious injury, fire, or worse.
6. Gunpowder
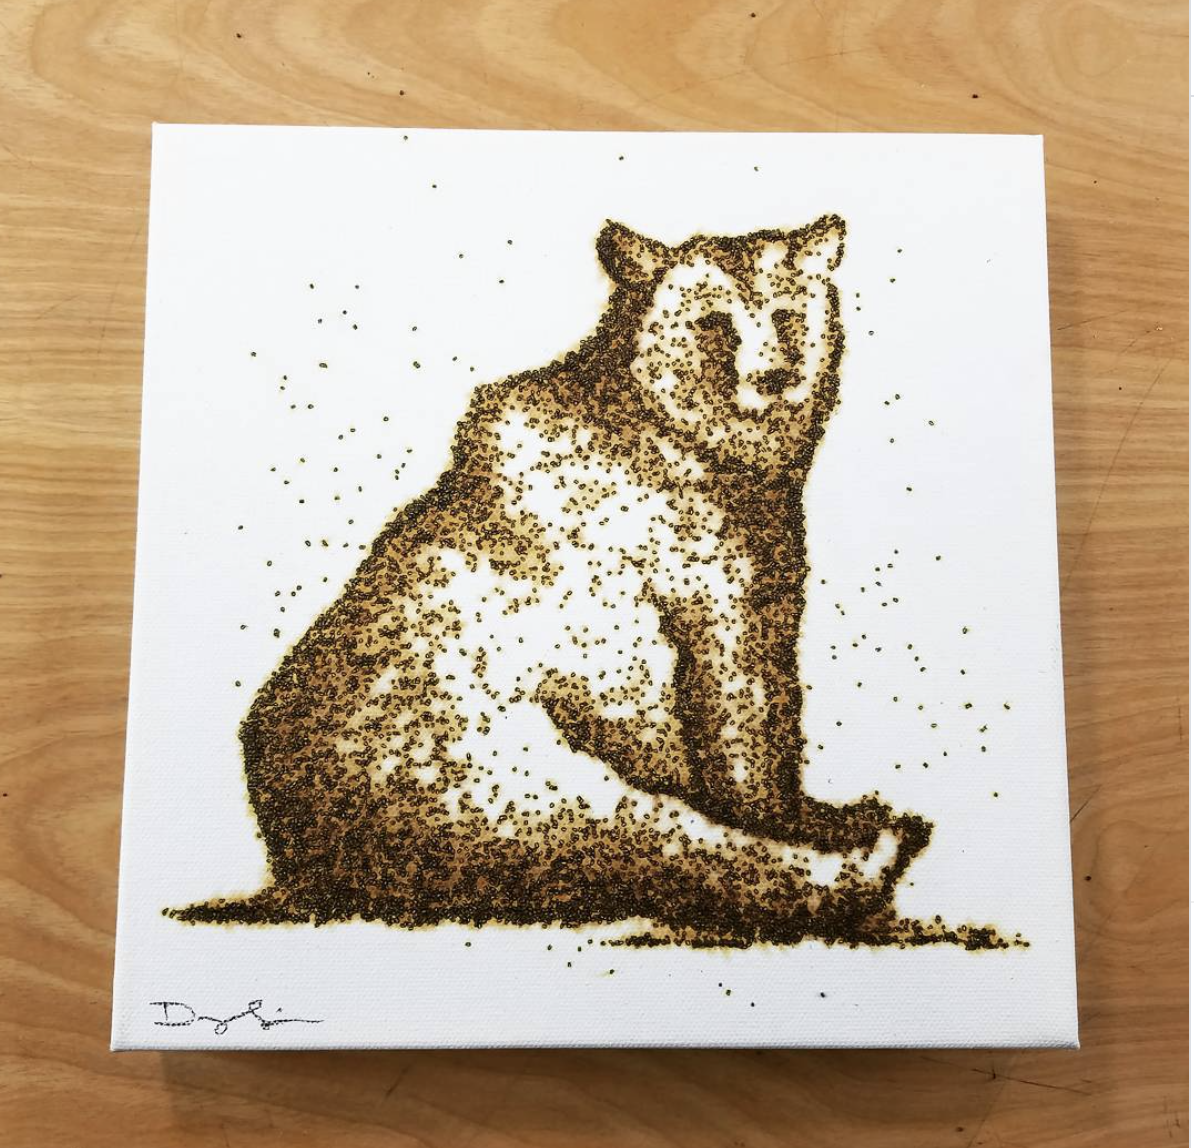
Gunpowder burning is another extreme method sometimes mentioned in conversations about unusual ways to burn wood. It can create bold, dramatic effects, and some finished pieces may combine that raw burned surface with more controlled pyrography for contrast. Gunpowder burns by deflagration, meaning it rapidly combusts and generates expanding gases, which is part of what makes its effects so violent and unpredictable.
Here is the artist who burned this bear, @paintingwithgunpowder. He creates lots of art with gunpowder on canvas, wood and other materials! I really love the organic nature of the shading values and placement. It’s controlled but there is still an element of looseness in the work.
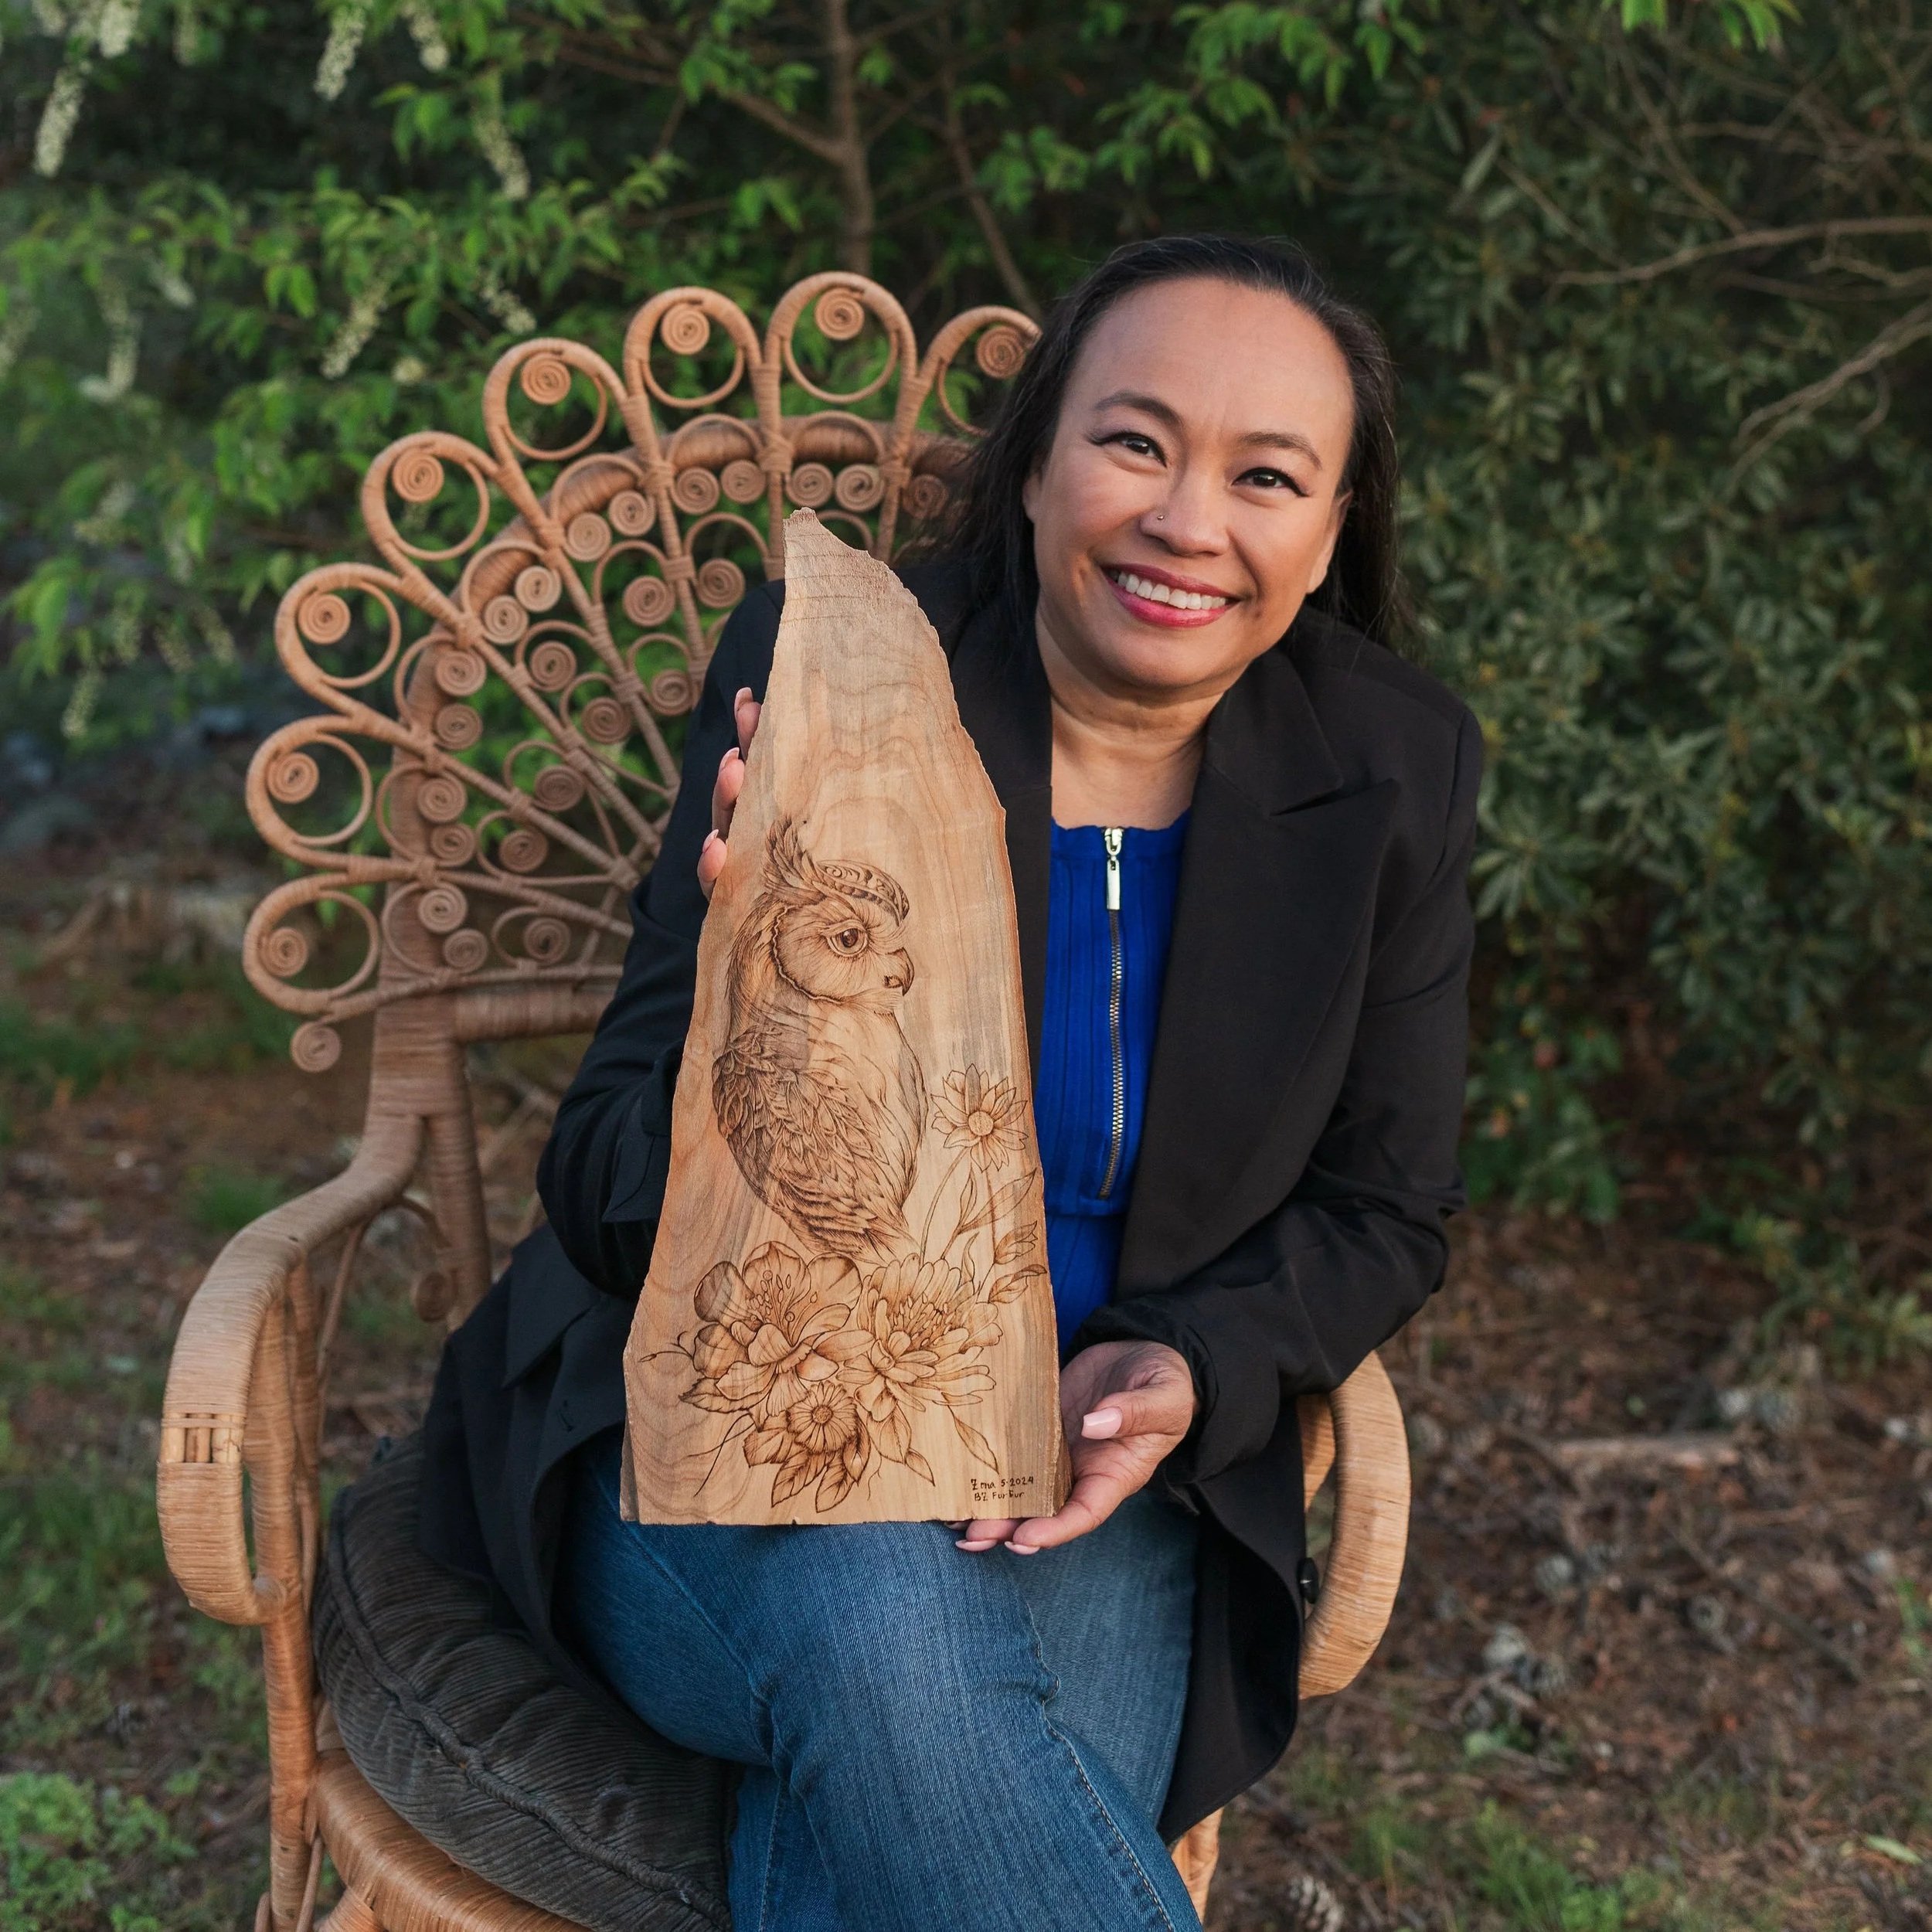
7. Burning with electricity
Commonly known as Fractal burning, also called Lichtenberg wood burning, this method uses high voltage electricity to create branching, lightning like patterns in wood.
The finished effect can be visually striking, especially when combined with traditional pyrography, but it is an extremely dangerous process and not one I recommend attempting.
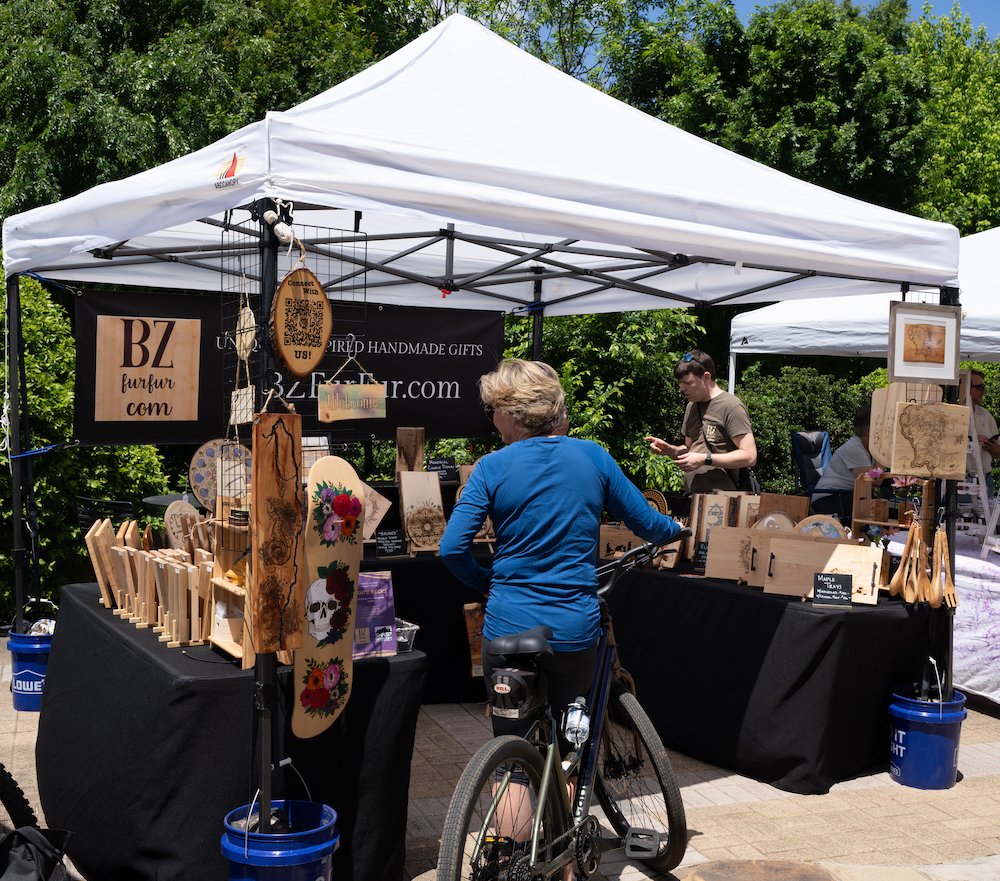
Zona of @bzfurfur has collaborated with an artist who creates these stunning wood slices using the technique, resin and her detailed pyrography work!
Wood burning does not start and end with one tool. That is part of what makes this very satisfying medium so fascinating.
If you want to go deeper into any of these techniques — ask questions, share experiments, or see what others are creating — that's exactly what Burn Club is for.
We've already had members getting excited about gunpowder burning (you know who you are), and that kind of energy is what makes the community worth being part of. It's a space for people who take the craft seriously and still like to have fun with it.
Come burn with us → Burn Club.
I hope this blog post sparks something for you (pun intended). The more I experiment, the more I realize I have much more I want to try and I can't wait to experiment together!