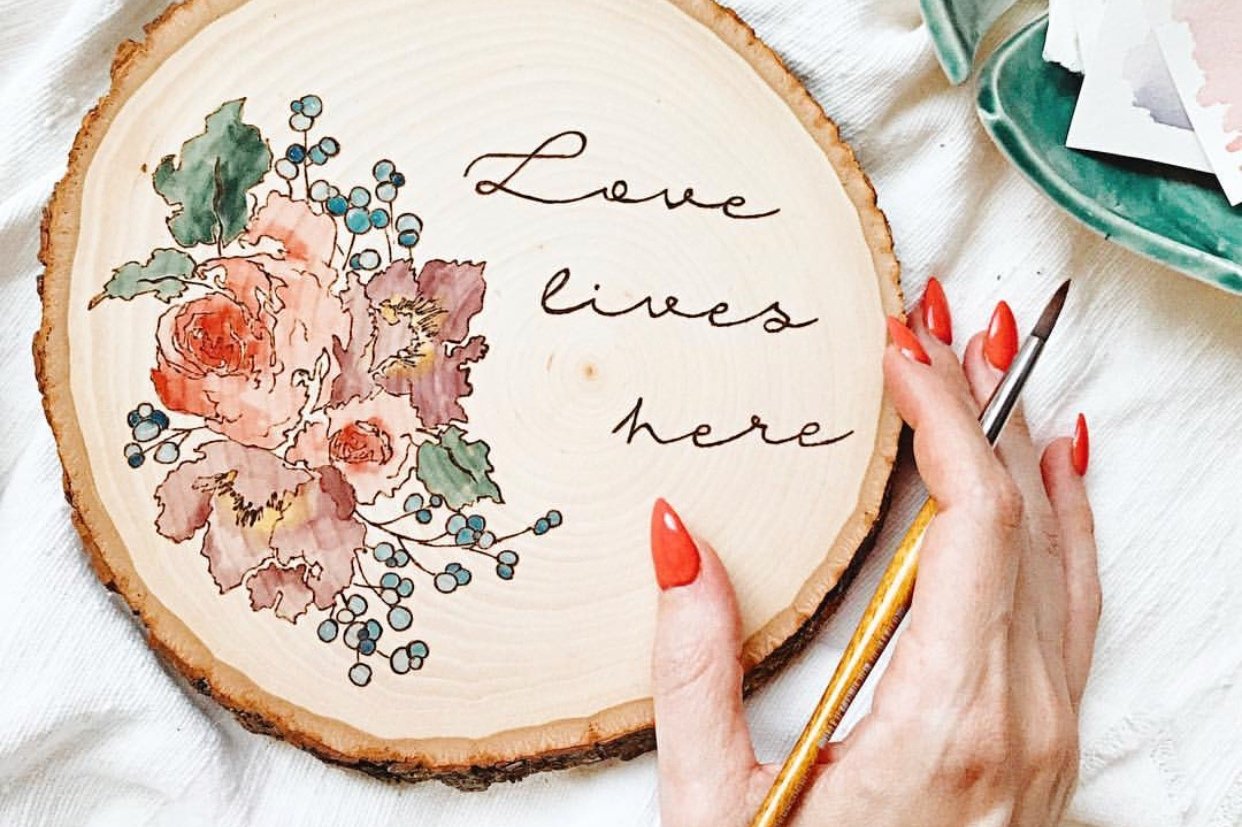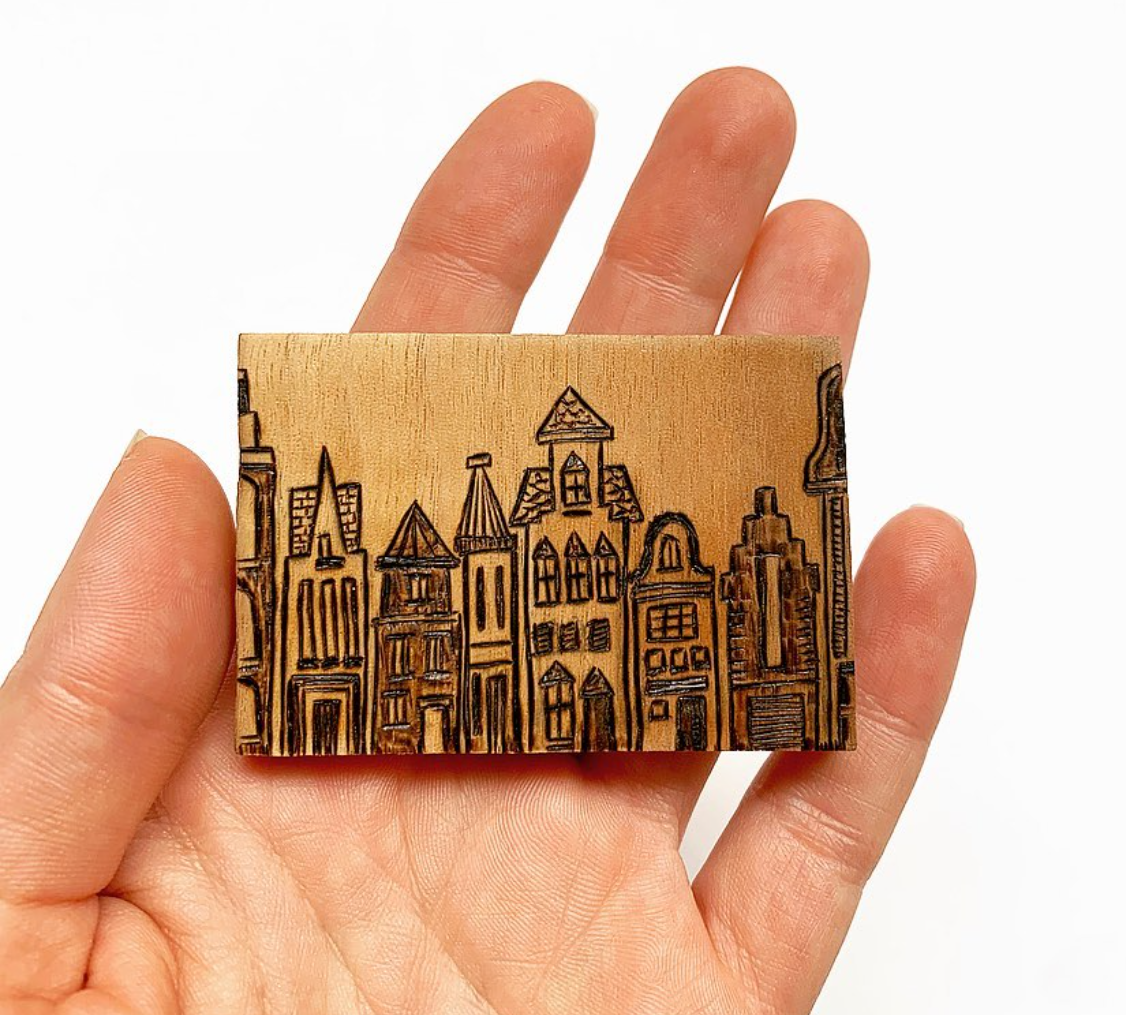
Sometimes, the best way to hone your pyrography skills isn’t by tackling big, time-consuming projects—it’s by embracing the small ones. Tiny pyro projects are perfect for quick practice, thoughtful gifts, or even selling at craft fairs. Whether you’re a beginner or an experienced wood burner, these 11 ideas will inspire you to create something small but impactful.
*For safety reasons, make sure your surface is UNFINISHED, clean and dry. Check out our safety tips here: Safety in Wood Burning
**Some of the products or materials mentioned in this post may include affiliate links, primarily through Amazon. This means that if you purchase through these links, I may earn a small commission at no extra cost to you. I only recommend items I have tried and love.
1. Guitar Picks
Burn cool designs onto wooden guitar picks for a customized, artistic touch. Add initials, music notes, or tiny flames to make each pick unique.
2. Hammer

A wooden-handled hammer is the perfect canvas for a functional yet artistic pyrography project.
Whether engraving a name, a special date, or intricate designs along the handle, burning into wood transforms an everyday tool into a meaningful keepsake.
A personalized hammer makes a great gift for woodworkers, DIY enthusiasts, or anyone who appreciates craftsmanship with a personal touch.
3. Bookmarks
Create beautiful, durable wooden bookmarks that will last a lifetime! Using thin wooden strips, burn floral borders, geometric designs, or even your favorite book quote.
A simple ribbon or leather tie at the top adds a perfect finishing touch.
4. Tiny Magnets

Wood-burned magnets are a fantastic way to add personality to any fridge or magnetic board.
Use small wood rounds or squares, burn designs onto them, and attach a magnet to the back.
Personalized initials (or the whole alphabet!), miniature animals, or symbols are great choices for these tiny canvases.
Check out our full tutorial on these cute little magnets here: Make Mini Fridge Magnets

5. Keychains
Small enough to carry everywhere but detailed enough to make a statement, pyrography keychains make perfect gifts, souvenirs, or even small-scale art for sale.
With endless design possibilities, each burn brings warmth, character, and a little piece of nature into your pocket. Try burning on these classic wood slices, leather or other wood designs for this fun project!
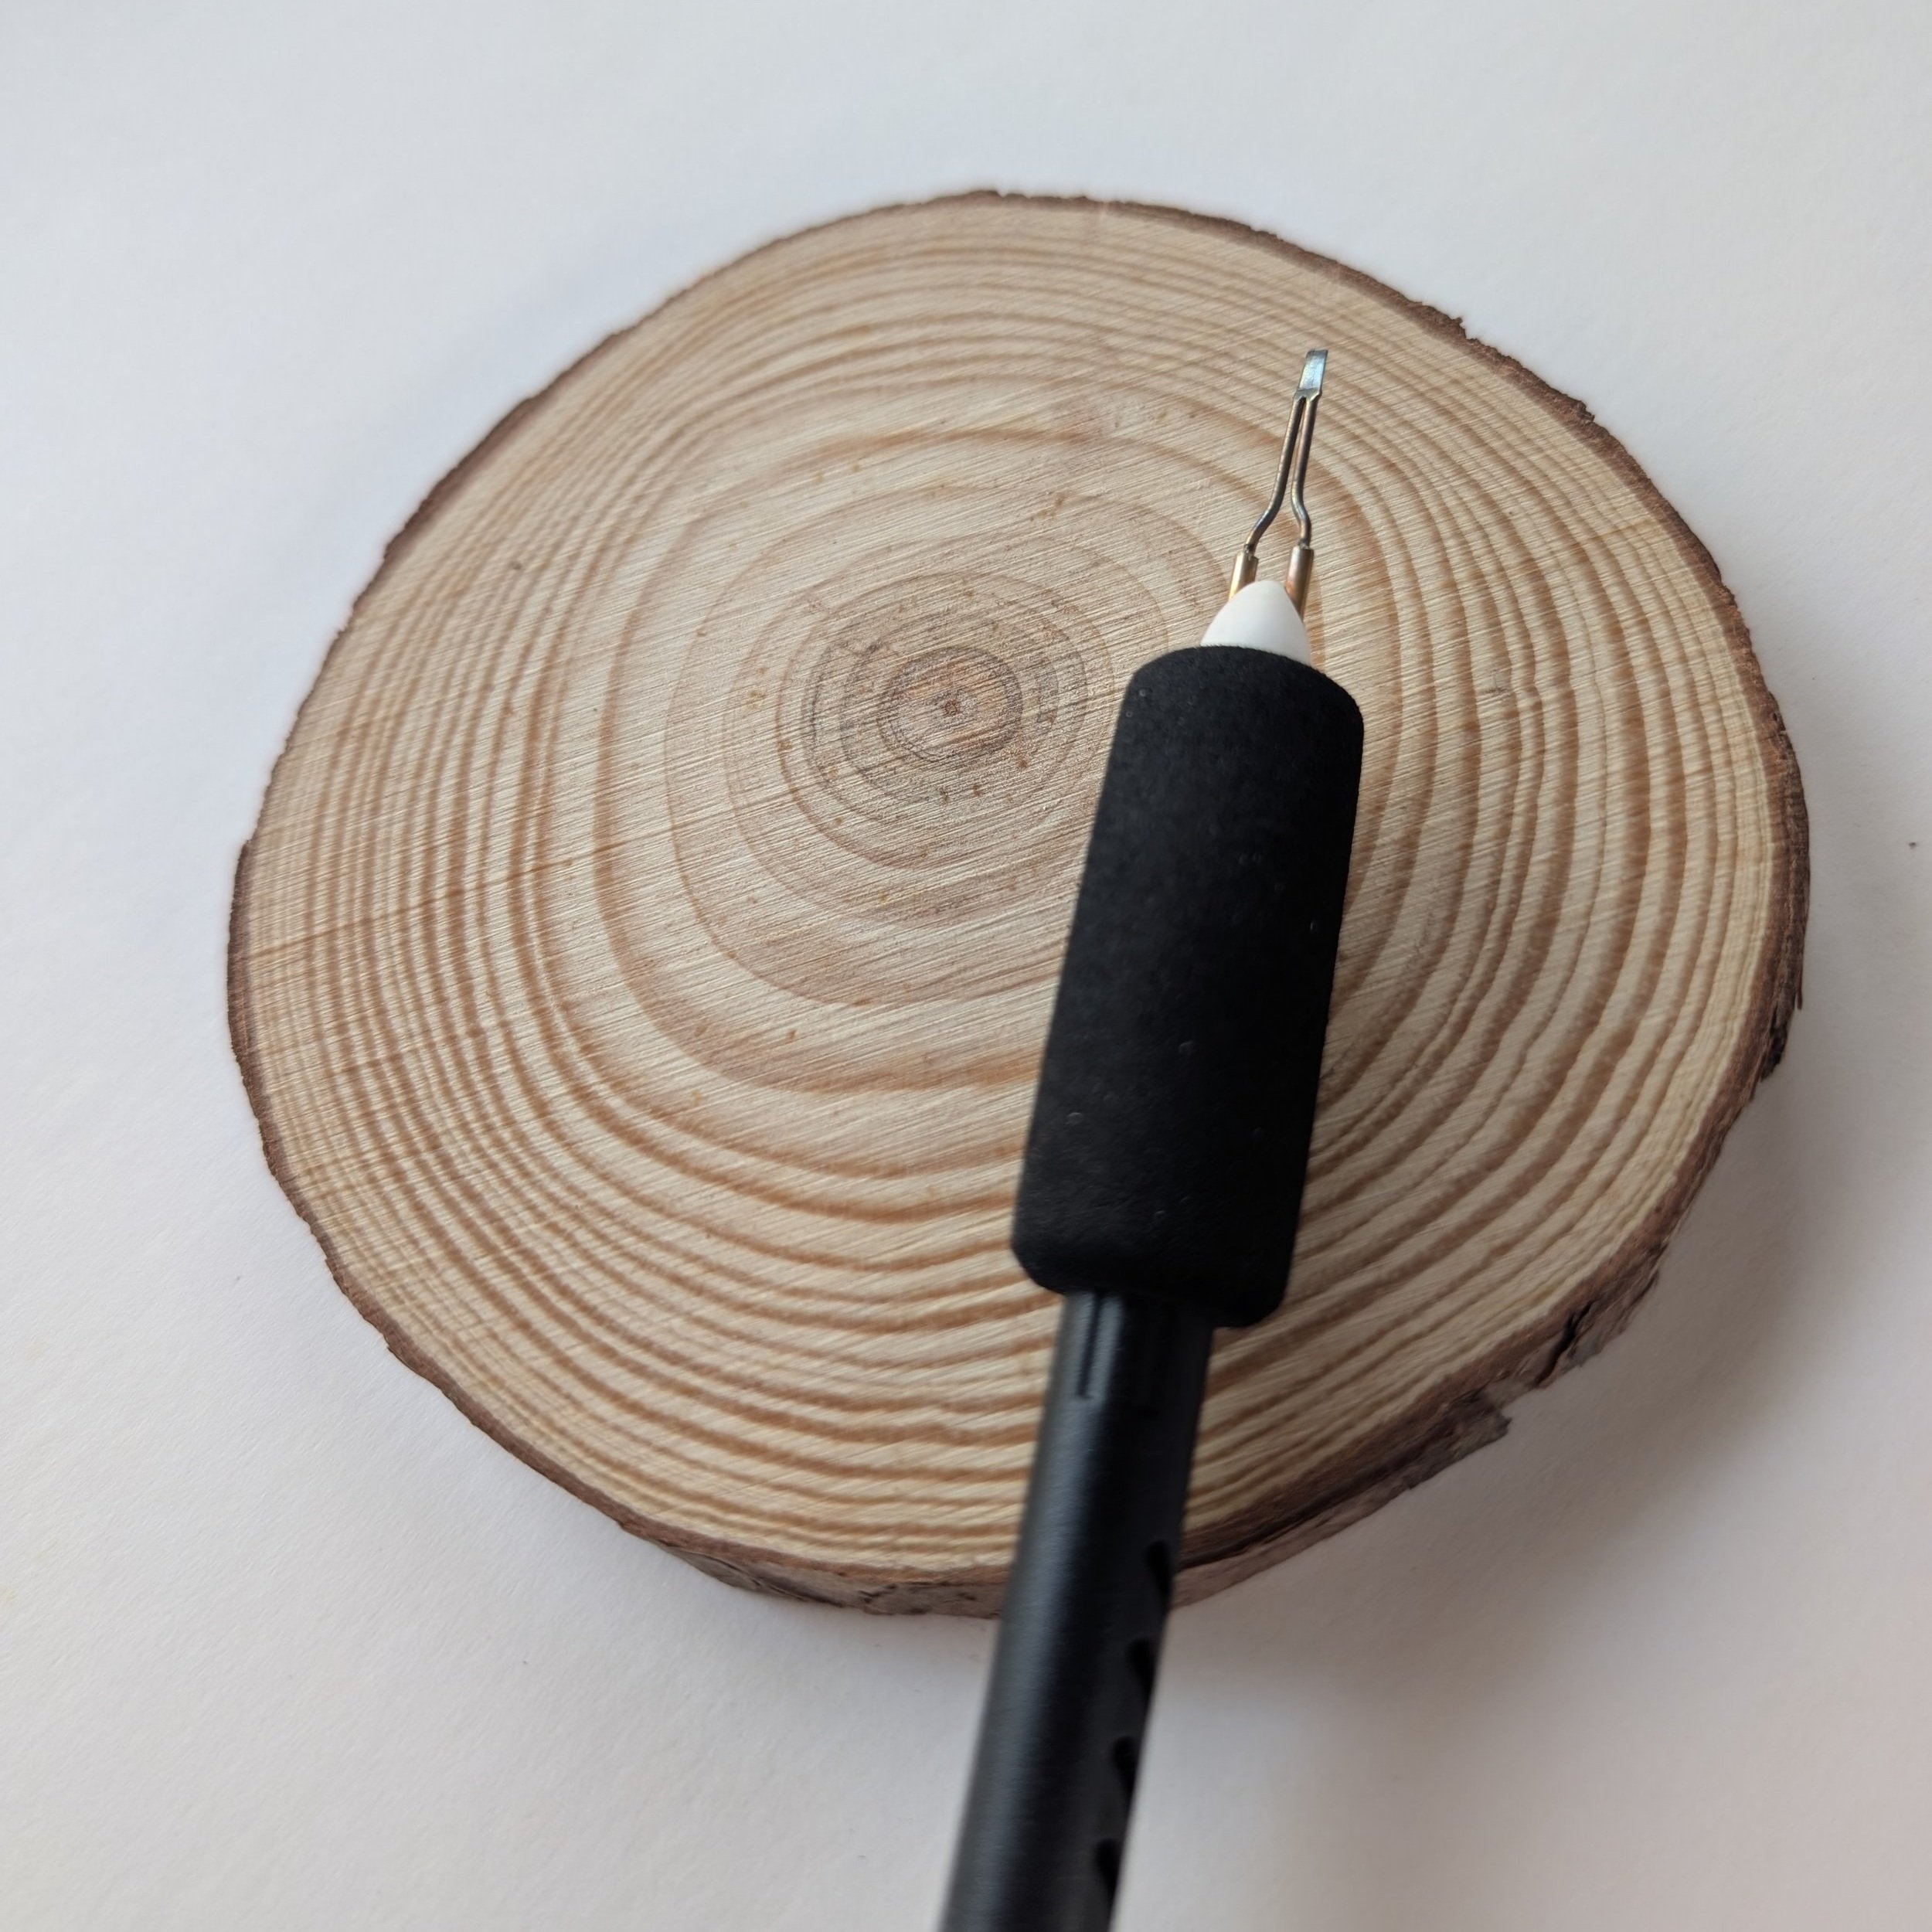
6. Earrings, Pendant or Jewelry Charms
Lightweight wooden shapes can be transformed into custom earrings or necklace charms. Burn intricate patterns, abstract designs, or tiny flowers onto them, then add earring hooks or jump rings for an instant wearable art piece.


7. Pocket Affirmations
Create small wooden tiles or small paper ones with positive affirmations or tiny symbols of encouragement. These can be carried in a pocket or a wallet and kept or given as little reminders to friends and loved ones.
Below are some pyrography themed ideas that can turn a small piece of wood into a meaningful keepsake:
Burn bright
Ignite your passion
Steady as the roots
Embers never fade
Flame within
Grow like the forest
Fuel your fire
Rooted in strength
Let it smolder, then blaze
Carve your own path
Let sparks fly
The forest whispers wisdom
Rise like smoke
From ash, we rise
Fire and focus
Stand tall like the trees
Glow softly, burn fiercely
Wood, fire, spirit
Kindle your light
Forge your way
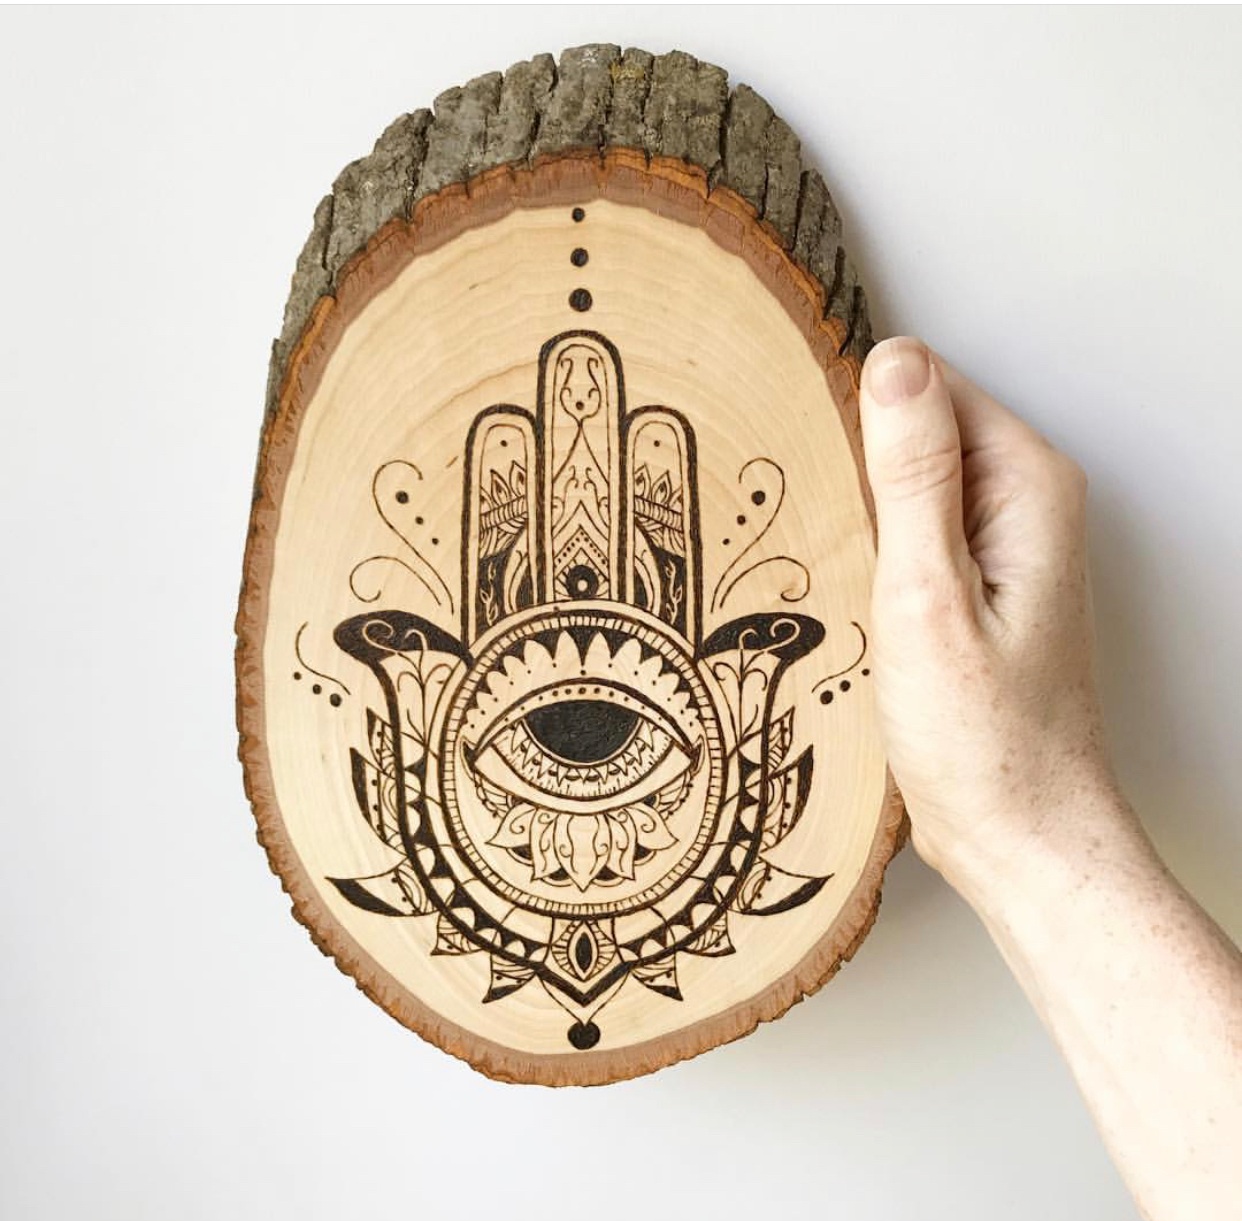
8. MAgic wand
Challenge yourself by burning on a small branch or chopstick. Sand either to make your surface smooth and look like a wand! This tiny project is perfect for adding intricate details like swirling vines, celestial symbols, or ancient runes along the shaft.
Burned textures can create a natural grip, while spirals or tiny stars give the wand an enchanted feel. Whether used as a whimsical desk ornament, a costume prop, or a personalized gift, a hand-burned wand brings a touch of mystery and creativity to any collection.
Finish with a light wood stain or natural beeswax to enhance the details and give it an aged, mystical look.
9. Mini Plant Markers

Upgrade your garden with handcrafted plant markers. Burn the names of herbs, flowers, or vegetables onto small wooden sticks or popsicle sticks.
Not only are they functional, but they also add a rustic charm to any garden or indoor plant collection.
Check out this blog post for step by step instructions: DIY Wood Burned Plant Marker

Burned by Aly of @alyoopsartistry
10. Music Box
A small wooden music box is a perfect canvas for pyrography, allowing for intricate designs on the lid and sides.
You can create a vintage feel with aged wood effects or carve out tiny borders for added elegance. This tiny project is a great way to add a personal, artistic touch to a functional keepsake, making it an ideal gift or sentimental treasure.
11. Dice or Game Pieces
Love tabletop games? Make your own custom dice or game pieces by burning numbers, symbols, or even tiny illustrations onto small wooden cubes.
Whether you create a simple tic-tac-toe set or a fully customized RPG (Role-Playing Game) dice set, this project is a fun challenge.

Tiny pyrography projects are a fantastic way to practice your skills without committing to large pieces.
They’re quick, satisfying, and make wonderful handmade gifts. Whether you’re making something for yourself or selling your art, these small projects prove that even the tiniest burned details can leave a big impression.
What’s the smallest pyrography project you’ve ever made? Let me know in the comments!