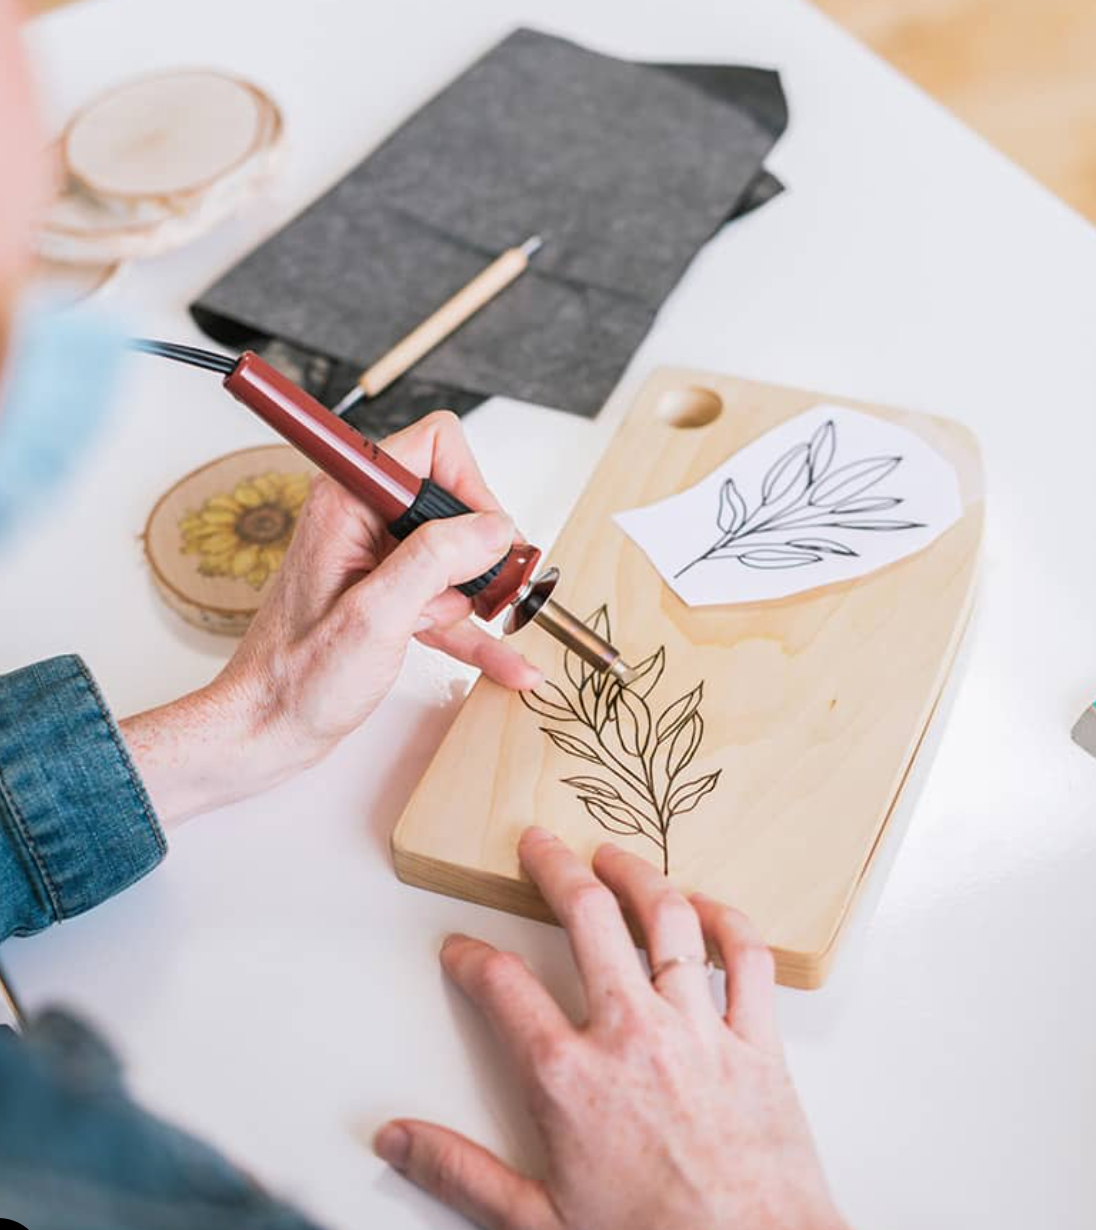
Pyrography is a beautiful art form that turns simple pieces of wood into timeless works of art. But like all forms of art, your pyrography projects are subject to the ravages of time, exposure, and wear.
Luckily, there are proven ways to protect your artwork and keep it looking as vibrant as the day you made it (or purchased it!).
Rules of thumb:
Keep Out of Moisture
Especially if unfinished, any water (drips or splashes) can leave permanent marks on your wood. Even a sweaty fingerprint can linger on the surface.
Enough general moisture can warp and bend the wood. The thinner your wood slice, the less moisture or humidity in the air it takes to start reshaping the wood.
Long exposure to moisture can cause warping so hang your wood slices away from kitchen sinks, outdoors or any bathrooms…
DO NOT place any wood in dishwashers or let them soak in the kitchen sink. Try not to let them soak in any food items either.
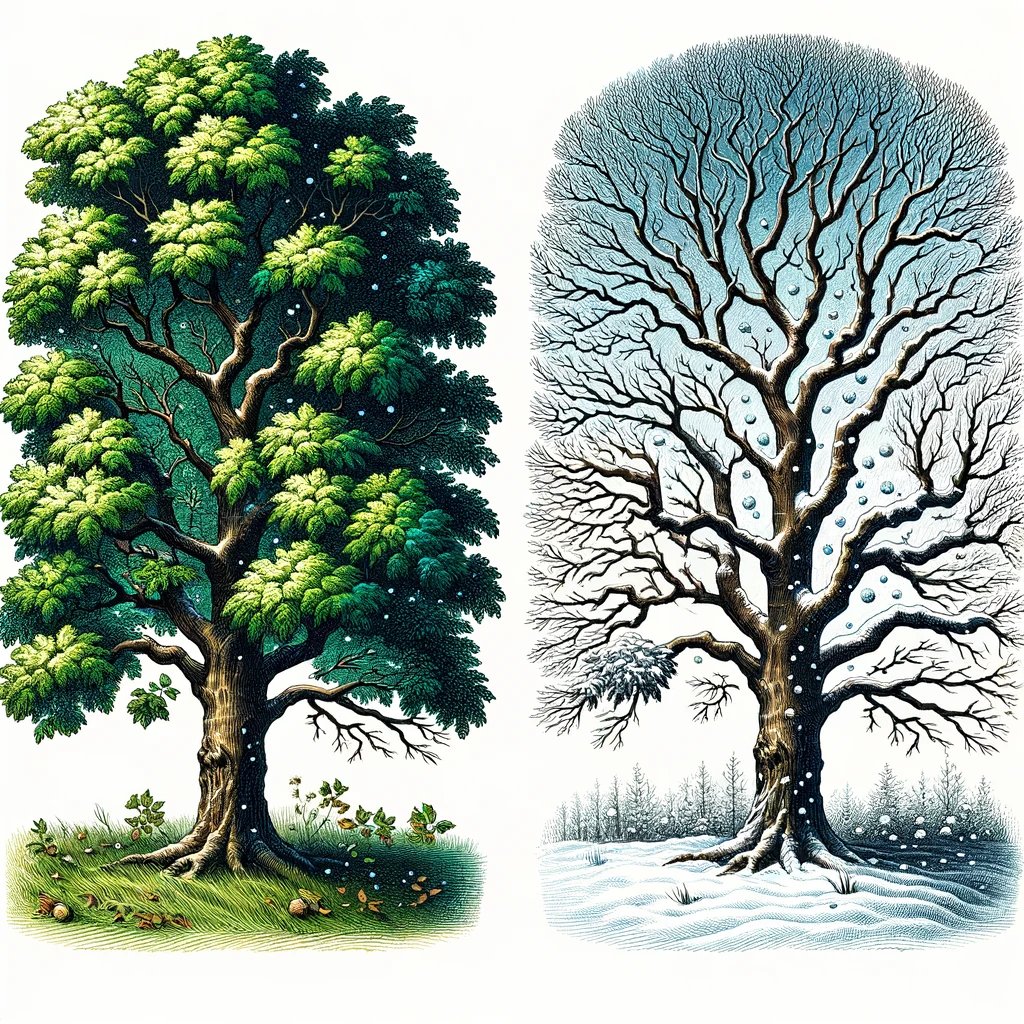
Keep Out Of Sunshine
Sun will fade finished and unfinished wood slices. Keep out of direct sun to help prolong the inevitable.
Burning deeply will help keep the artwork looking crisp. Shading and light burning will fade much faster.
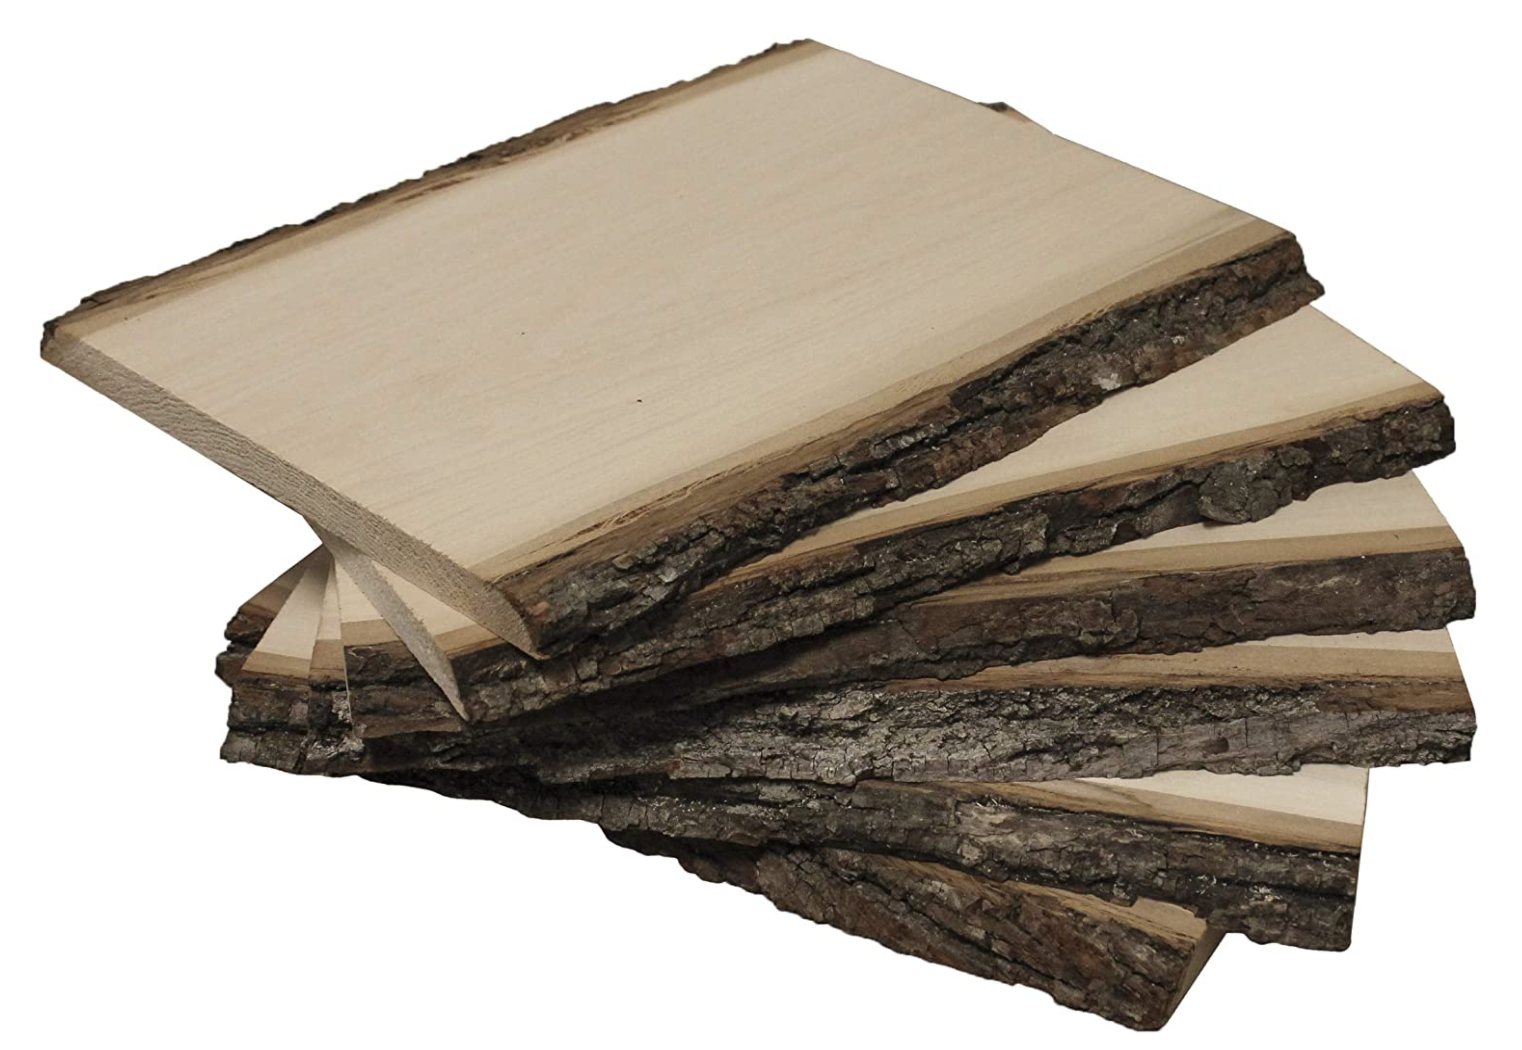
Choose the Right Wood for your project
Your first line of defense against wear and tear starts with the type of wood you choose for your projects. Hardwoods like oak and birch generally last longer and are less susceptible to damage compared to softwoods like pine. If possible, go for kiln-dried wood, which has reduced moisture content, making it less prone to warping and cracking.
Check out this blog post for more information on wood: Best Wood for Pyrography
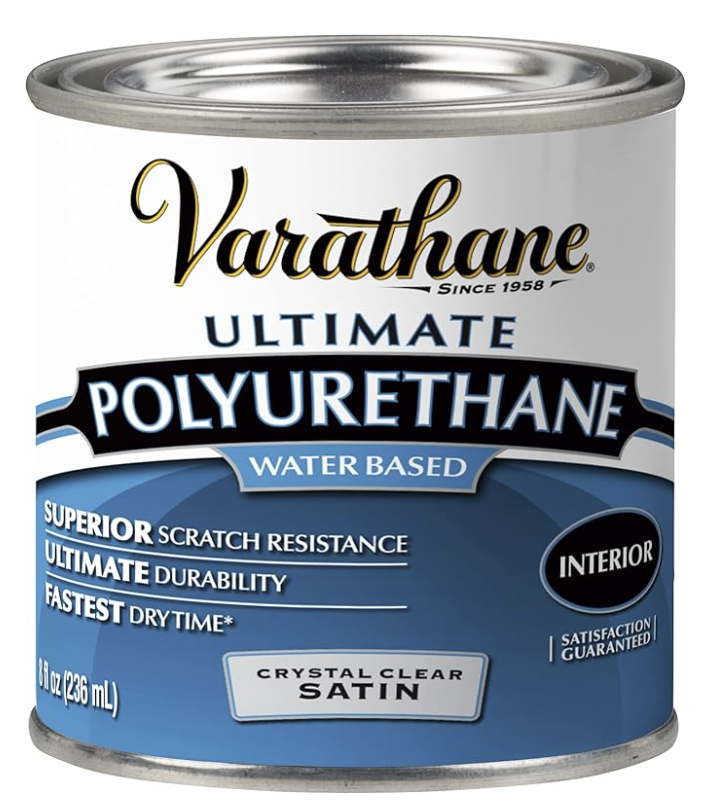
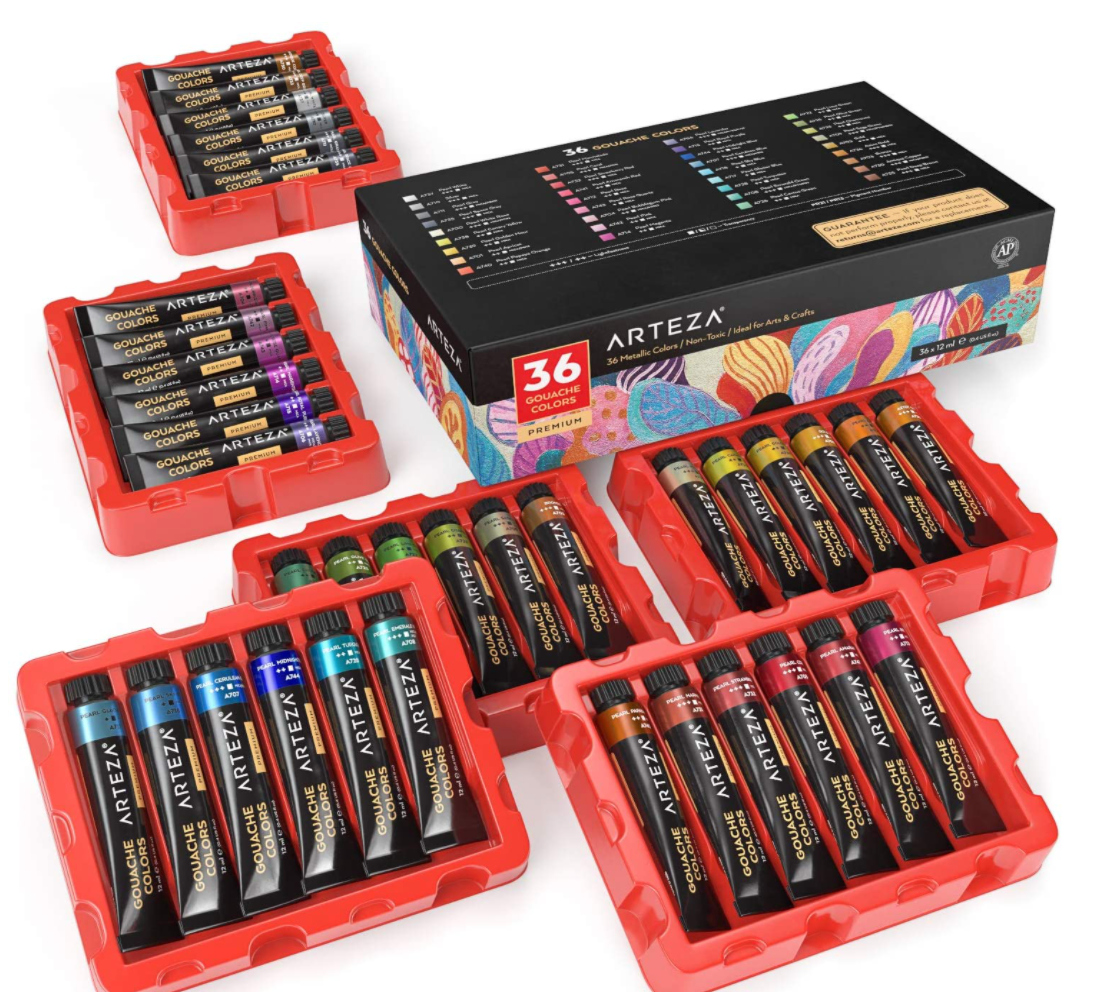
Sealing the Wood
Sealing your pyrography artwork with a finish adds a layer of protection against moisture, dirt, and UV rays. It also enhances the visual elements of your design by adding a glossy or matte finish.
If your artwork is going to be displayed outdoors or in a sunny location, consider using a UV-protective sealant. This helps in preventing the colors from fading and the wood from turning gray. For added moisture protection, particularly for outdoor pieces, use marine-grade sealants. Some resin’s also protect your wood from the elements. BE AWARE! Even with the most porotection you can apply, overtime, the weather will alter the look and colour of the wood, especially in harsher climates prone to freezing or humidity.
Check out Finishing Your Wood Burned Art: How and Why to Finish Your Wood Burned Art for more on this topic.
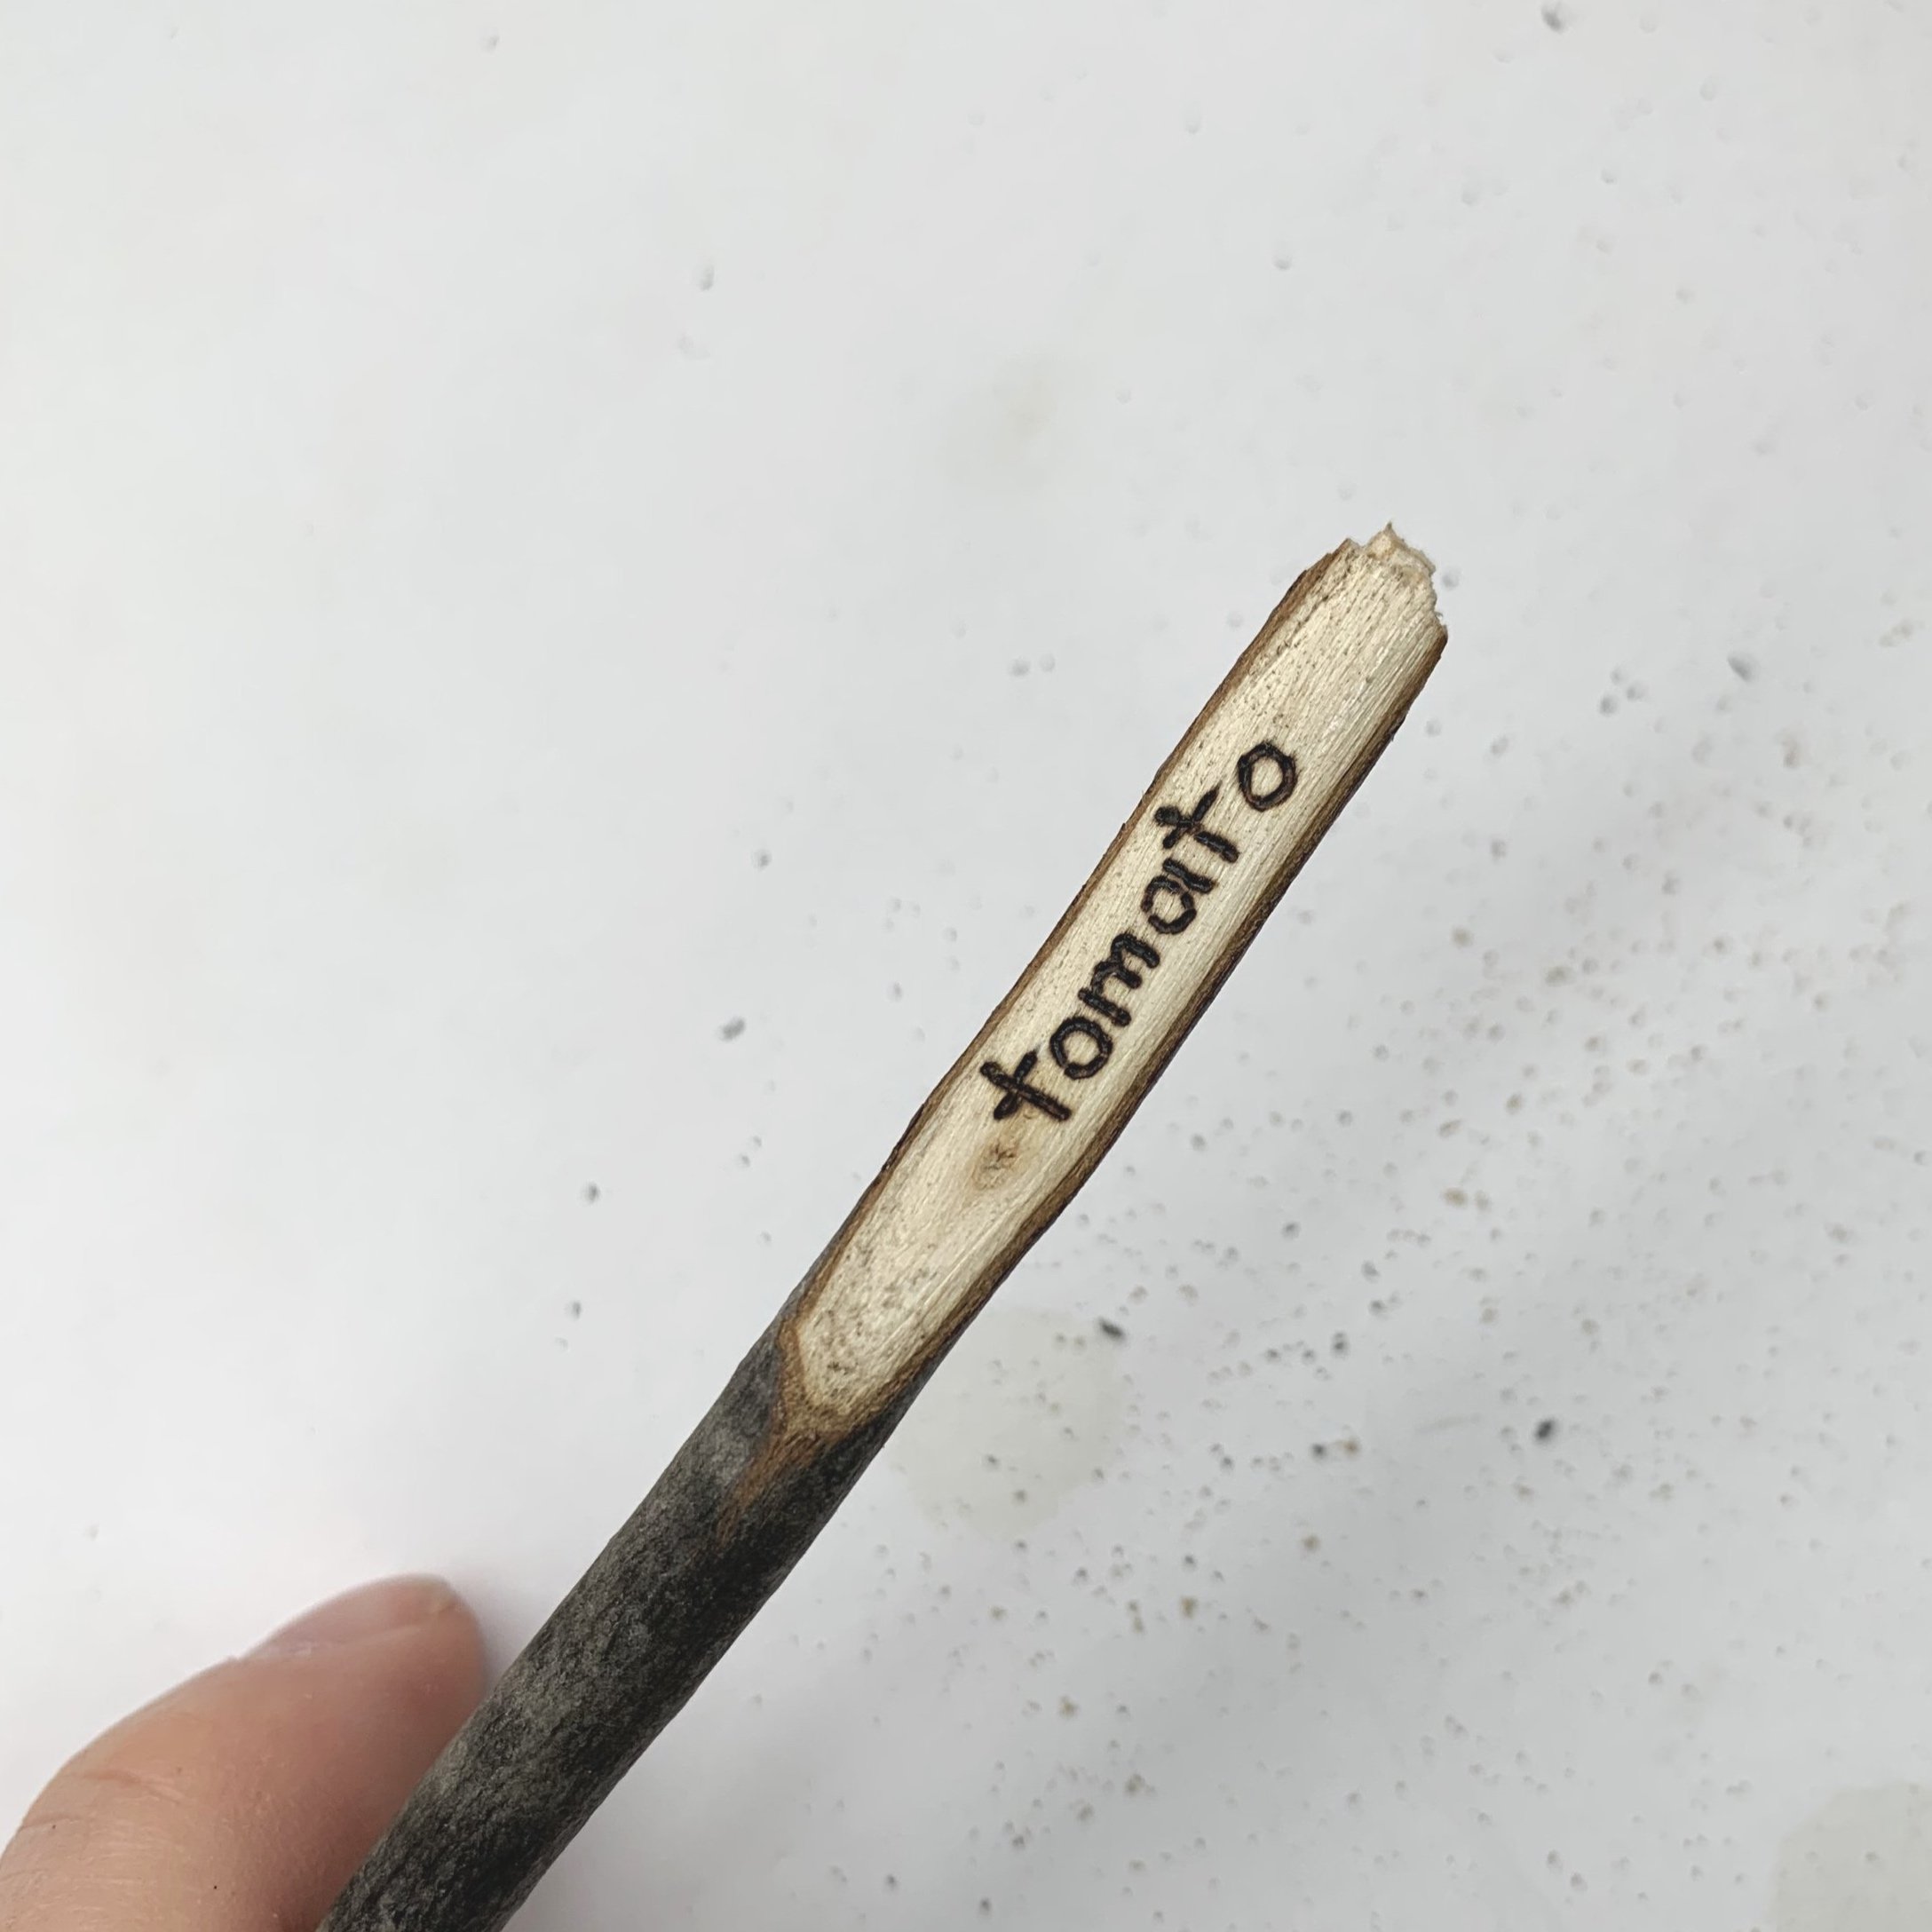
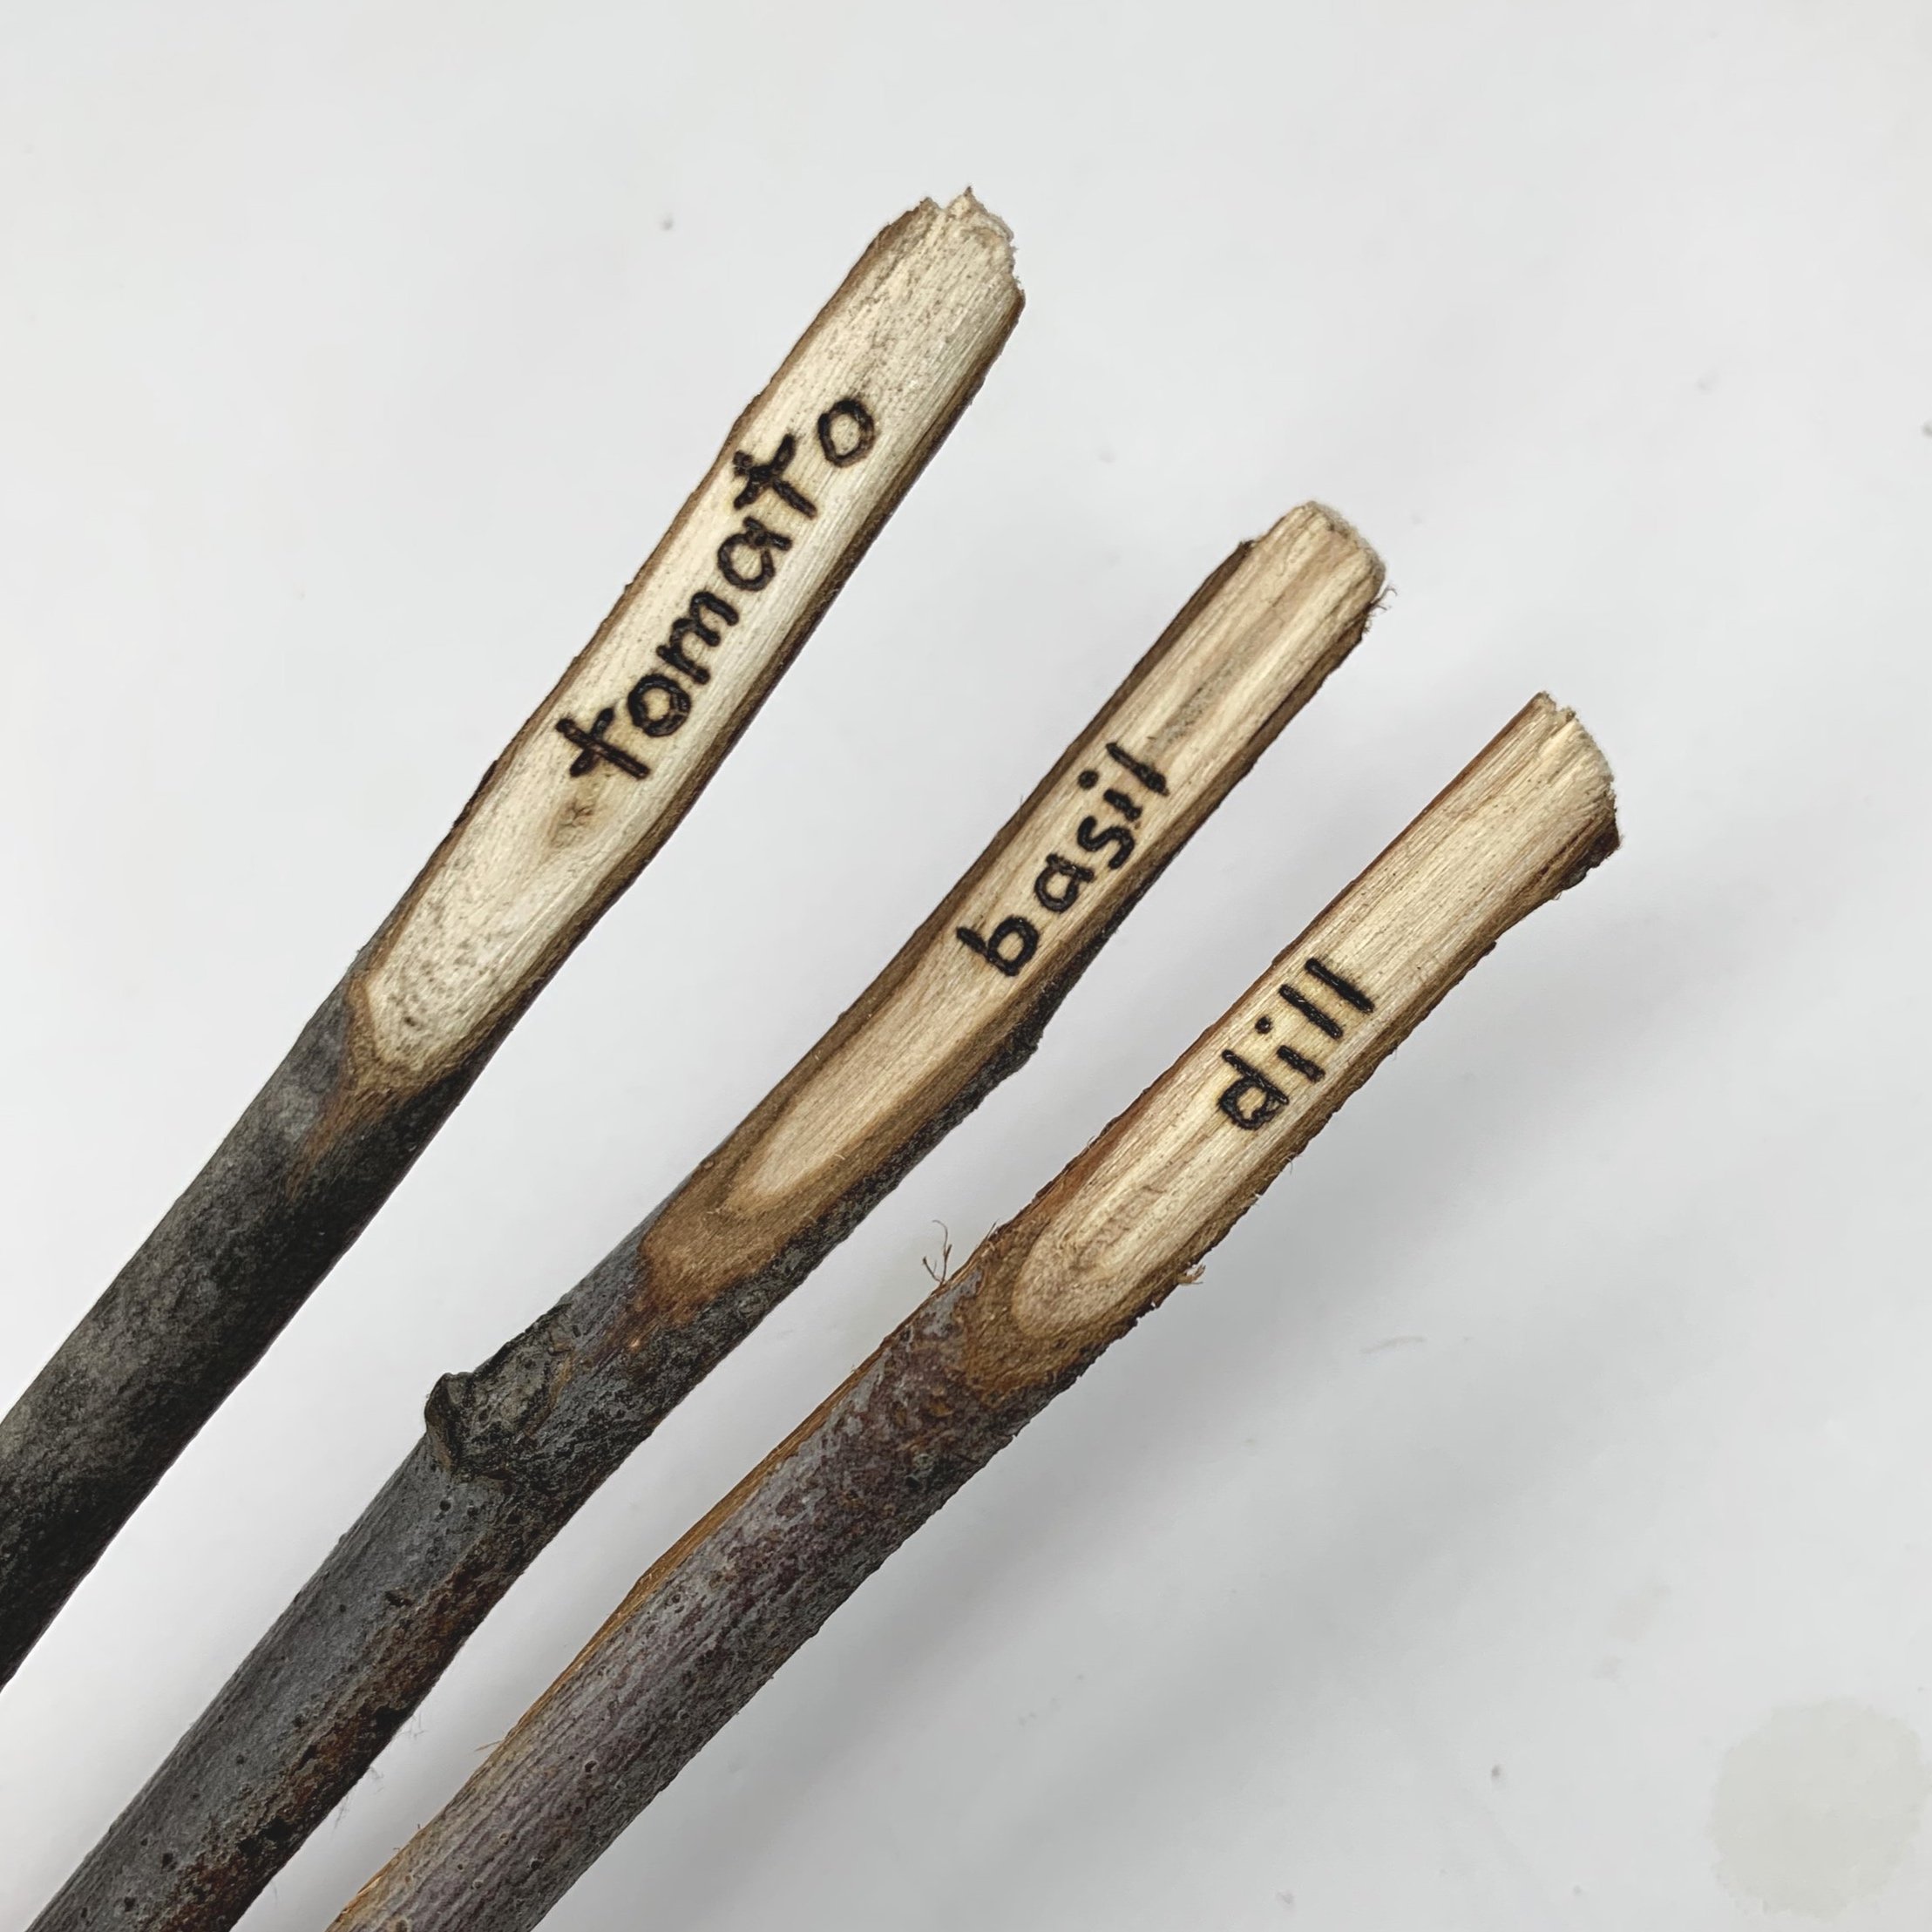
keeping your cutting boards, wooden spoons and other functional art looking like it did on day one is possible with a little bit of maintenance.

To prevent discoloration, cracking, warping and fading, follow the instructions below:
Keep away from excessive moisture (do not soak the product or run it through the dishwasher): hand wash only
Wax or oil your products: Oiling or waxing your wood will enhance the richness and prevent any cracking.
How to apply a WAX/Oil to your wood slice:
Remove any dust, grime or dirt: Clean the wood surface with a clean, dry cloth. It is imperative to remove any dust or debris, gunk or build up (especially if you will be eating with these things).
Apply the wax or oil: Apply the wax or oil with a clean cloth in small circular motions. I like to really get it into the wood with a little bit of pressure. It’s okay to saturate it here and let it soak in for about 15 minutes before wiping off any excess.
Remove any excess product: Use your cloth to remove any excess product and then grab a new cloth and go over it one more time.
Let it dry: Allow the product to dry completely before handling the wood.
Apply additional coats (optional): Depending on the type of finish, you may need to apply additional coats. Follow the manufacturer's instructions for the recommended drying time between coats.
Buff the finish (optional): After the final coat has dried, use a clean cloth to buff the surface of the wood to a smooth and shiny finish.
Following these steps will help ensure that your wood burned art is protected and looks great for years to come.
When to re-oil/RE-Wax your wood art
The more you use your stuff, the more you will need to oil it. I recommend oiling once a month (or every other month) for products that are used daily.
Look for signs of wear or damage such as cracking, peeling, or discoloration. Use the colour and texture of the wood to judge when to oil; if it looks lighter and dry, it’s time to reapply.
Ultimately, the best way to determine how often you should finish your wood art is to monitor its condition regularly and apply a new coat of finish as needed to maintain its appearance and protection.
Handling and Cleaning
Always handle your pyrography art with clean and dry hands to avoid transferring oils and dirt onto the wood surface. To clean your artwork, gently wipe it down with a soft, lint-free cloth. Avoid using water or cleaning products as they can penetrate the sealant and stain/damage the wood.
Storage Tips
If you need to store your pyrography artwork:
Keep it in a cool, dry place away from direct sunlight.
Avoid storing it in damp or humid areas to prevent mold and warping.
Consider wrapping it in acid-free paper for extra protection.
Protect the corners of your art by wrapping with pieces of cardboard and taping them secure.
Your pyrography artwork is not just a piece of wood; it's a piece of you. Like any valuable object, it deserves to be treated with care and respect. Proper preservation techniques will help you enjoy your creations for many years to come.