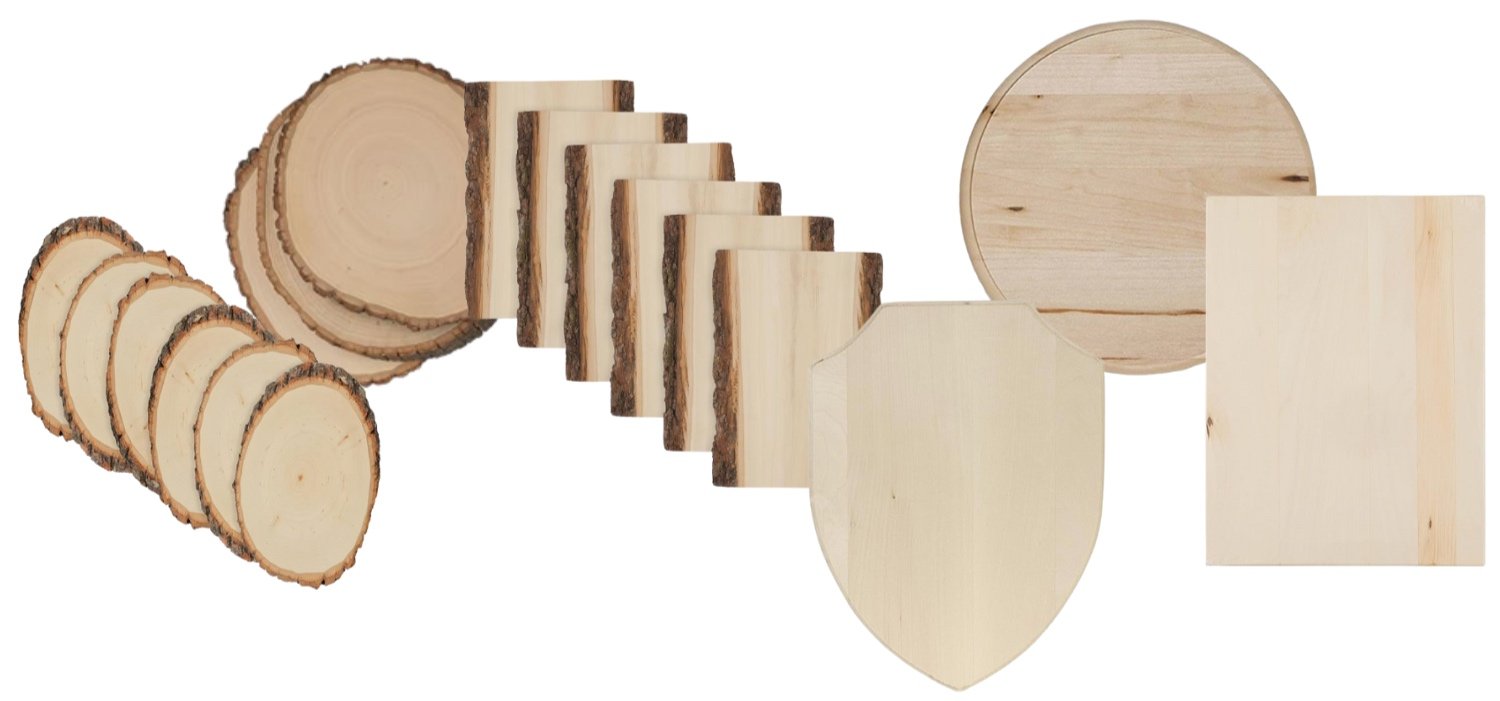
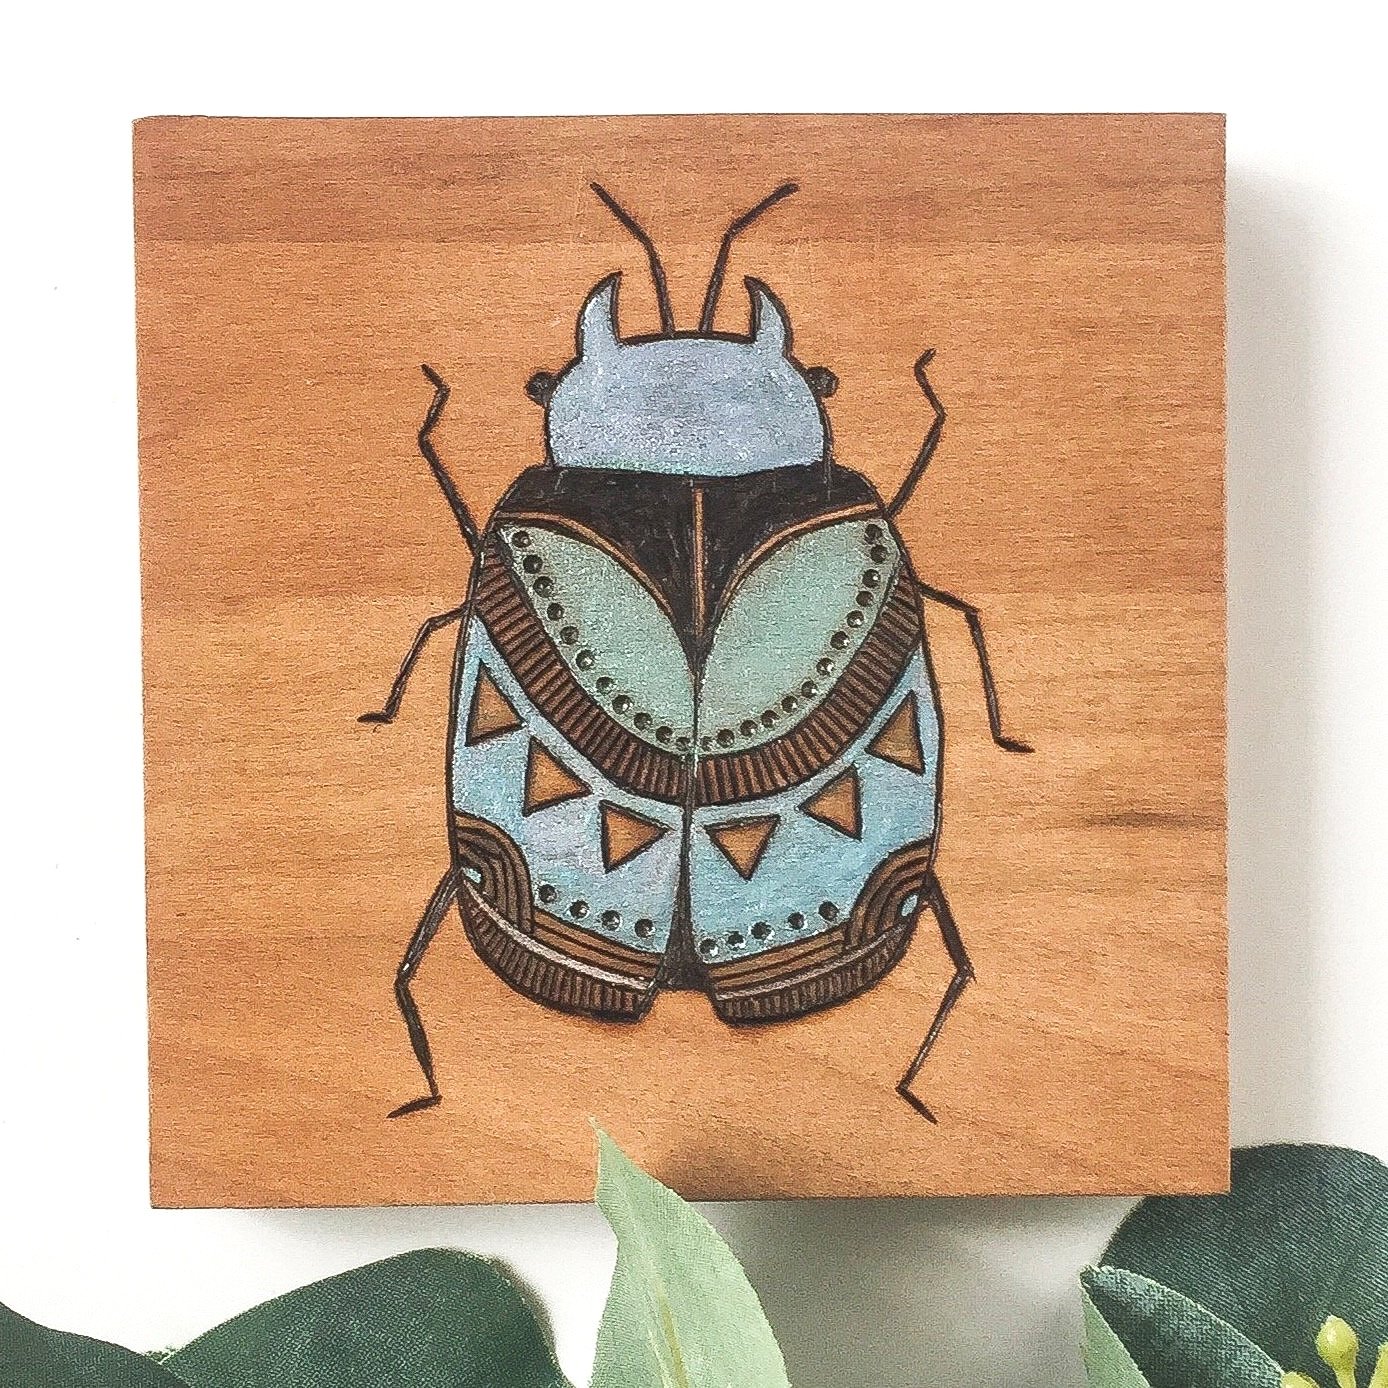
When you've spent hours crafting a beautiful wood-burning piece, the last thing you want is to struggle with how to display it properly. Hanging wood art requires a secure method that complements the piece while ensuring durability. Whether you’re working with thick slabs, lightweight panels, or odd-shaped pieces, there are multiple options to consider. Here’s a breakdown of the best ways to hang wood art, from traditional to creative solutions.
*This post may contain affiliate links, which means I may earn a small commission at no extra cost to you if you purchase through the provided links. This helps support my work and allows me to continue sharing valuable content. Thank you for your support!
1. Sawtooth Hangers

These are my go-to for when I started making art pieces, and now, when I am in a time crunch (if I have the option, I will go for the keyhole hanger). Sawtooth hangers are easy-to-install and one of the most common. The link here is to a large quantity of them which is good if you are making many pieces. Stores like Home depot or Rona sell them individually but buying them one by one means you are paying much more per piece.
They are small metal brackets with serrated edges that grip onto nails or screws. Simply hammer or screw them onto the back of your piece, and it’s ready to hang. These work best for lightweight to medium-sized wood pieces.
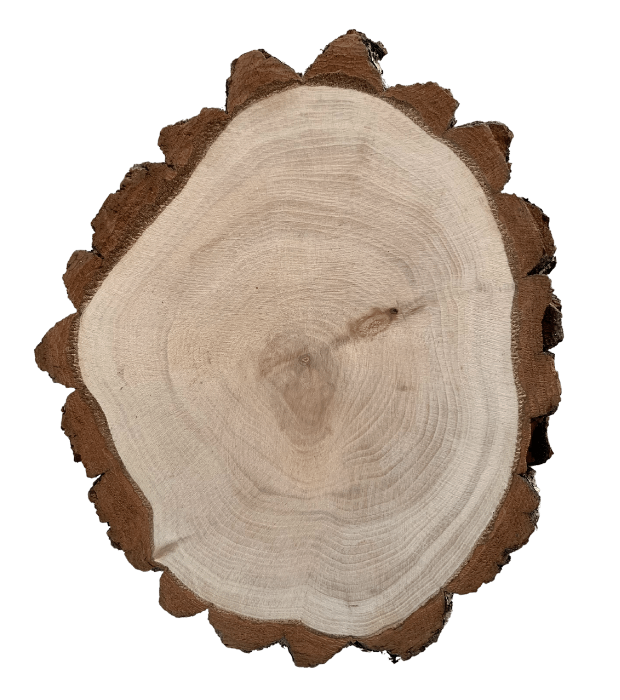
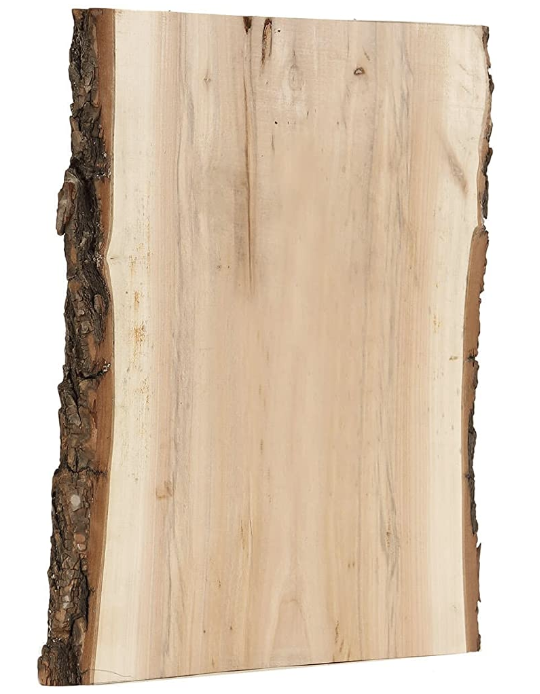
Since the hanger is long, you have a little more forgiveness with the placement of the hanger. Unlike the rest of the hanger options below, this style is great for oval or misshaped wood where its tricky to tell the center gravity point..
Pros:
Affordable and easy to find
Quick installation
Ideal for small to medium pieces
Ideal for misshaped wood slices
Cons:
Not suitable for very heavy wood
May not work well with uneven or rough wood backs
2. D-Ring Hangers

D-ring hangers offer a more stable option for heavier wood pieces. These are metal loops that screw into the back of your piece, allowing you to attach hanging wire or hook them directly onto nails.
Same as above, buying them individually will cost you a lot more per piece than buying them in bulk.
Pros:
Great for heavy pieces
Provides more stability than sawtooth hangers
Can be used with wire for adjustable hanging
Cons:
Requires precise placement for even hanging
Needs additional tools like a drill and screws
3. Wire Hanging System

For larger wood-burning pieces, using a wire system with D-rings a great solution. Attach 2 D-rings to the back and then the wire to both, allowing for easy wall placement. You can get wire system that attaches to a screw, instead of using 2 a d-rings.
Pros:
Adjustable height after installation
Supports slightly heavier pieces
Works well with gallery-style displays
Cons:
Requires more setup and tools
Wire may stretch over time and need adjustments
D-rings may still not be strong enough if wood is large and very heavy
4. Eye Screws

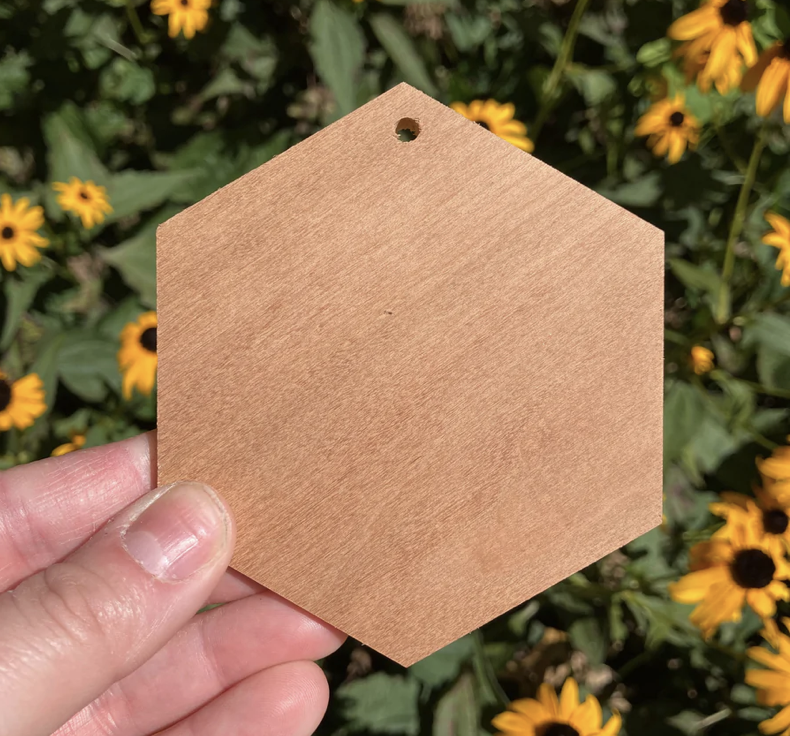
A great option for very small pieces! Eye screws are a simple yet effective way to hang wood slice art - they are also really cute! These small metal screws feature a loop at one end, allowing for easy attachment to hanging wire, chains, or hooks. To use them, drill a small pilot hole in the top of your wood slice and twist the eye screw in by hand. They provide a rustic and natural way to display artwork.
Pros:
Easy to install with minimal tools
Great for hanging with twine, chains, or wire
Cons:
Not suitable for very heavy pieces unless using multiple screws or larger ones
Can be visible from the front, depending on placement
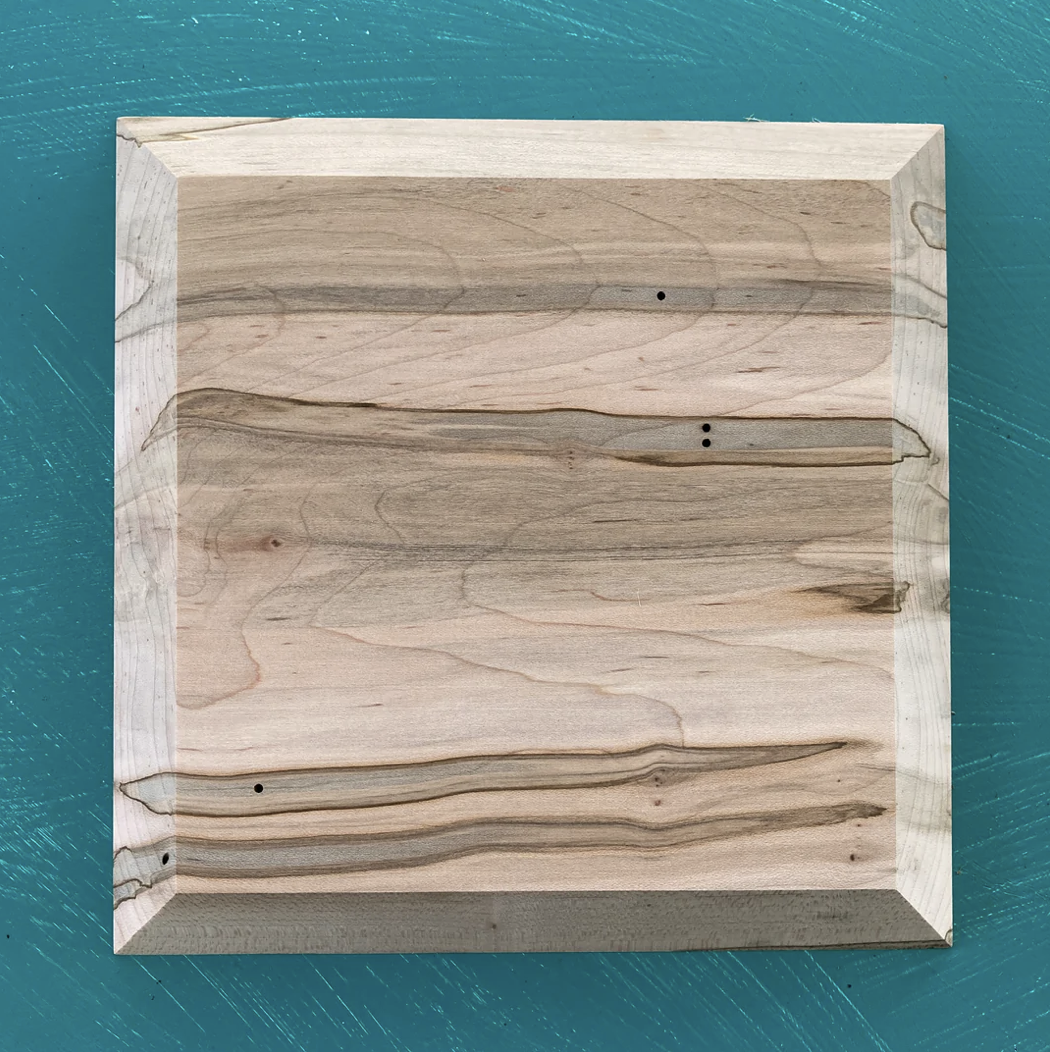
5. Keyhole Hangers

Keyhole hangers are embedded into the back of the wood piece, allowing it to sit flush against the wall. This method provides a sleek look and secure hold. It’s also an environmentally friendly option because it doesn’t require any metals or plastics to be used (except for what is going into the wall).
Learn how to make your own keyhole hangers here: How to Make a Keyhole Hanger by Hand
Pros:
Professional and clean finish
Very secure
Works well for heavy or high-end pieces
Earth friendly
Cons:
Requires a router or keyhole bit for installation
No room for adjustment once installed
6. French Cleat System

For extra-large or unusually shaped wood pieces, a French cleat system is one of the best choices. This method involves attaching one wooden or metal strip to the back of the artwork and another to the wall, allowing the piece to interlock securely.
You can choose a metal system, or check out this blog post by Little House On The Corner to learn to make your own wooden one.
Pros:
Extremely strong
Ideal for large or heavy pieces
Even weight distribution
Cons:
Requires more materials and installation time
Not ideal for small pieces
More expensive
Choosing the Right Hanging Method
The best hanging method depends on the size, weight, and shape of your wood piece. If you’re displaying a small decorative panel, sawtooth hangers may be enough. For heavy or irregular pieces, D-rings, keyhole hangers, or French cleats provide greater stability.
No matter which option you choose, always ensure your hardware is properly secured to the wood slice to prevent damage to your artwork or wall. ALSO, make sure the hardware you use for the wall is also properly secured (I ALWAYS opt for and prefer to pay more for metal anchors, or at least the heavy duty anchors or the metal ‘butterfly’ screws).


Non-Hanging Options to Display your art!
A major advantage of all the options below is that they require minimal or no installation, making them easy to set up and adjust as needed. They are also highly versatile, accommodating various sizes and shapes of wood slices. However, a downside is that they take up shelf or table space rather than serving as wall-mounted displays, which may not be ideal for those with limited surface area. Additionally, some options may not provide enough stability for larger, heavier pieces.

Display stands are an excellent alternative. They provide a flexible, non-permanent way to showcase artwork on shelves, desks, or tables. Stands come in various materials such as metal, acrylic, or wood, and can be customized to match the aesthetic of your piece. You can even make your own wooden stands!

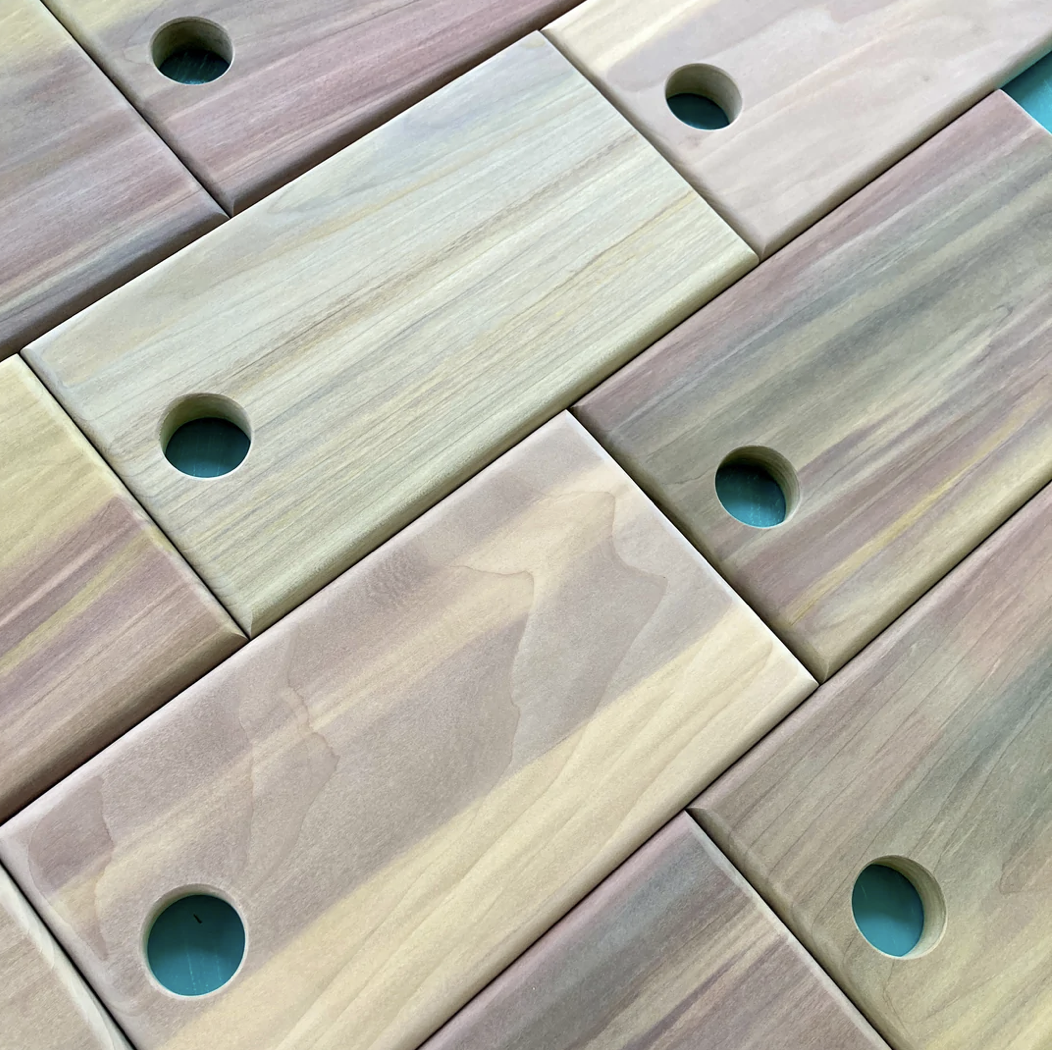
2. Hanging with Twine or Wire – Drill a small hole close to the top of your wood slice and use twine, ribbon, or wire (often used as ornaments in a tree).
3. Shadow Box Frame – Place a wood slice inside a deep frame for a refined look.
4. Floating Shelf – Lean or prop slices on a floating shelf with other decor.
5. Embedded in Resin – Encapsulate in clear resin for a modern and polished look. This one takes a lot of work.
6. Tabletop Display with a Peg – Attach or drill in a dowel or peg to the back so it stands slightly tilted. For round pieces, you may need two.
7. Incorporated into Furniture – Use as a tabletop, coaster, or embedded decor in larger pieces.