Mistakes. They happen. You can not easily “edit + undo” in pyrography but there are a couple tricks to making mistakes less visible.
This post includes affiliate links - we only recommend items that we have tried and love!
how to get rid of pyrography mistakes:
Razor - This technique is best for lighter burns. Use a razor as a little scraper to remove burn lines that are not too deep. For deeper burns you can still use this trick, however, you will have a dent/groove from the burn and scraping… It will take the contrast away and be less visible though!
Dremel Tool - Same idea as the razor except with a little more power. Depending on the shape of your Dremel bit, you can get into tight corners.
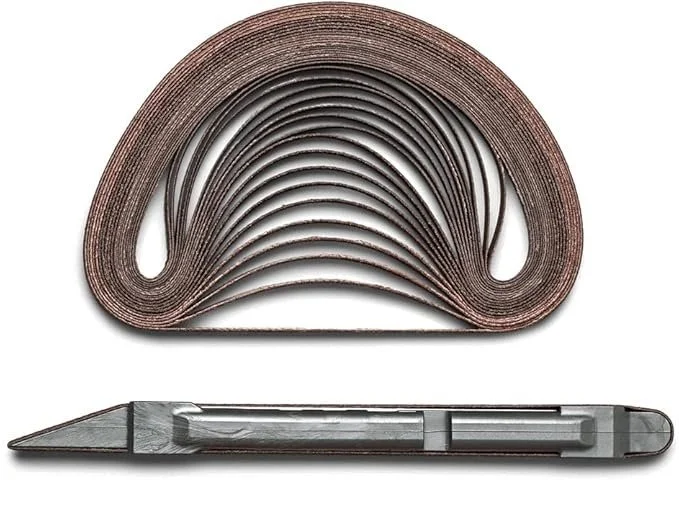
Sanding Stick - Same idea as the Dremel tool but with less power and more precision (depending on the Dremel bits you have. A sanding stick has a straight edge you can use for small fixes). For small areas, try a tiny sanding stick or wrap some sandpaper on a ruler or wood slice if in a pinch,
Sandpaper - If you want to fix a small mistake and don’t have a sanding stick, try folding up the sandpaper to create a sharp edge. Or wrap the paper around a block and use a corner to remove mistakes.
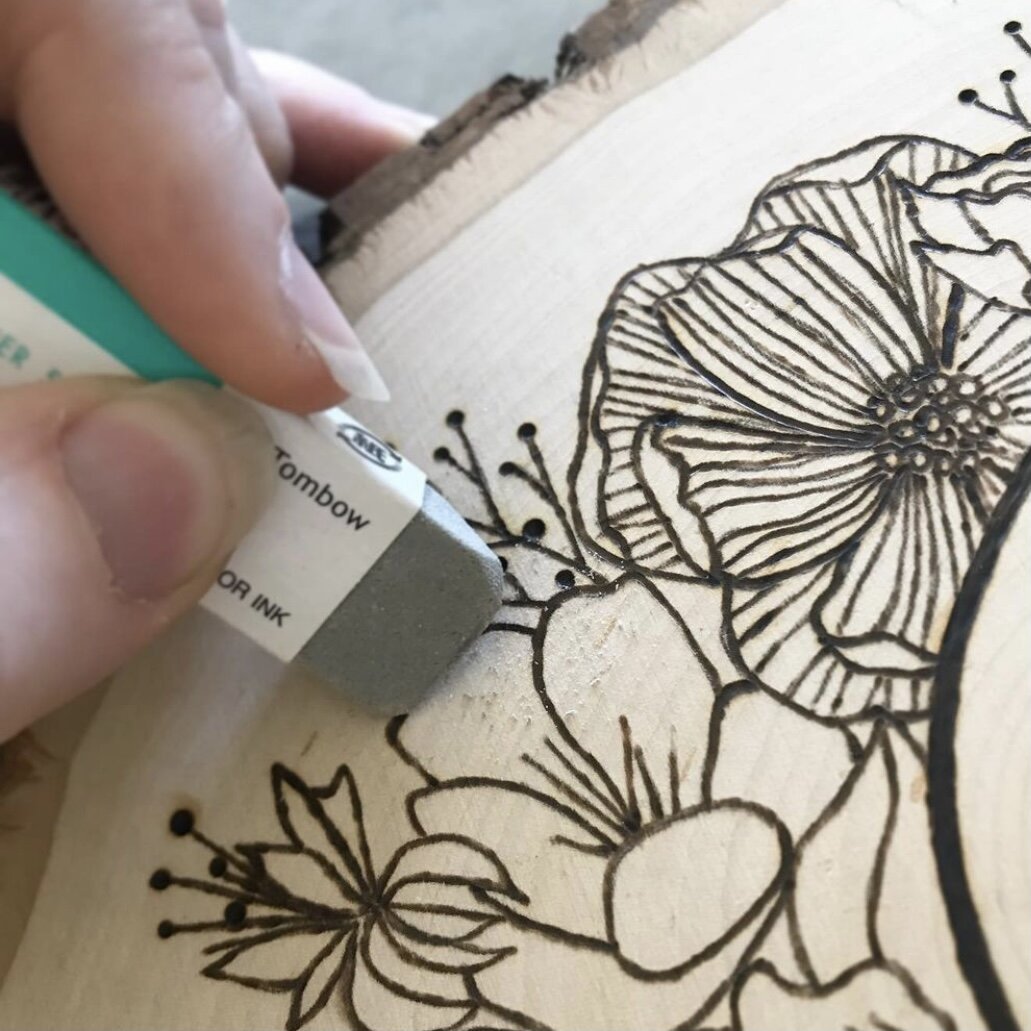
Tombow Eraser - A super handy eraser that is half eraser and half sandpaper. It has grit within it so it helps to take off any lines and overburn and the eraser in it does the rest. It works great on pencil but it won’t take off 100% of dark graphite (if you pressed really hard during your transfer). Use a tombow eraser first as it won’t scratch up your surface and then finish off with a super light sanding.
Keep Burning - Sometimes you just need to embrace the mistakes and work with them. Continue burning and adjust the original design to make your mistake disappear. Try to burn around the area instead of on top as burning the same spot will result in a deeper burn which may stand out and cannot be fixed.
How to get rid of transfer lines or pencil marks:
You’ve finished your wood slice art piece but can see remaining pencil lines from drawing your design, or even worse, transfer lines after using a no-heat transfer technique or the heat technique, you can see bits and pieces of your graphite lines.
There are a couple ways to get rid of these too!
Start here as the eraser gets the majority of the lines off or at least makes them much lighter and less visible.
Give it a VERY light sanding with sandpaper:
Regular old sandpaper will work to get off graphite and pencil lines. Lightly sanding over your burn lines makes them sharper and cleaner, getting rid of overburn. This part sounds scary but it will really get everything off! Except what you’ve burned of course, UNLESS your lines and shading are not deep. If you have very light shading or lines, you may have to touch them up. I usually recommend getting the outline or majority of my design burned, take of the graphite lines with the Tombow eraser and a light sand, AND THEN fill in details and shading.
After sanding, you may be getting dust in between your pyro lines that are tricky to get out. I use a sandpaper that has a sponge on the back and wipe it with that (dry of course). You can also use a toothbrush, air compressor (like the ones people use to clean their keyboards - they have motorized ones which are better for the environment and more portable than a construction one), or a microfibre cloth.
Some tips on avoiding the whole process of erasing leftover lines:
Firstly, use graphite paper or blue chaco paper. Carbon lines are much much harder to take off!
Use a light hand to transfer your design.
Transfer the minimal amount of lines (i.e. just the outline and the placement of a few details to get you going).
Draw your design directly on the wood, and lightly with a pencil or chalk (much easier to erase than any transfer paper).
Try burning free hand! I mark the general shape or outline with a couple dots or dashes using a pencil. That way there is much less to take off and I usually end up burning on top of those few lines. Tape also works well to make temporary borders.


