When adding a new medium, besides pyrography, to your wood slice, do you find your colours or paints sinking into the wood and loosing their richness?
Here is a little hack for you!
Adding a layer of isolation coat or primer can help prepare the surface so that your mediums do not get lost. It can also act as a barrier to your wood when applying finishes that tend discolour your wood slice, like resin or varnish. Read on to learn more.
What is primer?
A primer is a preparatory coating applied to a surface before painting. Its primary purpose is to create a suitable surface for paint to adhere to, ensuring better durability and finish of the final artwork or project. Primers can be used on various surfaces like wood, canvas, metal, or walls, depending on the type of painting or medium. Gesso is a common primer used for canvas and other surfaces. I have found a primer, the Folkart primer, which works the same way as isolation coat and is less expensive.
Another alternative is to use a wood sealer designed for wood specifically. However, wood sealers are usually intended for large areas (like a deck or furniture) so you need to buy a large amount at one time. The products I show here are more specialized for artist so they are available in smaller quantities at a smaller price.
What is isolation coat?
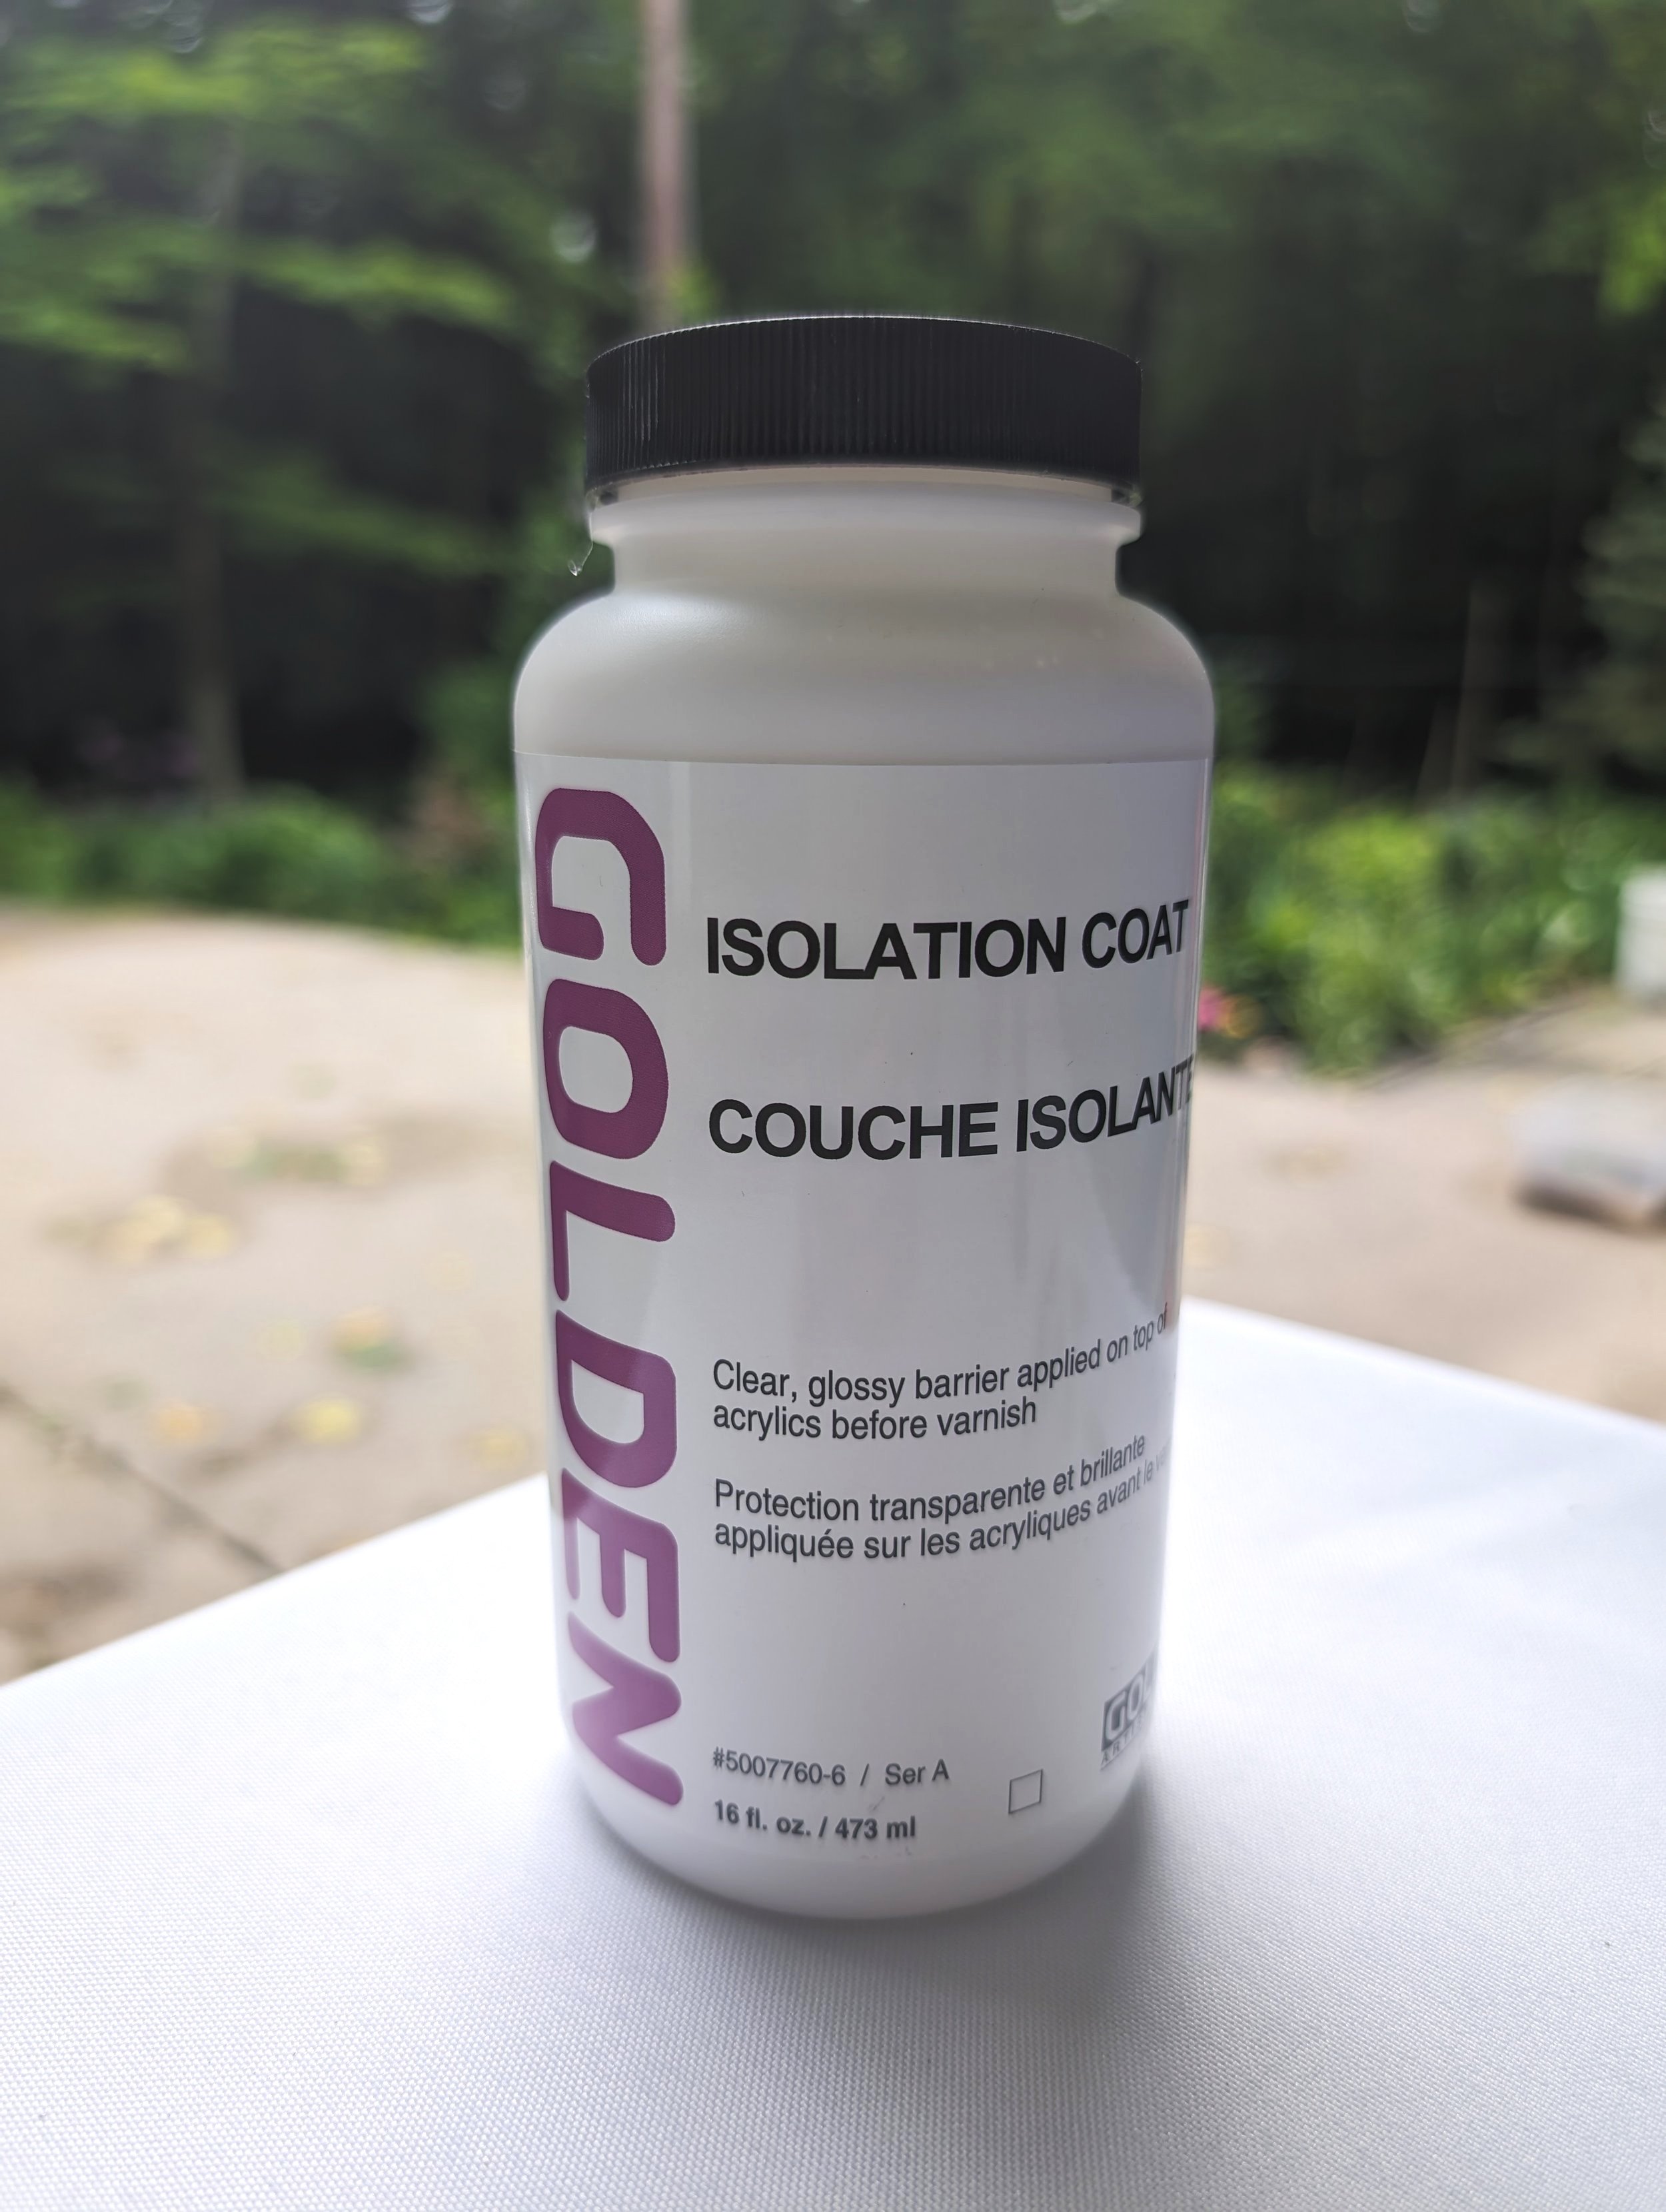
An isolation coat is a transparent layer applied to a painting (after painting), typically in acrylics, before the final varnish. It serves as a protective barrier between the painting surface and the varnish. This isolation coat prevents the varnish from sticking directly to the paint, allowing for easier removal of the varnish if necessary (e.g., for cleaning or conservation), without damaging the artwork underneath.
Golden's isolation coat product is specifically designed for use with acrylic paintings. It is a ready-to-use fluid medium that can be applied directly to a fully cured acrylic painting to protect the paint layers before varnishing. It makes the varnish layer easy to remove which means you can take off and reapply the varnish without messing up the paint underneath. Artists love this stuff because it helps their acrylic pieces last longer and stay looking great.
Aly of @alyooposartistry, introduced us to this magical liquid at The Burn Club Retreat back in 2018. She uses it as a layer on top of her finished wood burned piece that she finishes with resin, before the resin is applied. Resin, as with majority of finishes, darkens woods (generally, all woods change color and/or darken when a finish is applied).
before resin
after resin
This mushroom above was burned and watercolored on cherry wood. The resin made the grains pop and the redness super rich. ***There was no isolation coat or primer added here.
To learn more about finishes, check out this blog post: Finishing Your Wood Burned Art: How and Why to Finish Your Wood Burned Art.
Isolation coat doesn’t darken the wood as much, but you can see a slight difference.
Here you can see a triangular cherry wood slice. The primer darkens the surface slightly, but looking at the bottom, you can see that without any primer or isolation coat, the wood got considerably darker!
Applying isolation coat or primer before adding resin or Varnish is helpful to maintain the colour to what you see when it is unfinished
The darkening of wood can be great, but it can also make burn marks much less visible, especially if you are not going very deep, like with shading.
Some woods do not darken as much as others, so if you are unsure, do a little test on the back! Usually, darker woods get much darker then their original color and lighter woods do not darken as much.
How Else can isolation coat or primer be used in the world of wood?
Often, these products can be used to prepare the surface for another medium. I use them to create a barrier on the wood so that the medium I am using does not sink into the wood and get lost. The best example would be watercolour, which requires, well, water. The water often gets absorbed into the wood and the colours can loose their richness.
To learn about how and why different mediums get lost in wood, check out: Intro to Wood as a Pyrography Artist where I explain how the grain of wood and the way its cut can have an affect on mediums applied and pyrography itself!
Other mediums you can use on top of isolation coat are gold foil (which require a liquid glue for the gold to adhere, or paints that are more liquid/watery.
For wood-based art, a base coat serves crucial functions before painting:
It improves adhesion, ensuring paint doesn't peel or flake
It seals wood pores for uniform paint application, saving paint and reducing coats
It enhances colour vibrancy by blocking the wood's natural hue from altering paint appearance
It smooths out wood imperfections, providing a better surface for detailed work
It blocks natural wood resins that can cause discoloration.
The type of primer can even affect the final sheen of the paint, enhancing glossiness or creating a matte finish.
However, keep in mind:
It can also make watercolor (or any liquid mediums) to behave more like acrylics, sitting on top of the surface rather than absorbing into it… Primer is more “clingy” than isolation coat (isolation coat is a bit more slippery) and this can cause watercolours to not bleed or blend as they would on paper or raw wood. It will still work, just the outcome will be slightly different.
How do they effect the wood?
In this example below, you can see that both isolation coat (on the left) and primer (on the right) darken the wood slightly. I tried both isolation coat and primer on an end grain (rounded slice) and face grain (rectangle slice) as the grain direction makes a difference! To learn more about the differences, check out: Intro to Wood as a Pyrography Artist.
The end grain (round) slice is maple and the face grain (rectangular) slice is basswood.
The instructions on either medium says “add multiple layers as needed”.
One layer gives a slight sheen, but the more coats added, it seem that the more shinier the surface gets (on both end and face grain).
The end grain (round) slices definitely require a couple coats as either product soaks in.
Woods that are lighter like this (basswood, pine etc…) are generally less effected by finishes. This slice below, is cherry wood and it is easily darkened by any finish.
So Should I use isolation coat or primer?
After some testing and experimenting, the verdict is so close that the two are essentially the same. My thoughts are, if you plan on sealing before adding colour AND after, then use isolation coat. Isolation coat is meant for going on top so therefore, instead of buying primer and isolation coat, you can just use isolation coat first, add your paint, and then add an isolation coat after.
If you want a durable finish, I still recommend finishing off your piece with a varnish in order to fully seal or protect your artwork after the medium (such as watercolor or acrylic) has been applied.
To learn more about finishes, check out this blog post: Finishing Your Wood Burned Art: How and Why to Finish Your Wood Burned Art.
A sealer or varnish are designed specifically to:
Protect: They create a protective layer over your artwork, safeguarding it from dust, moisture, and UV light.
Enhance Appearance: Varnishes can provide different finishes, such as matte, satin, or gloss, depending on the look you want.
Preserve: Sealers and varnishes help prevent fading, cracking, or other damage over time.
Thank you for reading!
We hope this information is useful and helps you in your journey discovering the world of pyrography.


