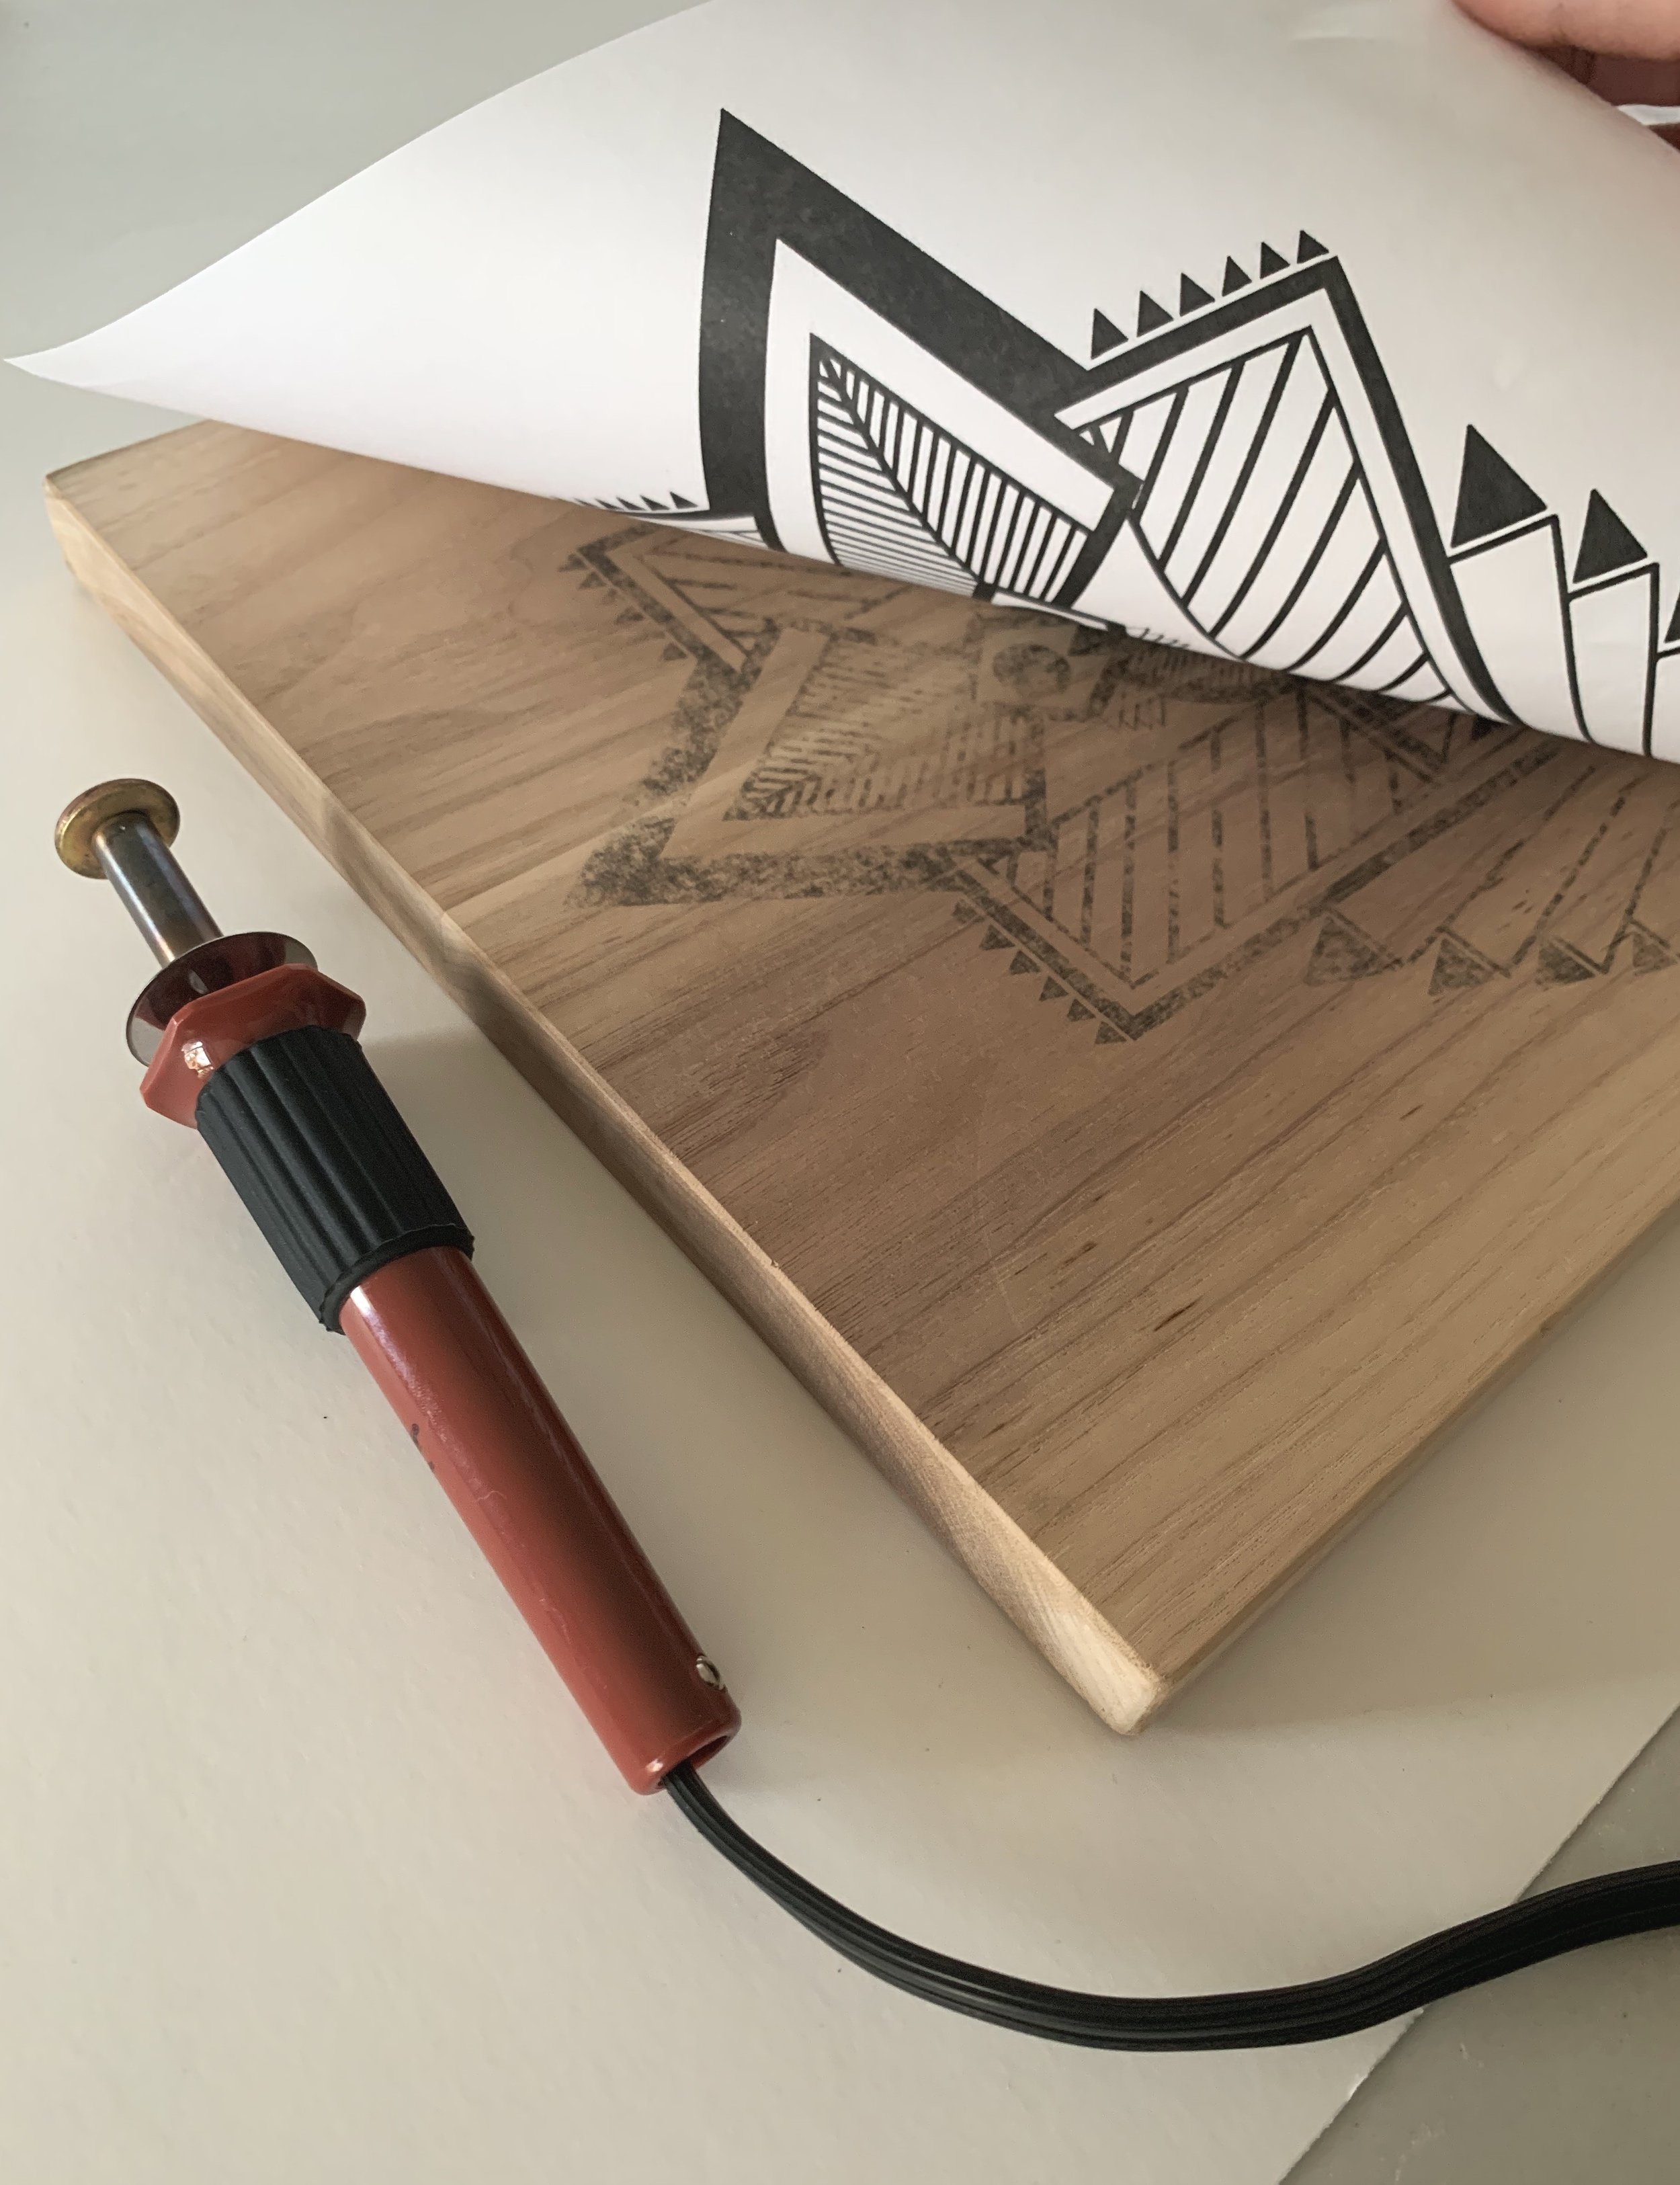
This technique is one of our favorites for it’s speed and accuracy. It works great for lettered pieces, detailed pieces, anytime you need a really precise transfer, or for almost any design.
NOTE: This technique requires a laser printed design. If you are printing words or letters, you design must be printed in reverse.
What Tools Do I need?
The best tool would be a solid tip burner, like this Walnut Hollow Versa Tool above. This tool is great for covering big areas because of its durability, consistent heat distribution, and simplicity in handling. A wire tip burner will work just as well, but it will take a little longer.
The perfect nib for the job is the Transfer Nib or Transfer Point. This nib covers a large surface area making the transfer faster. Any shading point will do. Anything hot and flat - even an an iron will work.
Don’t have this tool and want to transfer your design in a pinch?? Check out 3 ways to transfer a design without using heat.
How to transfer your pattern:
Prepare your design
You will need your design printed in reverse as the transfer is going to be mirrored onto the surface. You must use a laser printer or photocopier. The toner will be transferred directly to the wood using heat. This is especially important with any text or lettering!
To get started with a design, grab one of our free templates, check out our template books or visit the templates store!
2. Prepare your SURFACE
Start with a sanded smooth, dry, clean, and unfinished wood surface. Click here to see how to prepare your surface for burning.
I like to cut quite close to the edges of the design itself so that the placement is easier to see. Leave some room for tape - you don’t want to be touching it with your hot tool.
Place your design on your wood facing down (make sure it is right where you want it) and tape down on one side (two or more if it's a large design.)
3. Transferring the design
You want your tool to be hot, but not hot enough to burn the paper. Make a little test on the corner because if you burn the paper too much, your transfer may not work. Apply a light pressure and keep moving your tool over the back of the design.
Make sure you transferred everything before you remove your design. I like to peak underneath to check I transferred the entire design, just be careful not to move the paper placement or the design may not line back up.
If it is not transferring, try pressing a little harder, and/or slowly increasing your heat.
Word of warning when using a regular iron:
I had a large project so I tried using an iron thinking it would save me time.
Well, my iron has a steam setting that automatically kicks in at a certain temperature. In order to make the transfer work, the heat has to be quite high and, of course, there should not be any steam or moisture coming out of the iron…
I tried to use the medium heat (right before the steam started coming out) and the design did transfer BUT I needed a lot more pressure than normal which wasn’t a sustainable option. I had to press quite hard for anything to happen. I switched back to the Versa Tool because it was easier on the wrists and had the heat I needed.
What if I make a mistake?
Sometimes when peaking under the paper to see if the design has transferred, the paper will shift. If you continue with the transferring process, the shift can cause the design to be out of place.
Sometimes you think you placed the design down correctly, but after the transfer, it’s not exactly where you want it to be…
You can simply sand off the transfer lines with regular sandpaper. Click here to learn more about that process.
How many times can I use the design??
You can use this method to transfer a design onto wood a couple times. Each time you transfer, the design will get lighter and lighter so it is best to get it right the first time!
Watch these free videos below for tips, tricks, and all the details you need to successfully transfer designs using this technique.

