What Woodburning Tool is Right for Me?

Choosing a burner can be quite difficult. There are so many brands, so many options, so many nibs and it can all be a bit confusing…

But before we dive into the price ranges and styles of tools, I want to start with an important reminder:

the quality of your art isn’t defined by the cost of your tools.

The tools we use are undeniably important, but at the end of the day, it’s all about the user and what works best for them. Many artists can create incredible work with the simplest, most affordable tools, showing that skill and creativity matter more than price. On the flip side, even the fanciest tools can feel frustrating, like struggling to get solid lines.

Now, lets talk about the function of tools. When you are looking into a wood burning tool, I like to think that you need to consider a couple things when choosing:

  1. Price

  2. Use

  3. Style

Price - What will my money get me?

Price is first because, well, your budget is your budget and wood burning tools can range in price from $15-$300+, so lets starthere.

I like to think that there is 4 different levels in price.

LEVEL 1: $15 USD

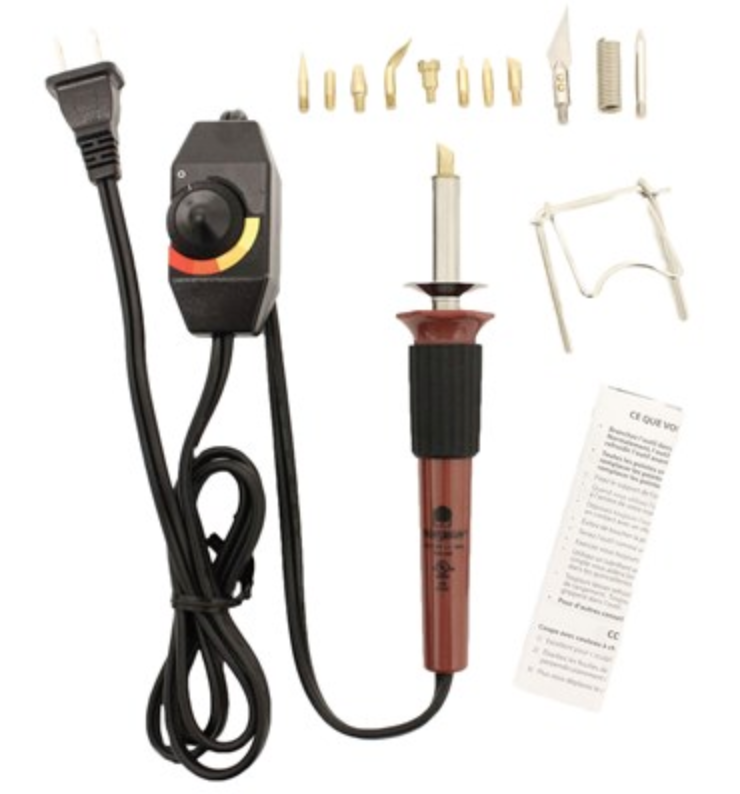
These are value tools that usually just have an on/off switch, recommended only if you are doing one project. They may come with several nib options but take some time to heat up and are a bit bulky to hold. This one from Walnut Hollow has been tried, tested and true.

If you can invest a little more money, especially if you want to continue pyrography, we recommend going up, at least one more level.

 
Screen Shot 2020-04-28 at 1.11.06 PM.png
 

LEVEL 2: $30 USD

These are usually your solid-nibbed wood burning tools with temperature control. They usually come with several interchangeable nibs, are portable, but take a little while to heat and cool. Still slightly bulky, but for learning, exploring and understanding the art of pyrography, this price range is what you should be looking for.

Be weary of anything around this price or cheaper, especially off of amazon…

We love the Walnut Hollow Versa tool. This was our first burner, and after trying many many others, this is still one we recommend for beginners and large projects the most! Click here to get yours.

 
Screen Shot 2020-04-28 at 1.16.49 PM.png
 

LEVEL 3: $80 USD to $120 USD

These are considered professional level machines, or entry level wire nib burners. Most come with interchangeable nibs. They may be lower quality wire nibs, when they are interchangeable, that may need some gentle tweaking before use or with a limited number of nibs, but this option is good if you want to learn what nib you like best. The grip will be more pen-like, it will have decent temperature control, and it will heat and cool faster than the previous tools. They are lighter weight machines and are not meant for heavy use.

 
Screen Shot 2020-04-29 at 9.13.19 AM.png
 

LEVEL 4: $200 USD and Up:

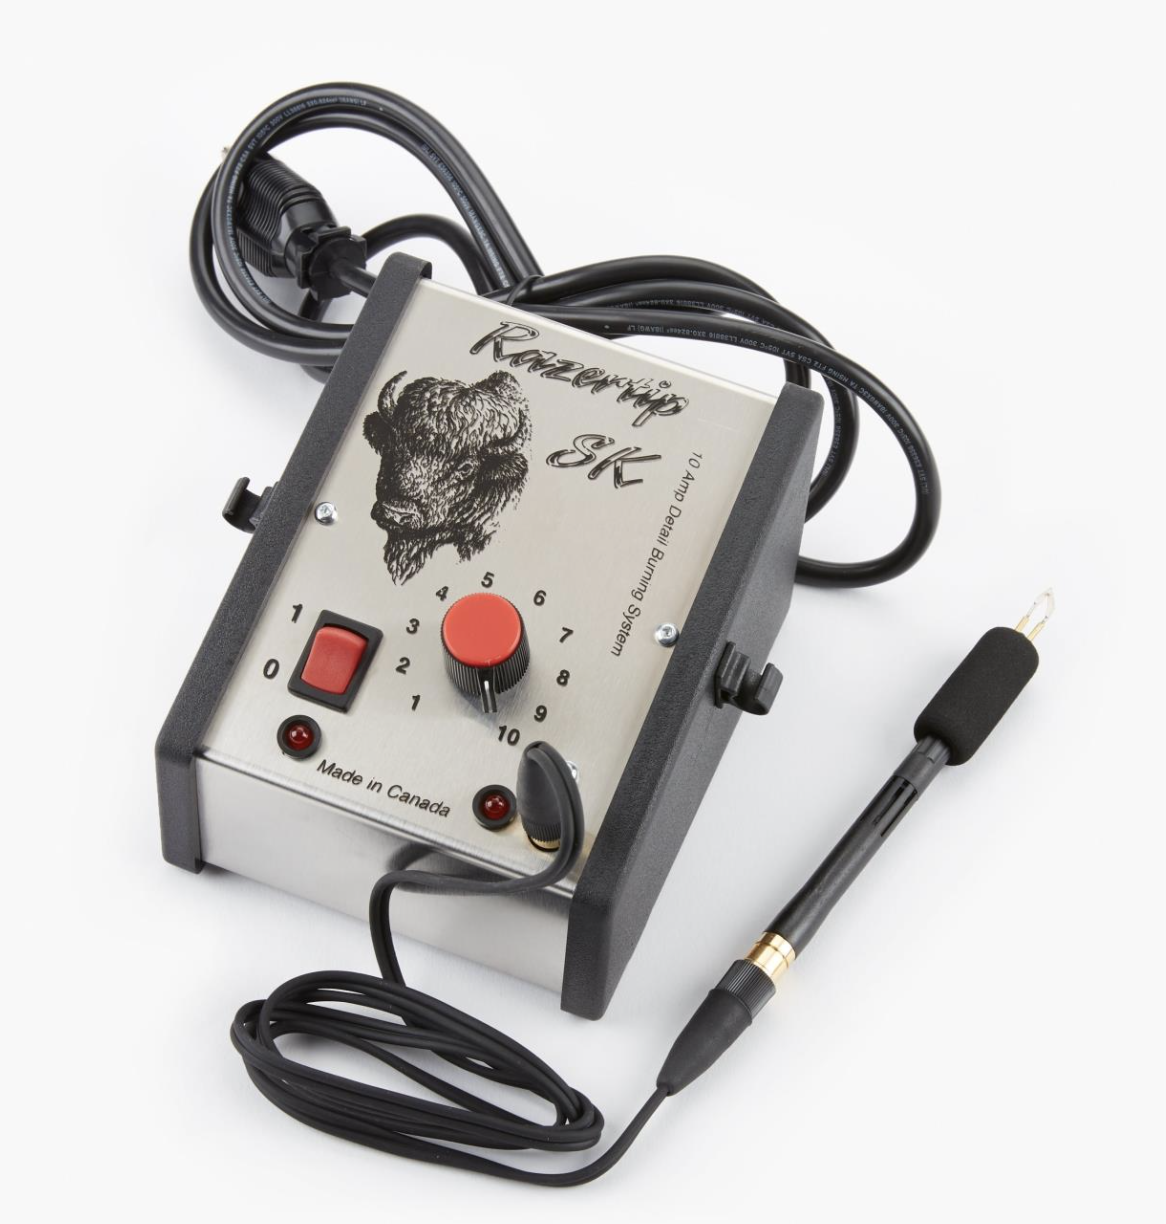
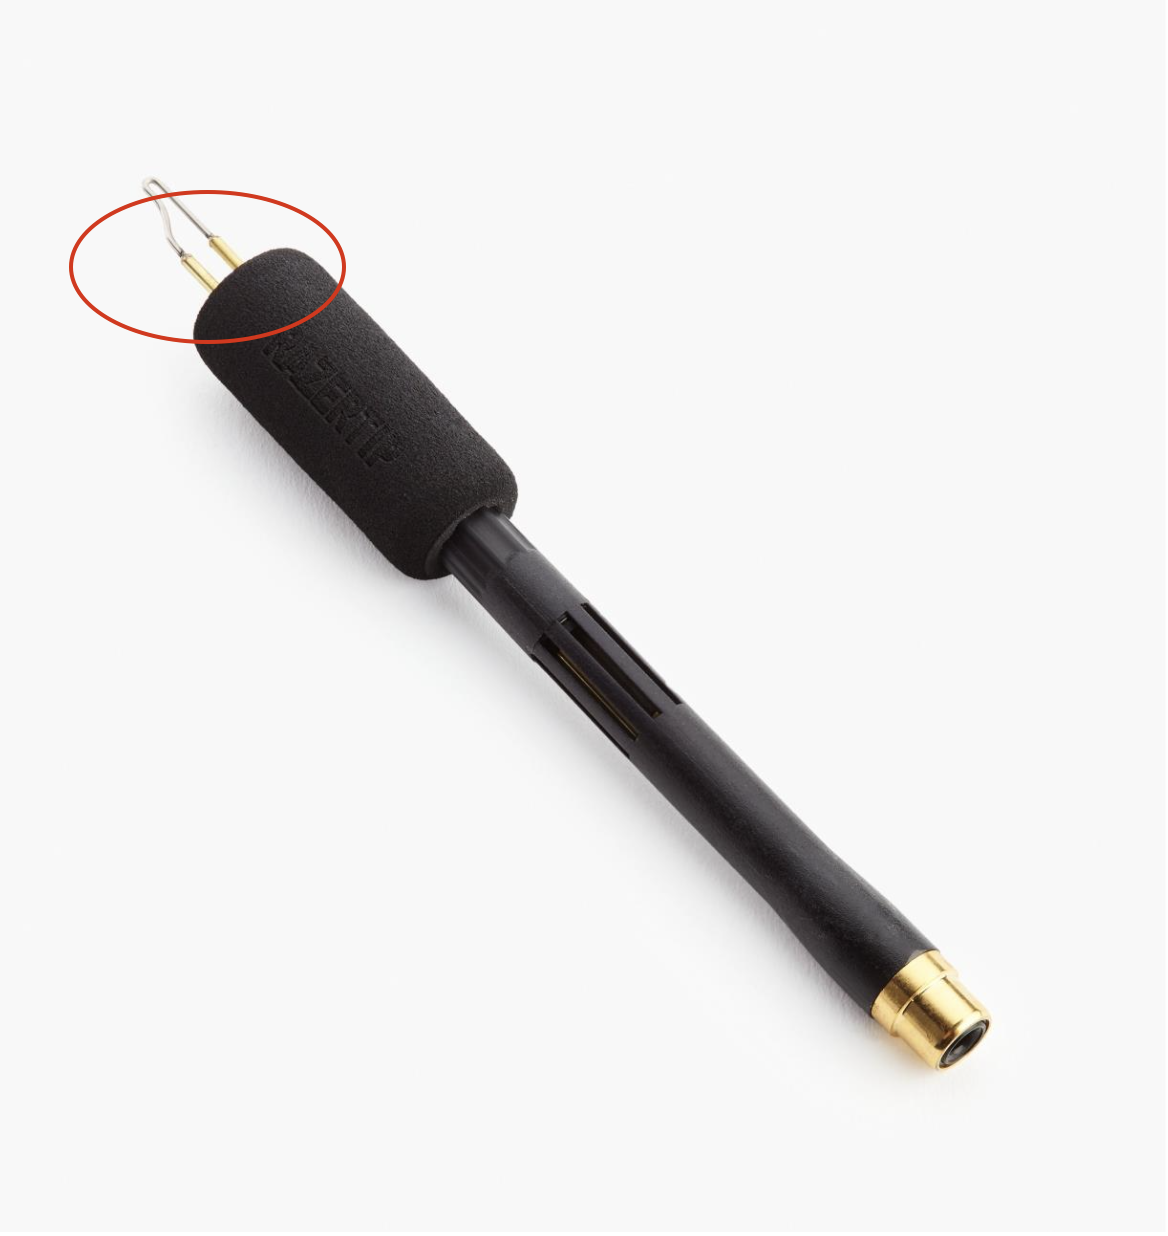
These are your professional machines. These are sturdy, heavy duty, professional equipment. A lot of the time you will need to buy the machine separate from the pens/nibs. Many of the nibs are hand formed. There are options for pen choices(fixed pen and interchangeable options) and tons of individual options for nib choices (flow, spade, writing, shading transfer hot stamps). Some companies will customize nibs, and some offer such a wide range you wont need customization (looking at you Razertip). The grip of these machines will be pen-like, it will have excellent temperature control(in some cases precise to the last degree), it will heat and cool in seconds, and in general these machines will reach much higher temperatures. Some great companies, our top three, include Razertip, Tekchic, PJL Enterprises.

 
Screen Shot 2020-10-05 at 4.44.58 PM.png
 

Use - How will I use my wood burning tool?

ONE TIME USE - If you are planning on using a wood burning tool for just one project, then go ahead and get yourself a single temperature, solid-nibbed value wood burning tool. A tool like the Walnut Hollow Value Tool is around $15. It comes with several nib options and you will be able to complete your project.

HOBBIEST and PROFESSIONALS - If you plan on doing more than one project, or very large projects, then we highly recommend that you get yourself a solid-nibbed, temperature-controlled woodburning tool. The Walnut Hollow Versatool is our favorite. This tool is so versatile, inexpensive (around $30 ), comes with a bunch of useful nibs, and works like a dream. This could easily be the only tool you buy. The level of detail that you can achieve with this one tool is astounding. Just go look at the #versatool to see what I mean. There are many professional wood burning artists who only use this tool.

PROFESSIONALS - If you are burning more than a couple times a week, then you should invest or start saving up to invest in a proper professional machine. These machines will decrease your time wasted waiting for you tools to heat/cool, will allow you to have a more ergonomic grip while working, they will allow for quicker nib changes, and will just speed up your whole process. They are worth the investment. Some great companies include Razertip, Tekchic, PJL Enterprises.

STATIONARY OR MOBILE - Will you have a dedicated wood burning station, or will you be on the move? This is something to consider when choosing the right burner for you. Some do not pack or travel well, while others are made to be portable.

Style - Solid vs Wire Nibs

For a detailed explanation between these two styles, check out the blog post: Wire Tip Vs. Solid Tip Burner. In a nutshell:

SOLID: A Solid-nibbed or solid-tipped burner has a long heated shaft, with nibs that screw directly into the shaft. Your hand placement is further away from the surface being burned, and is generally a thick grip that will take some getting used to. They can come in temperature-controlled and single temperature varieties. These range from $15-$30.

 
Screen Shot 2020-04-28 at 1.16.49 PM.png
 

Now, a solid-nibbed burner, does have its drawbacks. It takes a little while to heat up and cool down, the grip is thick and requires your hand to be far away from the surface you are burning (can take some getting used to), and the docking station is not very solid. But… this compact machine can burn! It’s great for covering large areas too as a solid nib burner will retain its heat better than a wire burner. We recommend this tool, or something similar be in every wood burning artists tool bag.

There is also an amazing nib called the Transfer Nib. It is amazing for transferring images to wood precisely and quickly. Check out this blog post on Using Heat To Transfer Images Onto Wood.

WIRE: A wire nib burner, or often called a professional burner, generally has a more pen-like appearance with a wire at the end that heats up. Your hand placement is much closer to the surface burning. The machine heats and cools quickly. These usually have a solid docking station, great temperature control, and a wide range of nib options.

The different nibs can be changed in a variety of ways for these wire nib burners.


1. FIXED NIB - Some people prefer to have the entire pen switch out. It does decrease the chances of having connection issues, because changing nibs is so easy. These pens with a fixed nib usually just plug in quite quickly and easily. This is a more expensive option than the interchangeable nib, but more convenient and they tend to last longer than the interchangeable nib pens.

 
Screen Shot 2020-10-05 at 4.15.51 PM.png


2. INTERCHANGEABLE NIB - This can be done in a couple ways. Sometimes the wire nib is in its own housing, and the housing switches out. Other times, you will fine that you are unscrewing the actual wire, and replacing it with a different wire. The ones in their own housing can be changed quicker and easier with less issue. I have found that when you are changing out just the wire, you need to be careful to make sure that all the connections are solid or your burner wont heat properly. Always test your temperature after switching out nibs.

 
Screen Shot 2020-10-05 at 4.16.20 PM.png


Choose your Burner

Now that you know the different options, and what you should consider, it’s time to choose a burner. Here are some burners that we have personally held in our hands:

Here are some websites and Amazon Affiliate Links to the companies I trust: (Wood Burn Corner receives a small portion if you purchase through these links, or look below to visit the individual website’s of each manufacturer.)


Walnut Hollow:

Click here to visit Walnut Hollow’s site. Below are our two favourite Walnut Hollow tools:

The Walnut Hollow Versatool


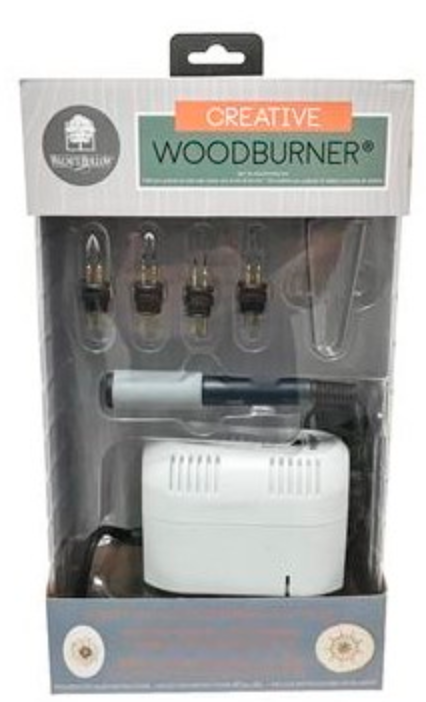
and The Creative Wood Burner.


Tekchic:

Check out Tekchic - this machine is powerful, compact and has a decent grip on the pen.

 
Screen Shot 2020-04-29 at 9.29.19 AM.png
 

TruArt:


This machine is also really reliable and gets nice and hot. A bit thicker on the hand grip but works well.

 
truart-wood-burning-machine
 

PJL Enterprises - Optima 1:

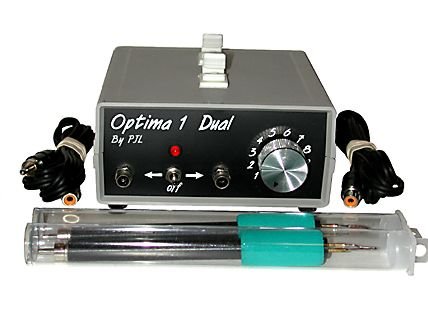
Visit PJL Enterprises to see their collection of tools. These pens are more pen-like, machine gets hot and the switches are very satisfying.

 
Screen Shot 2020-04-28 at 1.38.04 PM.png
 

Razertip:

Take a look at the Razertip’s options and their wide selection. They have new digital burners with a bit of a higher heat, but even their older models are one of our favourites.

 
Screen Shot 2020-10-05 at 4.44.58 PM.png
 

Want to learn more about Wood Burning and improve pyrography Skills?

If you have any questions, don’t hesitate to reach out to us!

Join our community of pyrographers in Burn Club where we share tips, tricks, pyro resources, and free templates and coupon codes for pyro materials and accessories.

Also check out these other informative blog posts:

Pricing your Art

160 Ideas of What to Wood Burn Next

Start Here if you are NEW to Wood Burning


Interview with Brad from Razertip


Company Name: Razertip Industries Inc.

Name and Role: Brad Merkle - Operations Manager

Location: Saskatchewan, Canada

www.razertip.com or @razertip


Can you tell us a brief history of Razertip? How/when did it start? 

razer.jpg

Razertip started in 1984 when Cam Merkle was burning feather detail onto a decorative decoy woodcarving. The tool he was using wasn’t cutting it so he made his own. Through requests from friends and students it grew from there. Since then Razertip has been innovating and improving how pyrography tools and tips are made.


How many people are on the Razertip team? How many Are family members?

We have about 20 people on our team along with some additional contractors that we have established great relationships with. There are 5 family members on the team.

Can you share with us about the different machines you offer? How do they differ?

SK, SSD-10 and the P80 (and P80x expansion modules) The SK and SSD-10 are very similar units operating at 10 amps and provide great heat recovery and results. The P80 is the newest machine, it features a universal power supply, touch screen interface for unprecedented control and tip heat consistency.

Screen Shot 2020-04-27 at 2.42.22 PM.png
Screen Shot 2020-04-27 at 2.42.31 PM.png

What is the temperature range of your tools? 

Our tips can operate at room temperature and many can exceed 800 degrees celsius. Depends on the shape and size of the tip. Tip temperature is only a part of the equation...Tip heat recovery is equally important to maintain a consistent and even burn.


What countries are your burners available in, and where can they purchase them?

We ship orders worldwide. Our burners are available from dealers widely throughout the US and Canada and also in many European countries as well as Australia and New Zealand.


Where are the machines and nibs made?

Our tips and machines are made in our facility here in Canada. We try to make as much as we can here and to deal as much as possible with local suppliers.


You offer both fixed tip and interchangeable tip options, which is more popular?

The interchangeable tips are very popular for beginners and those who want a variety of tips or to try them out with less cost. Where the fixed tip pens are popular for those who want the ease of switching pens or those who only want a select few options and know what tips they like.

Screen Shot 2020-04-27 at 2.47.15 PM.png


What are the three most popular nib options you have available? And how many nib options do you offer?

We have a 5 piece pyrography tip set that is very popular as it offers much of what people are looking for to start out.


You shared an exclusive with us, TWO NEW PRODUCTS that are in the works. What are they and when can we expect to be able to purchase them?

We previewed our new Standard Pen and the P88 - an advanced version of the P80, which features 8 customizable memory heat settings as well as some other new features.


How do you recommend that pyrographers clean your wood burning tools? Does it depend on the type of nib?

Sharp, straight or flat tips can be cleaned with ease (hot or cold) using the Razertip Tip Cleaner. Rounded, curved or ball tips are better cleaned with a dense brass brush. We suggest avoiding anything abrasive, which can cause wear on the tip.


What goals do you have for Razertip? 

To never sit still… We continue to look for ways to inspire our customers and meet their needs with our tools, offerings and customer service. 

Watch the recorded live interview:


10 Steps for Wood Burning By Hand

Wood burning is such a versatile craft. Once you know the basics of pyrography, you can add pyrography embellishments to so many things. The options are endless.

You can make wall art, a personalized sign, a baby gift, a wedding present, a housewarming gift, and functional art… For some inspiration on what to burn next, check out this blog post: 160 Ideas of Things To Wood Burn Next

This is your quick-start 10 step guide to get you wood burning!

You will only need safety gear, a piece of wood, and a wood burning tool.

To get started with these, check out:

Oh and you will also need an idea of WHAT you want to burn! If you are not free-hand burning, start off with drawing your design on the wood slice with a pencil and burn over your lines with the hot tool.

If you want to transfer a design you will need a couple more things: the design, tape, graphite paper, a pen or embossing tool, and an eraser (preferably a sand eraser).

With these basic tools you can wood burn almost anything.

Designs and Templates:

If you want a design to practice with, check out our freebies page, grab a one of our Community Template Books or visit the templates store full of individual patterns for sale.


Want to watch some classes on pyrography instead? There are some you can purchase, some where you can learn from experts in the community burn live, some tutorials for free and private classes too!


10 Steps for Wood Burning By Hand

For a more detailed list of tools you will need, check out our DIY Wood Burning Kit or learn more about What Wood Burning Tool is Right for Me.


1. Choose your wood and the design you would like to burn on it. Ensure the wood is dried, unfinished, and sanded smooth before you begin. Know your woods. Basswood, poplar, or birch are a great place to start. Click here to see the BEST WOOD FOR PYROGAPHY.

 
IMG_6358.jpg
 

2. Work in a well-ventilated, clean, and flat workspace. Be sure to follow all safety precautions (check out our free safety guide) for quick and easy access when you burn). Always wear a mask and turn off and unplug your burner when not in use.


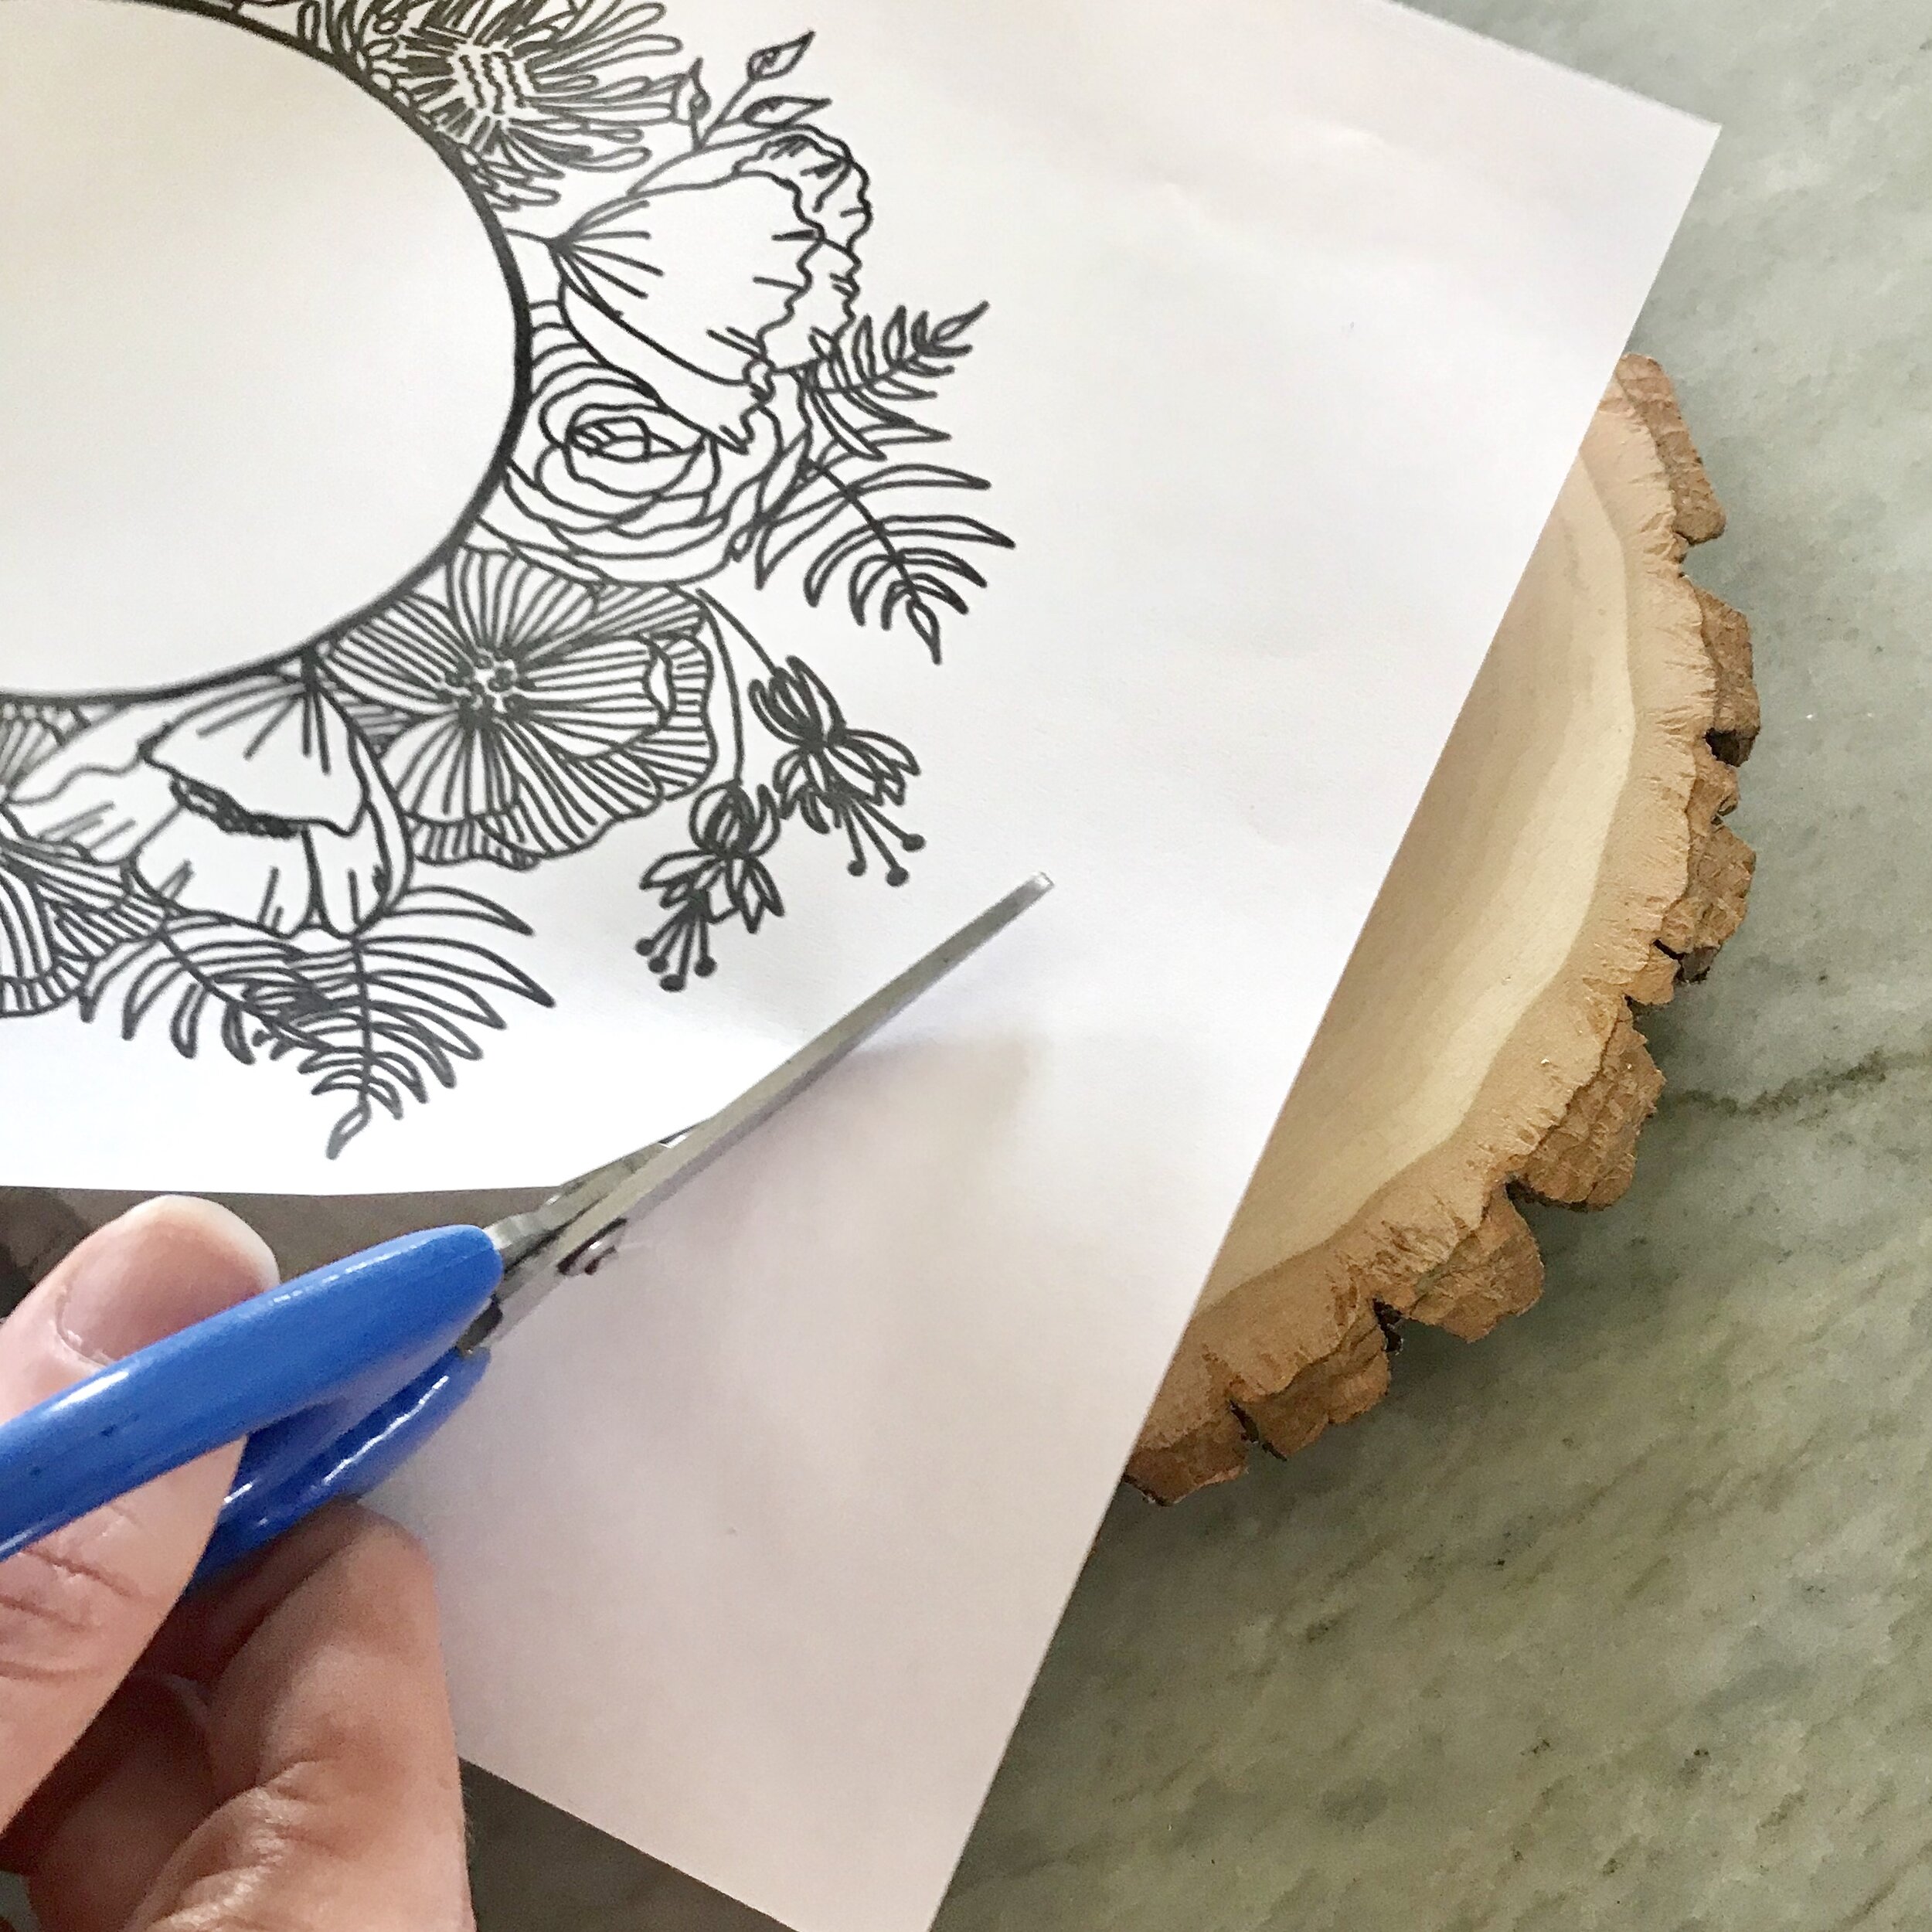
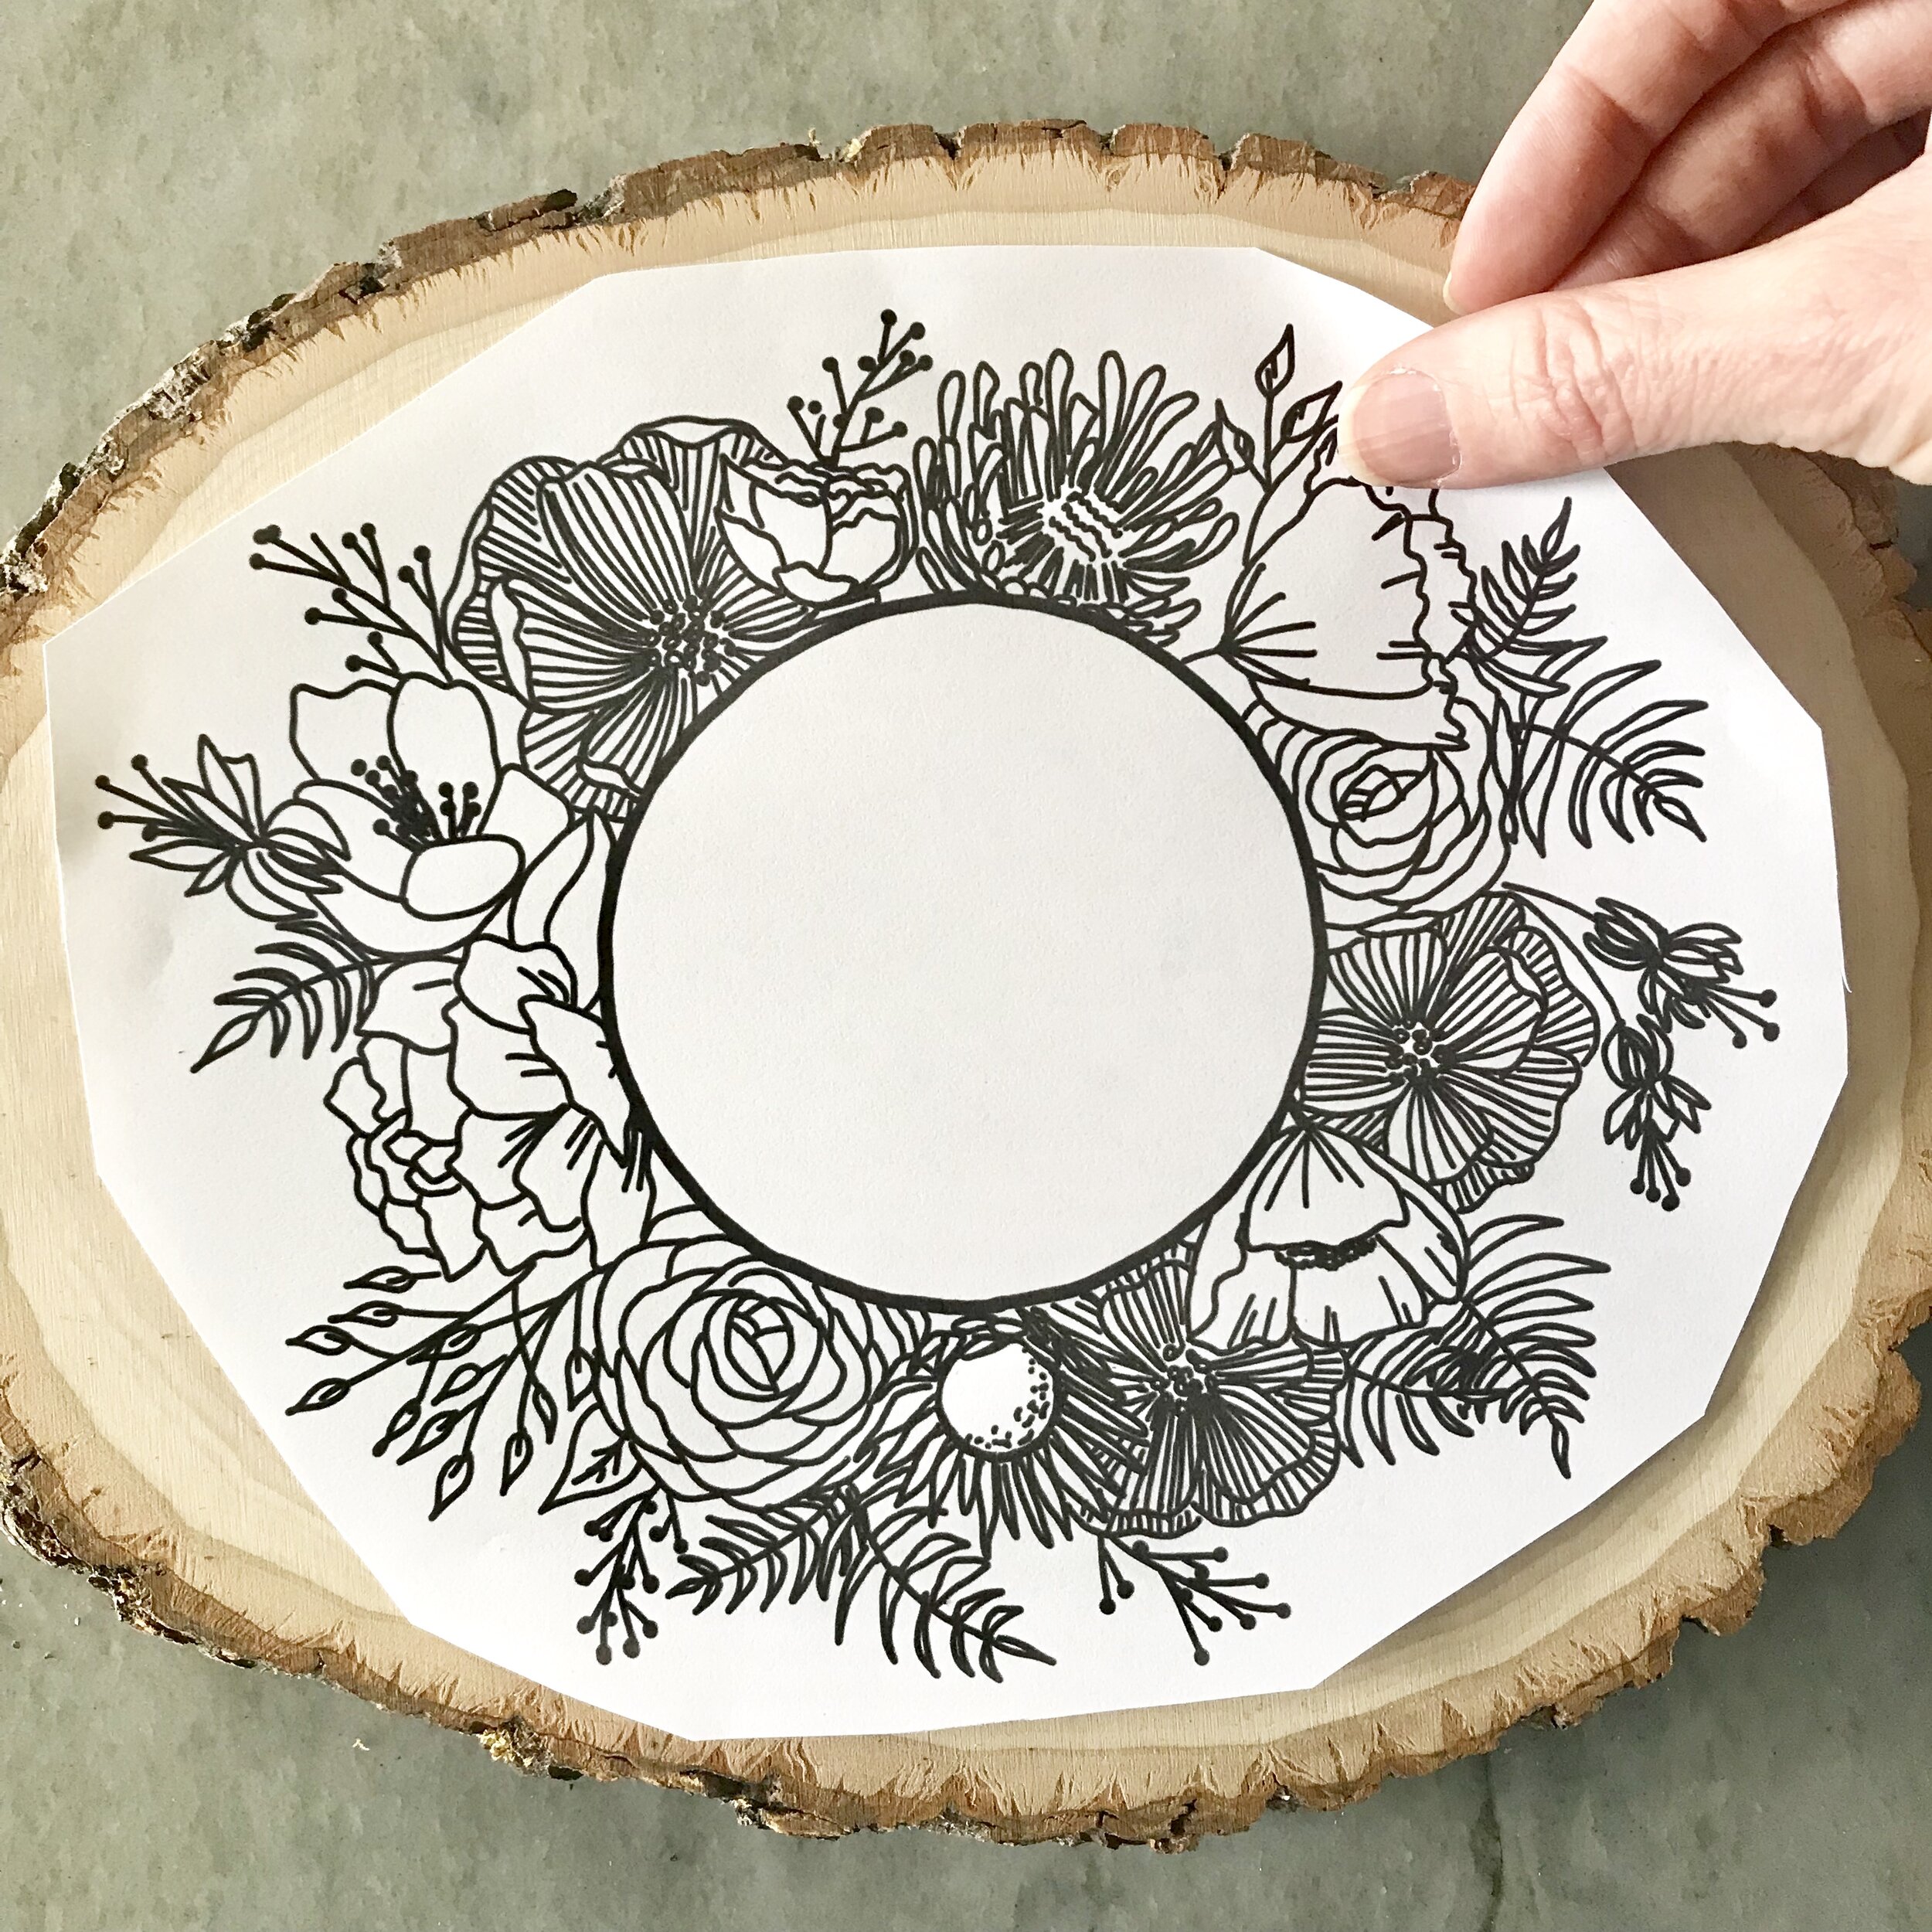
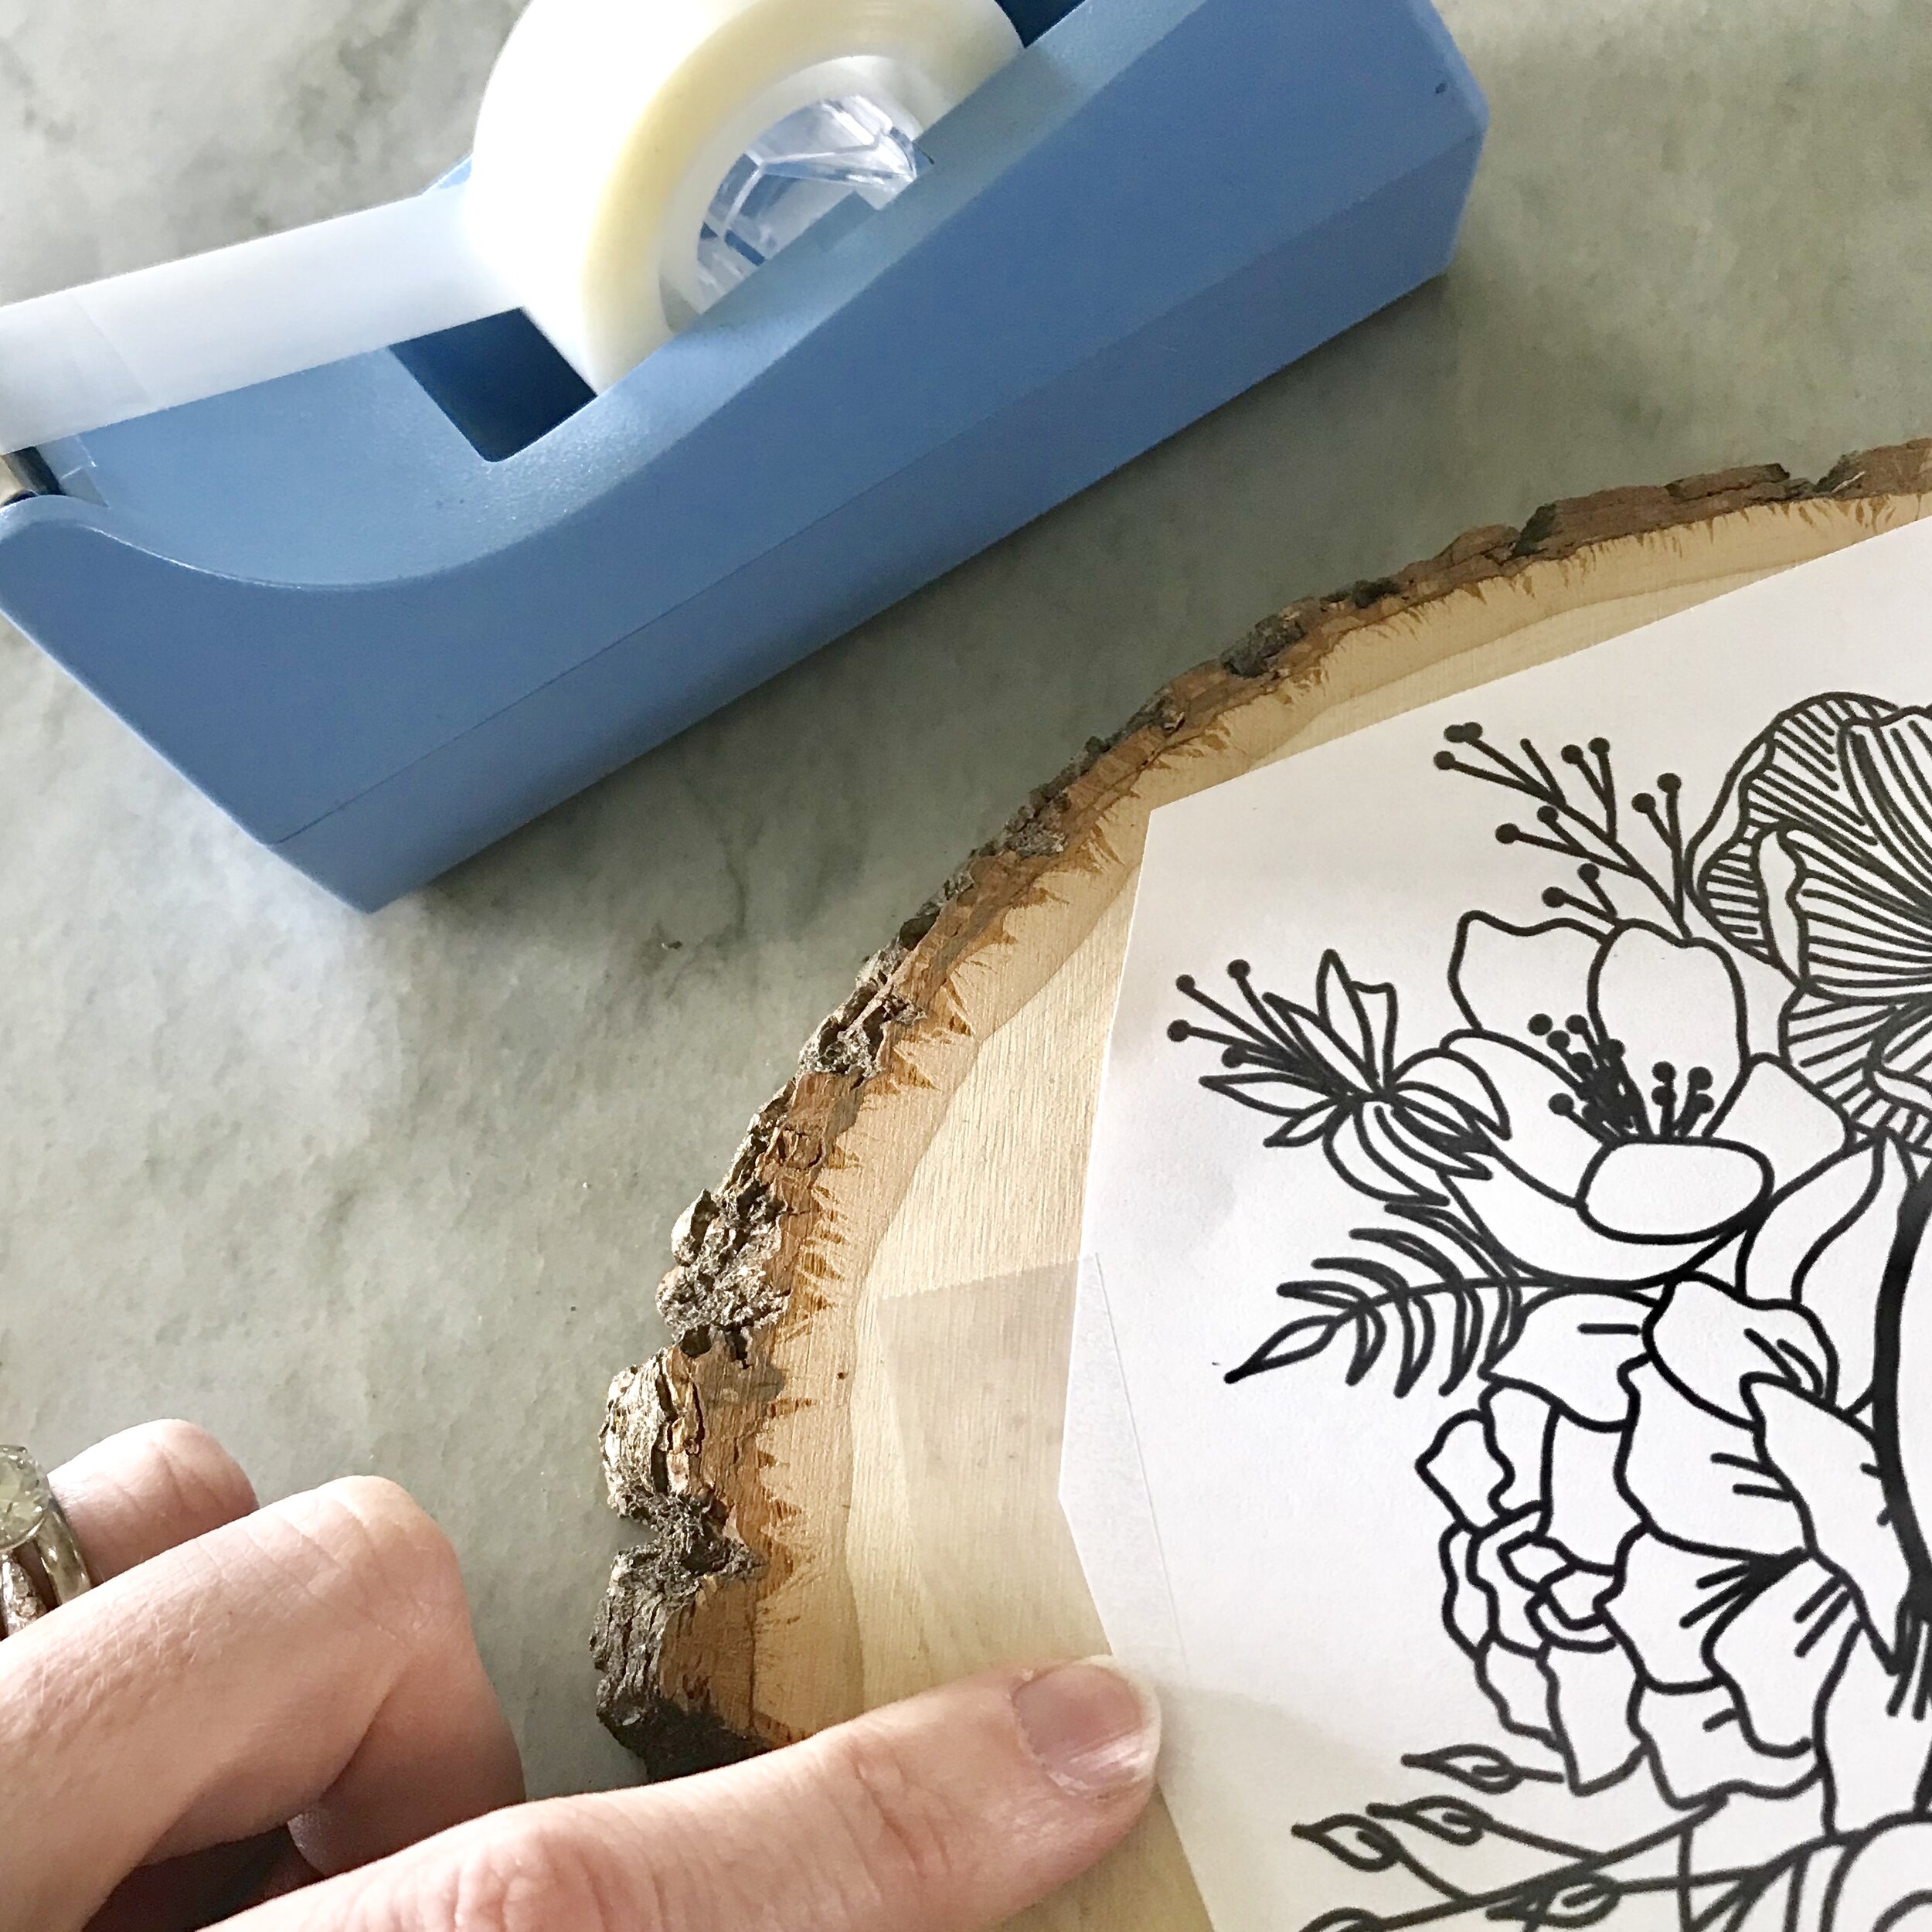
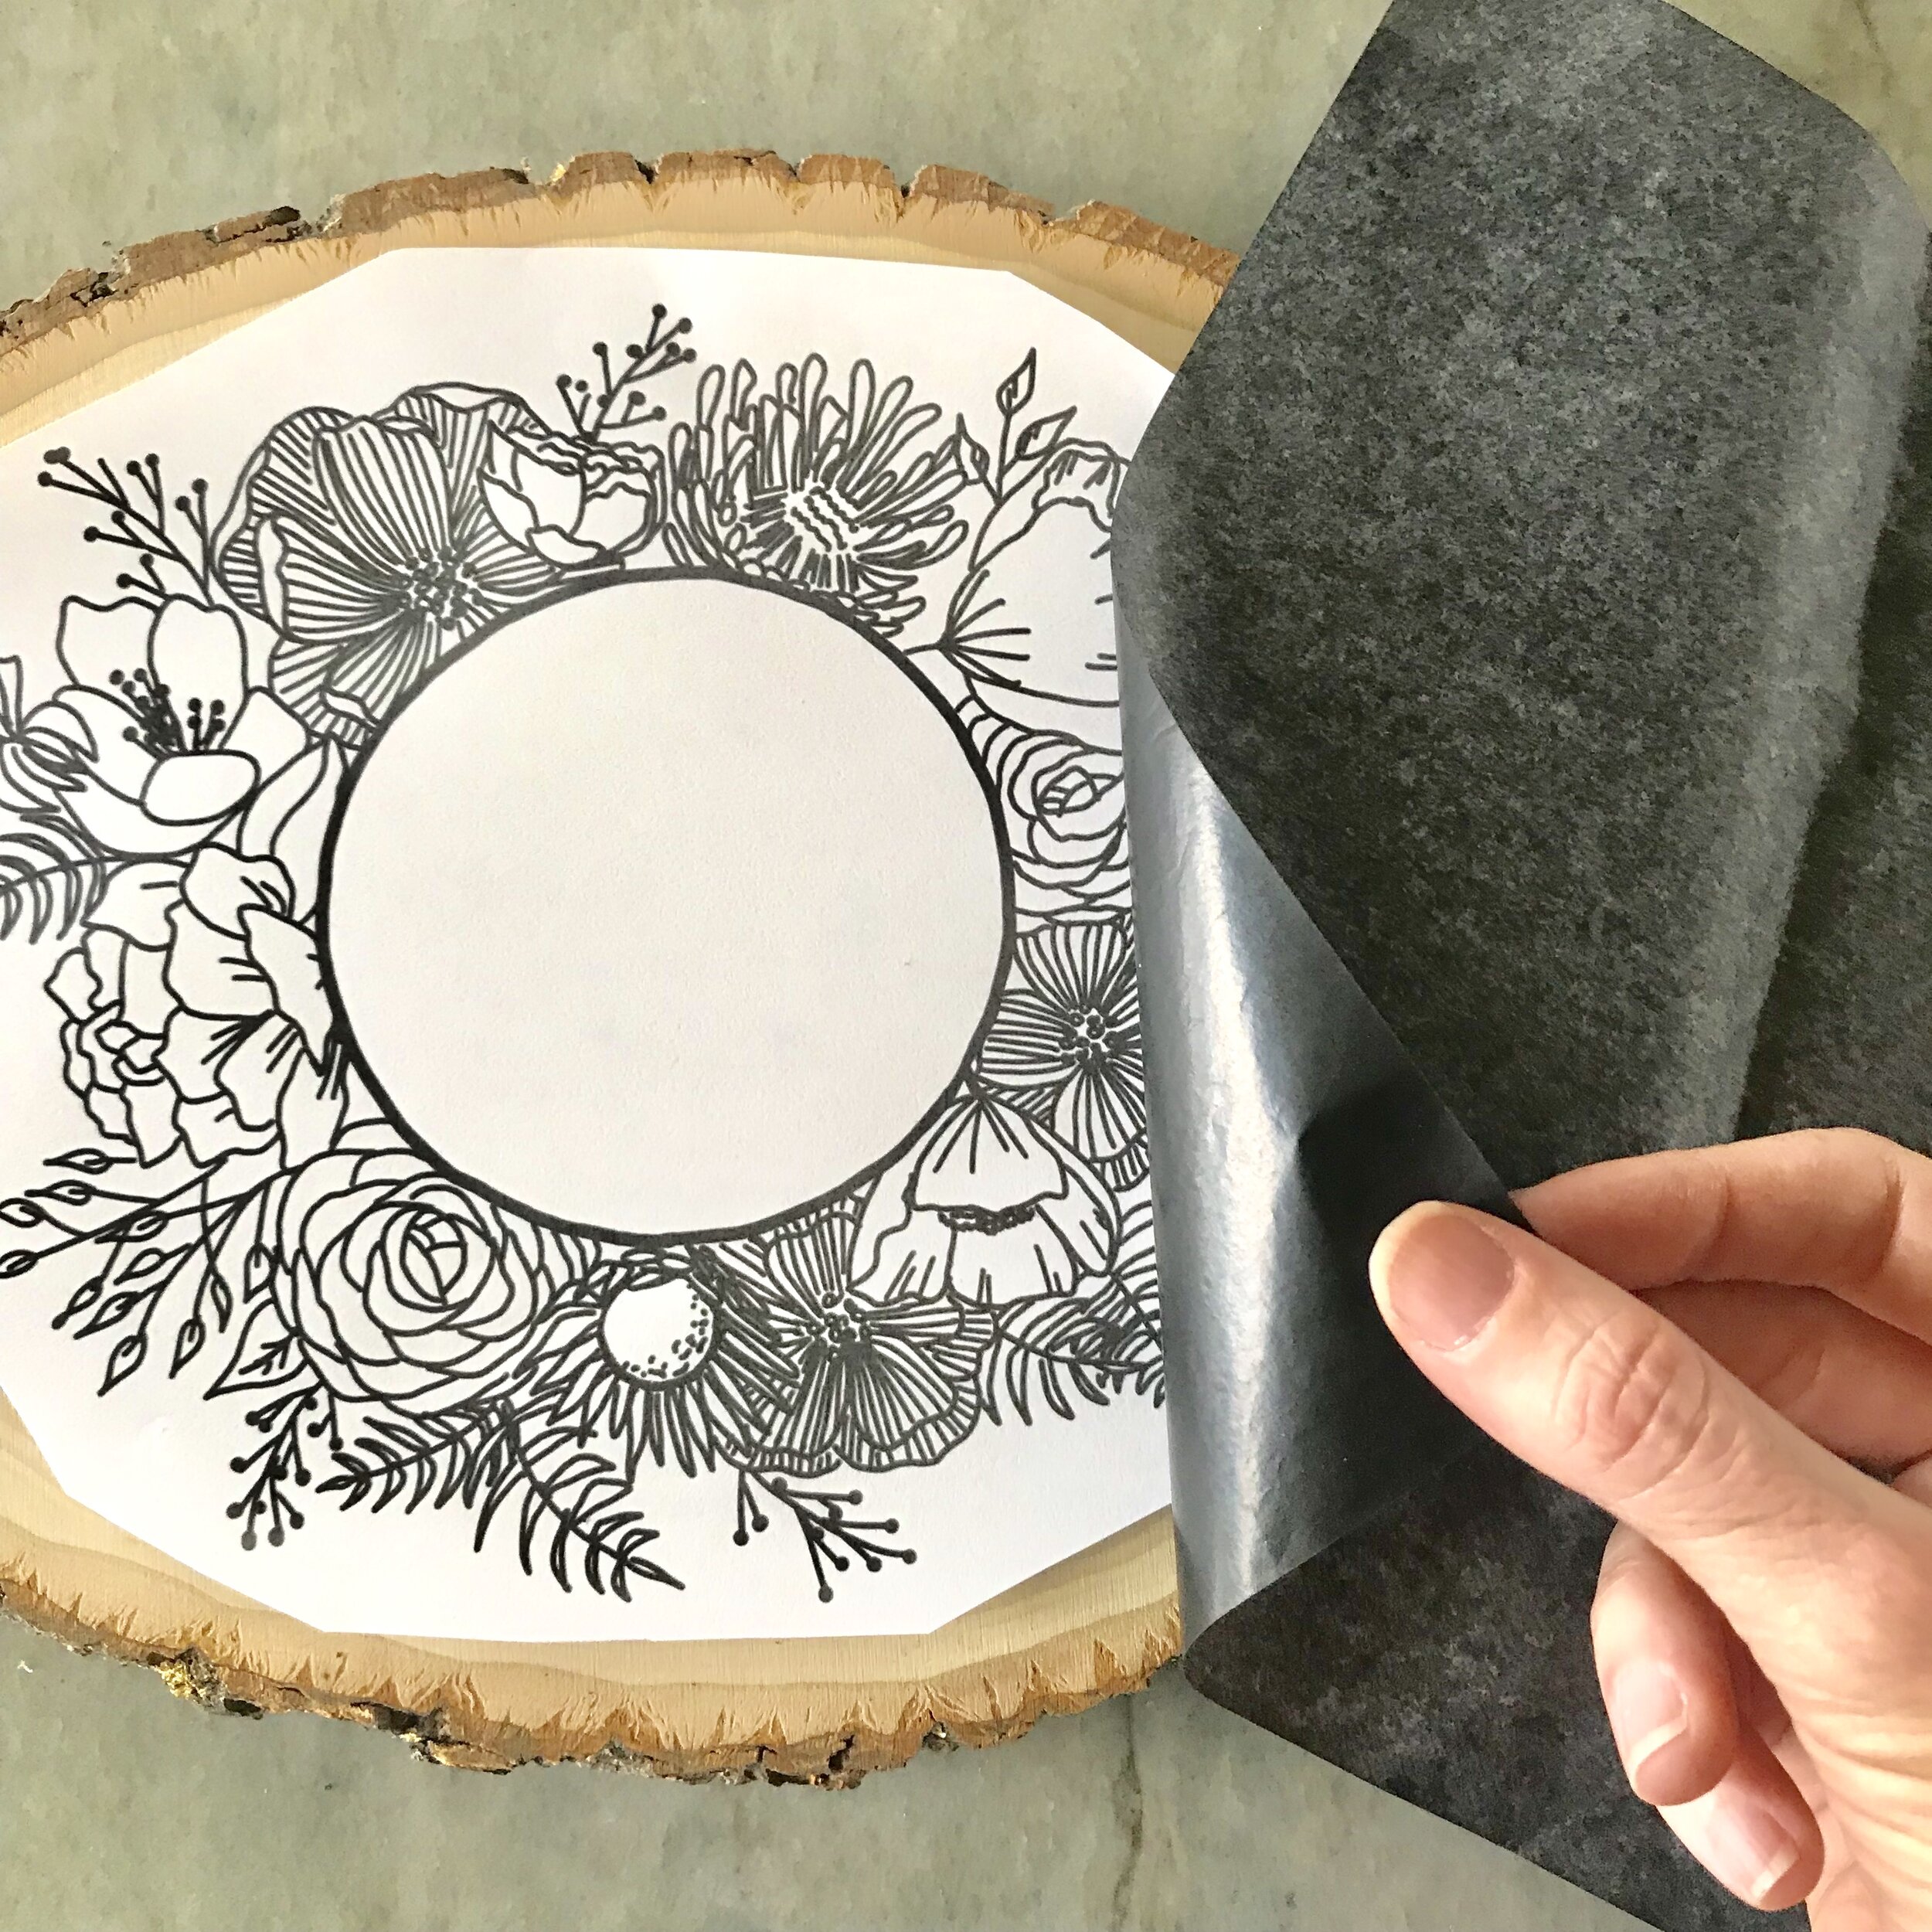
3. Size, cut, carefully position, and tape your design of choice to the wood.

IMG_6362.jpg
IMG_6365.jpg

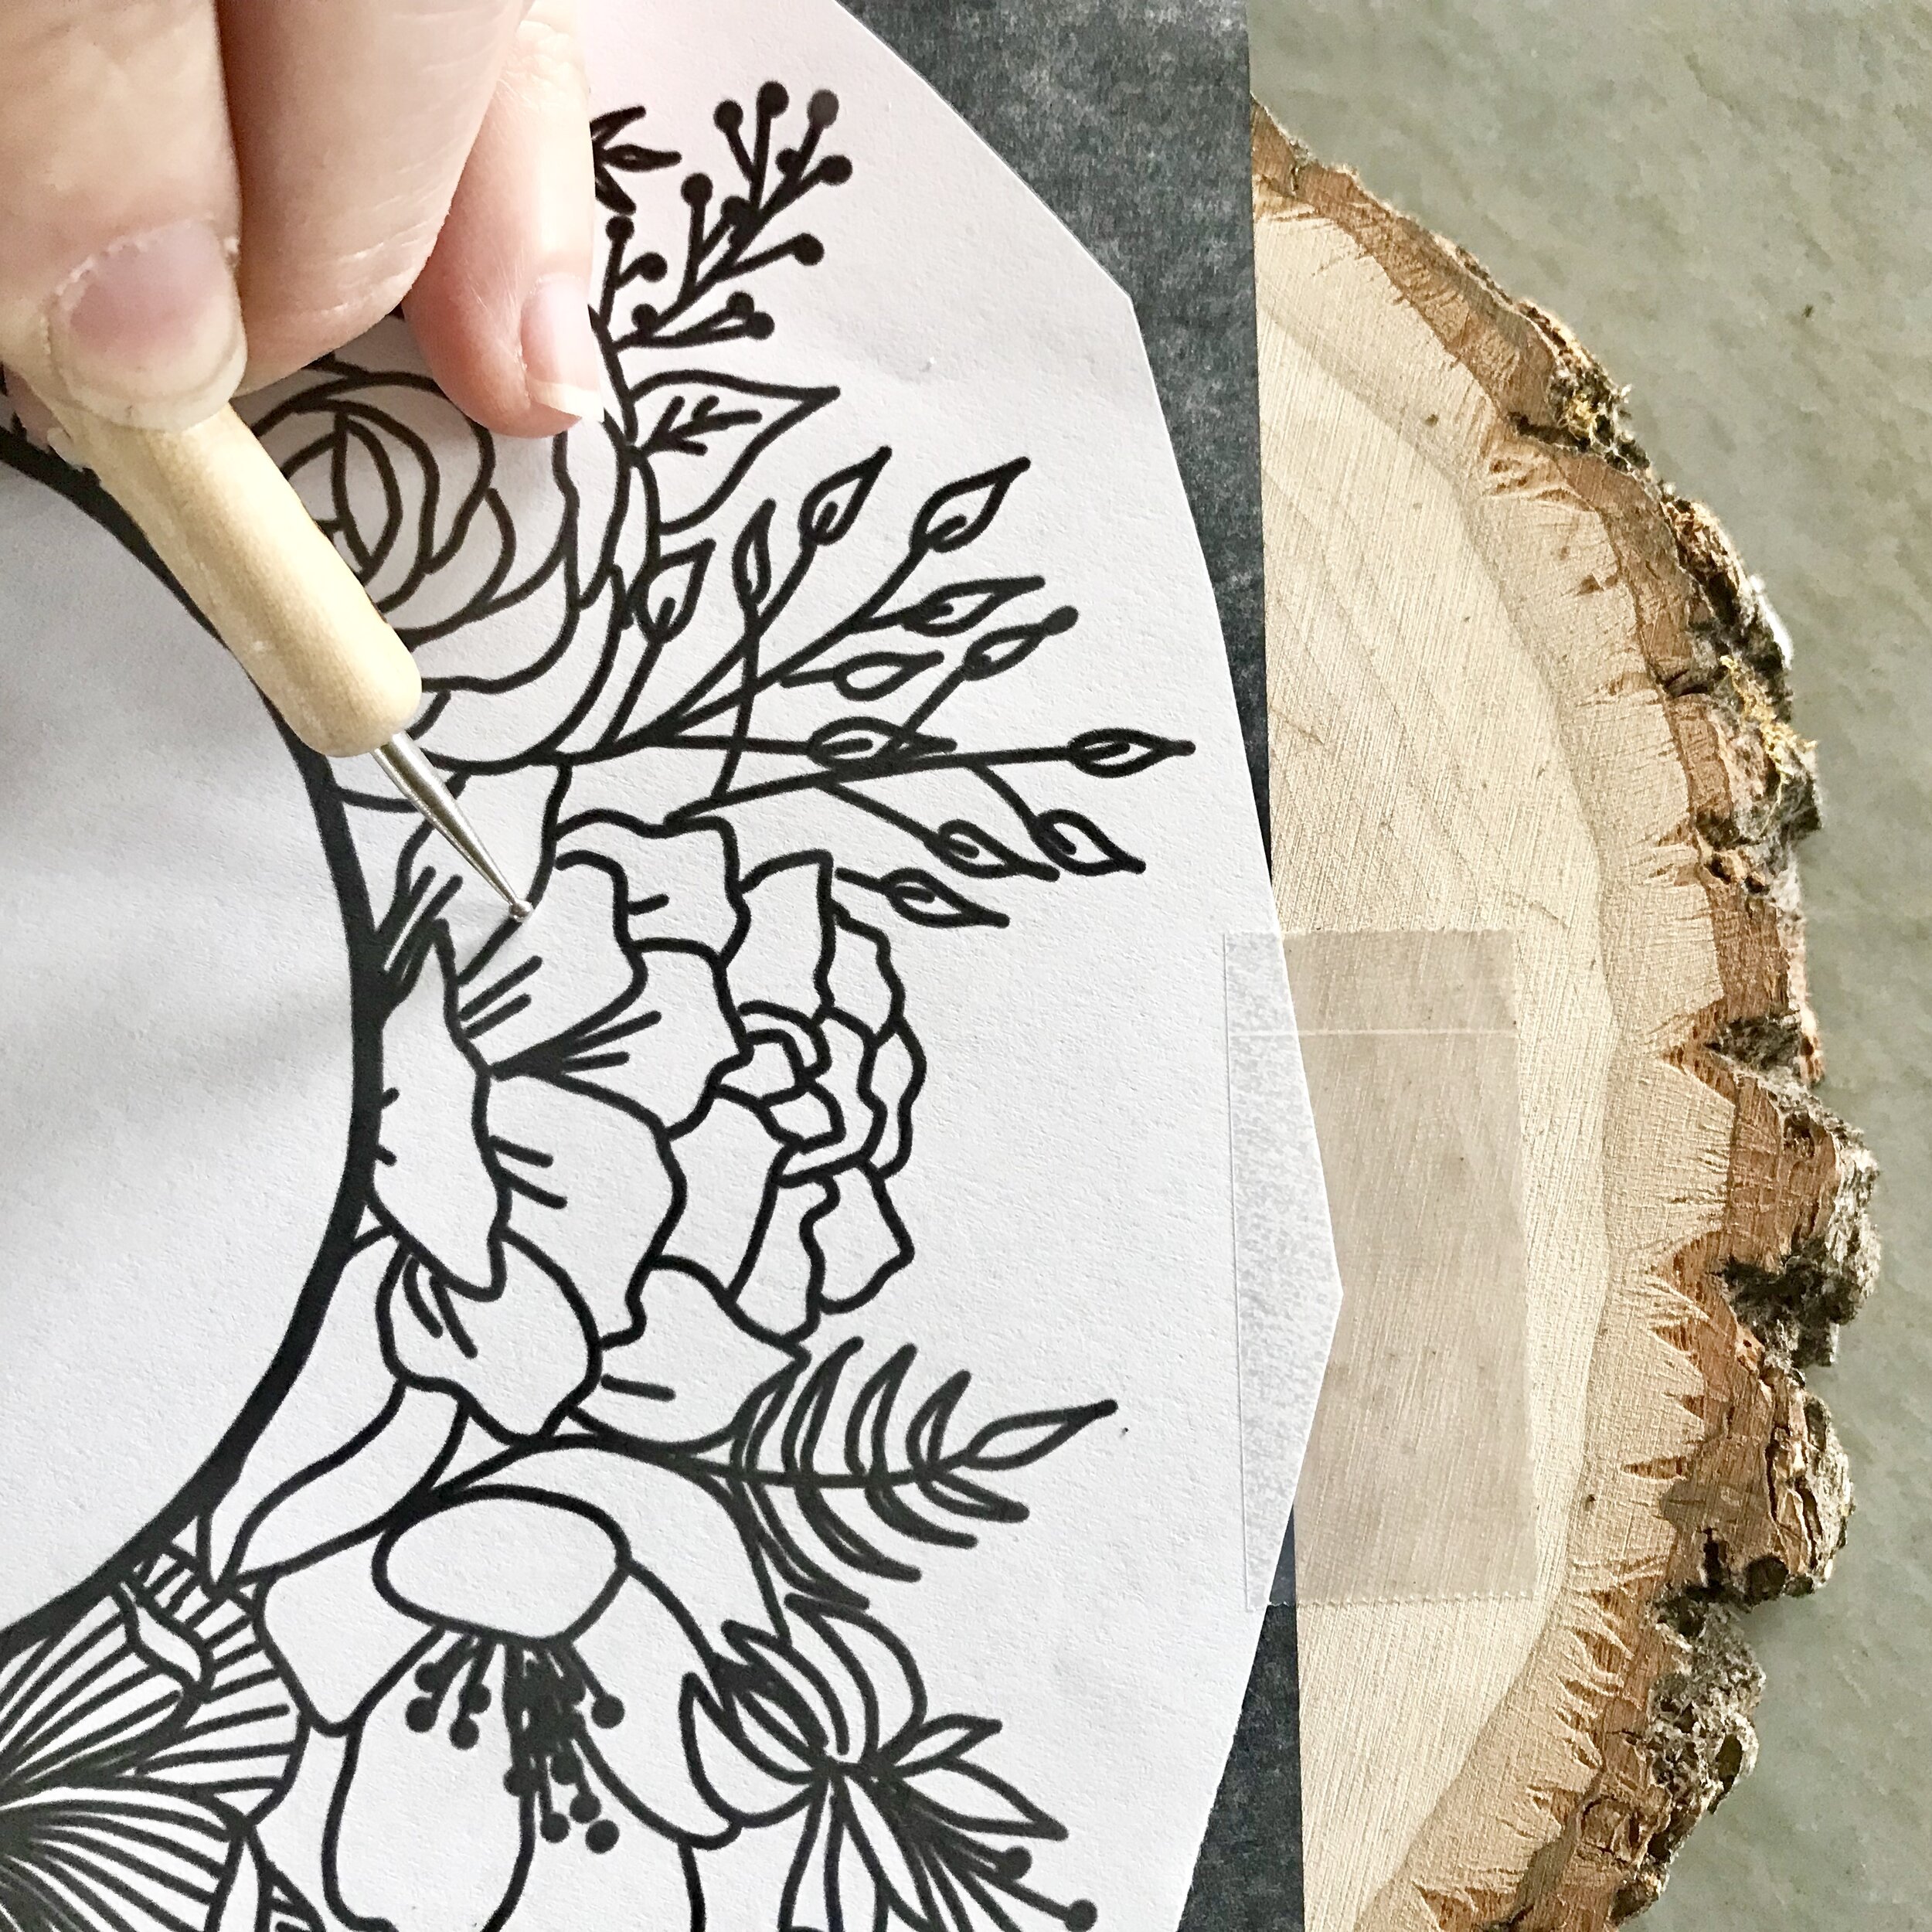
4. Slide graphite paper under the design with the darker/shinier side touching the wood.


5. Carefully trace the lines on the artwork, using your embossing tool or ballpoint pen with light-medium pressure. Don’t press too hard, otherwise the graphite lines will be hard to remove if you dont end up burning exactly on top of them.

IMG_6370.jpg

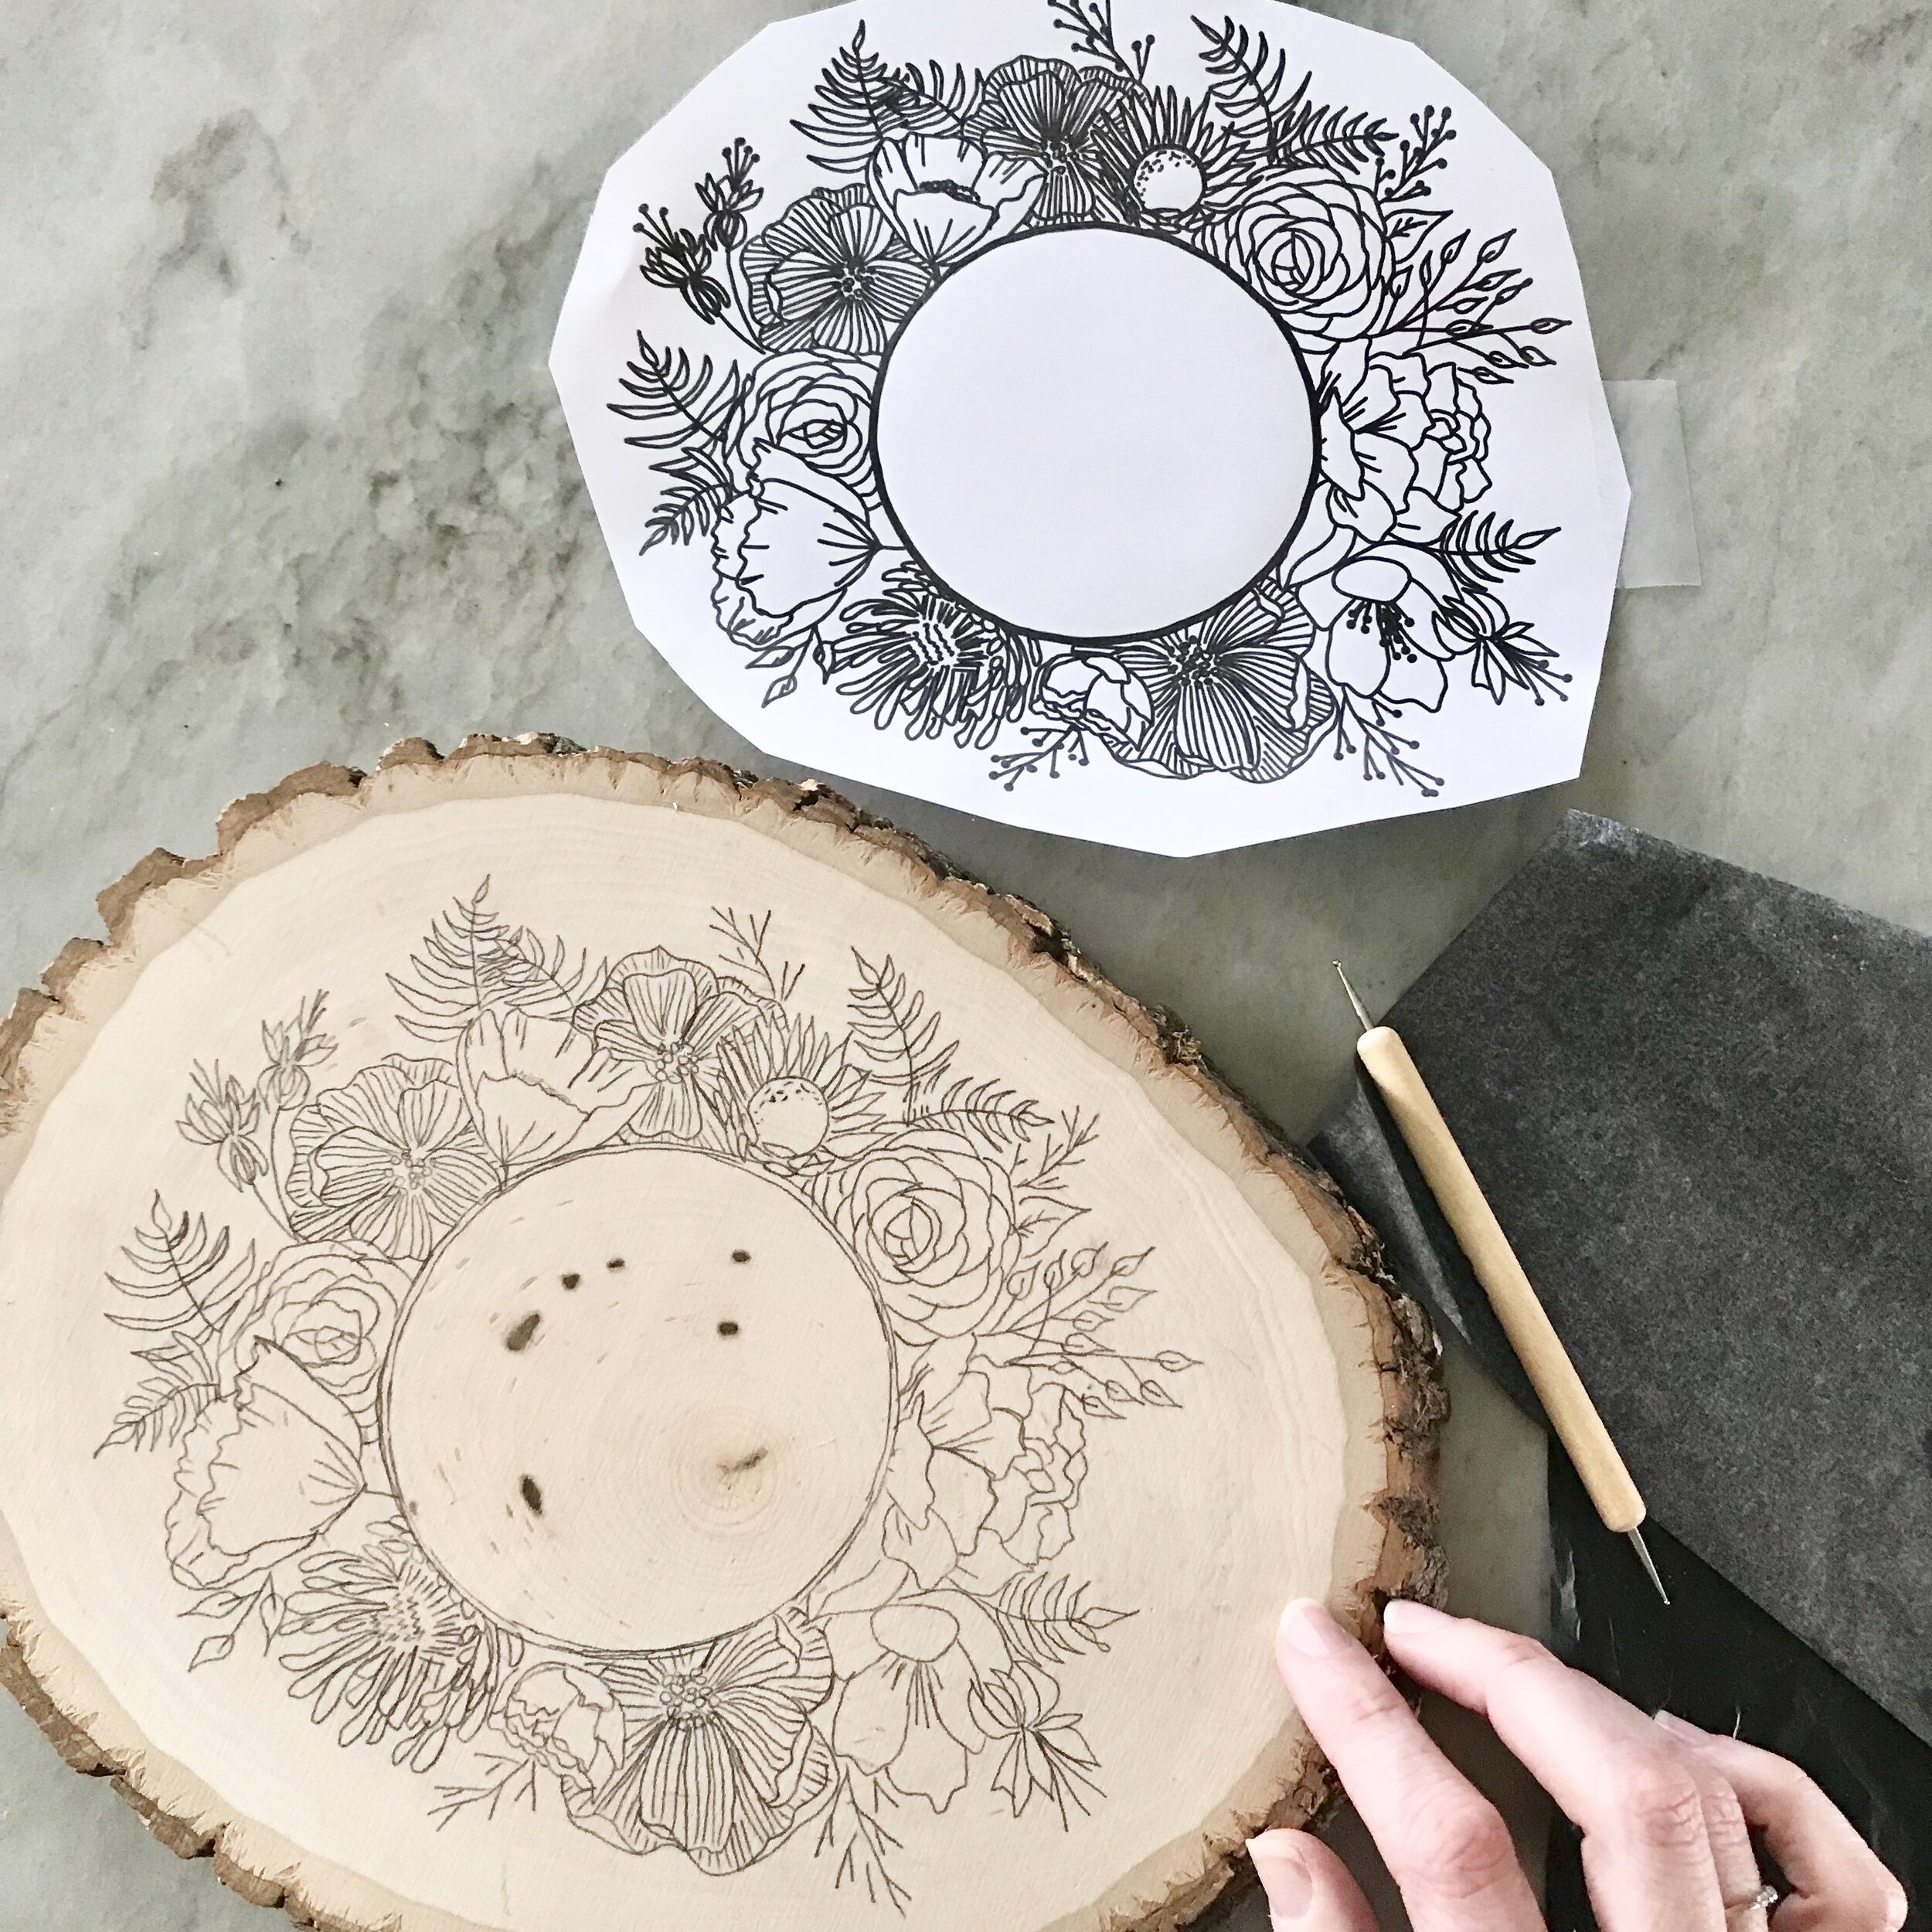
6. Peek under the graphite and design to ensure all the artwork has been transferred before you remove them. Try not to move your design around until you are sure everything has been transferred over.

 
IMG_6421.jpg
 

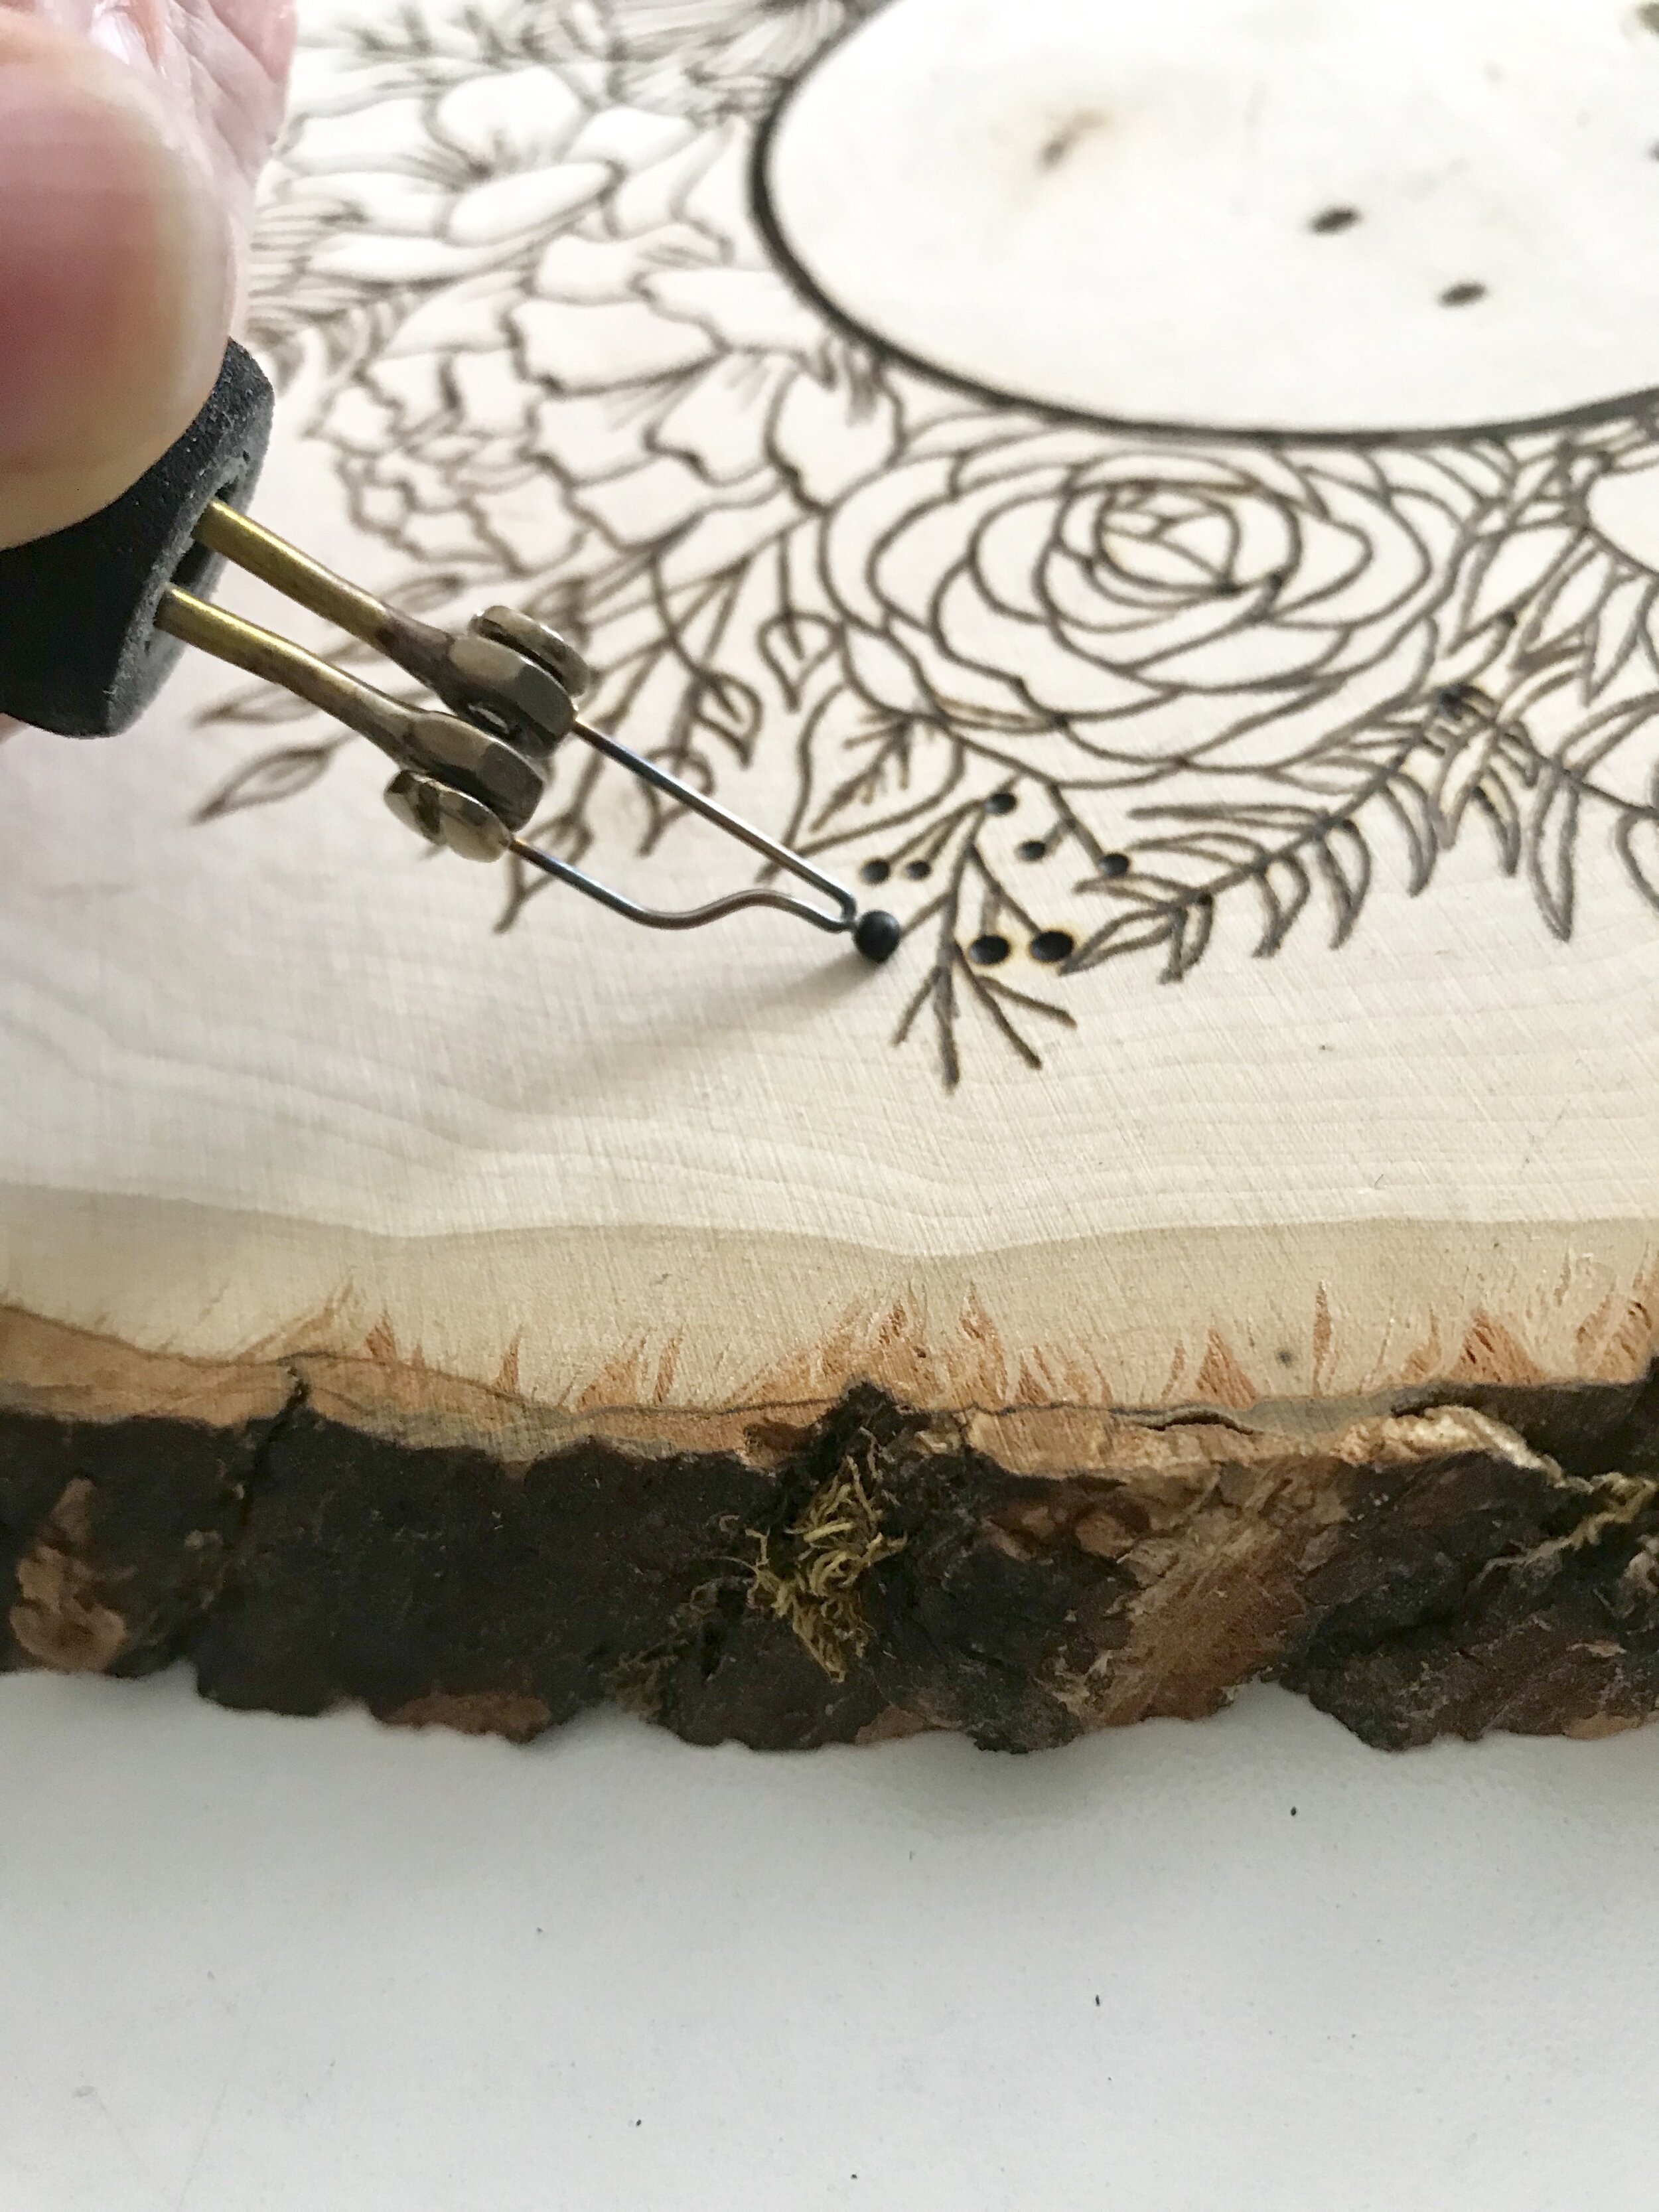
7. Choose your burner nib, screw it on, and heat up your wood burning tool. Once warm you are ready to burn! Check out how to choose a tool to learn which one will work for you.

8. Test your temperature on scrap wood, or the backside of your piece before you start. Go slow!

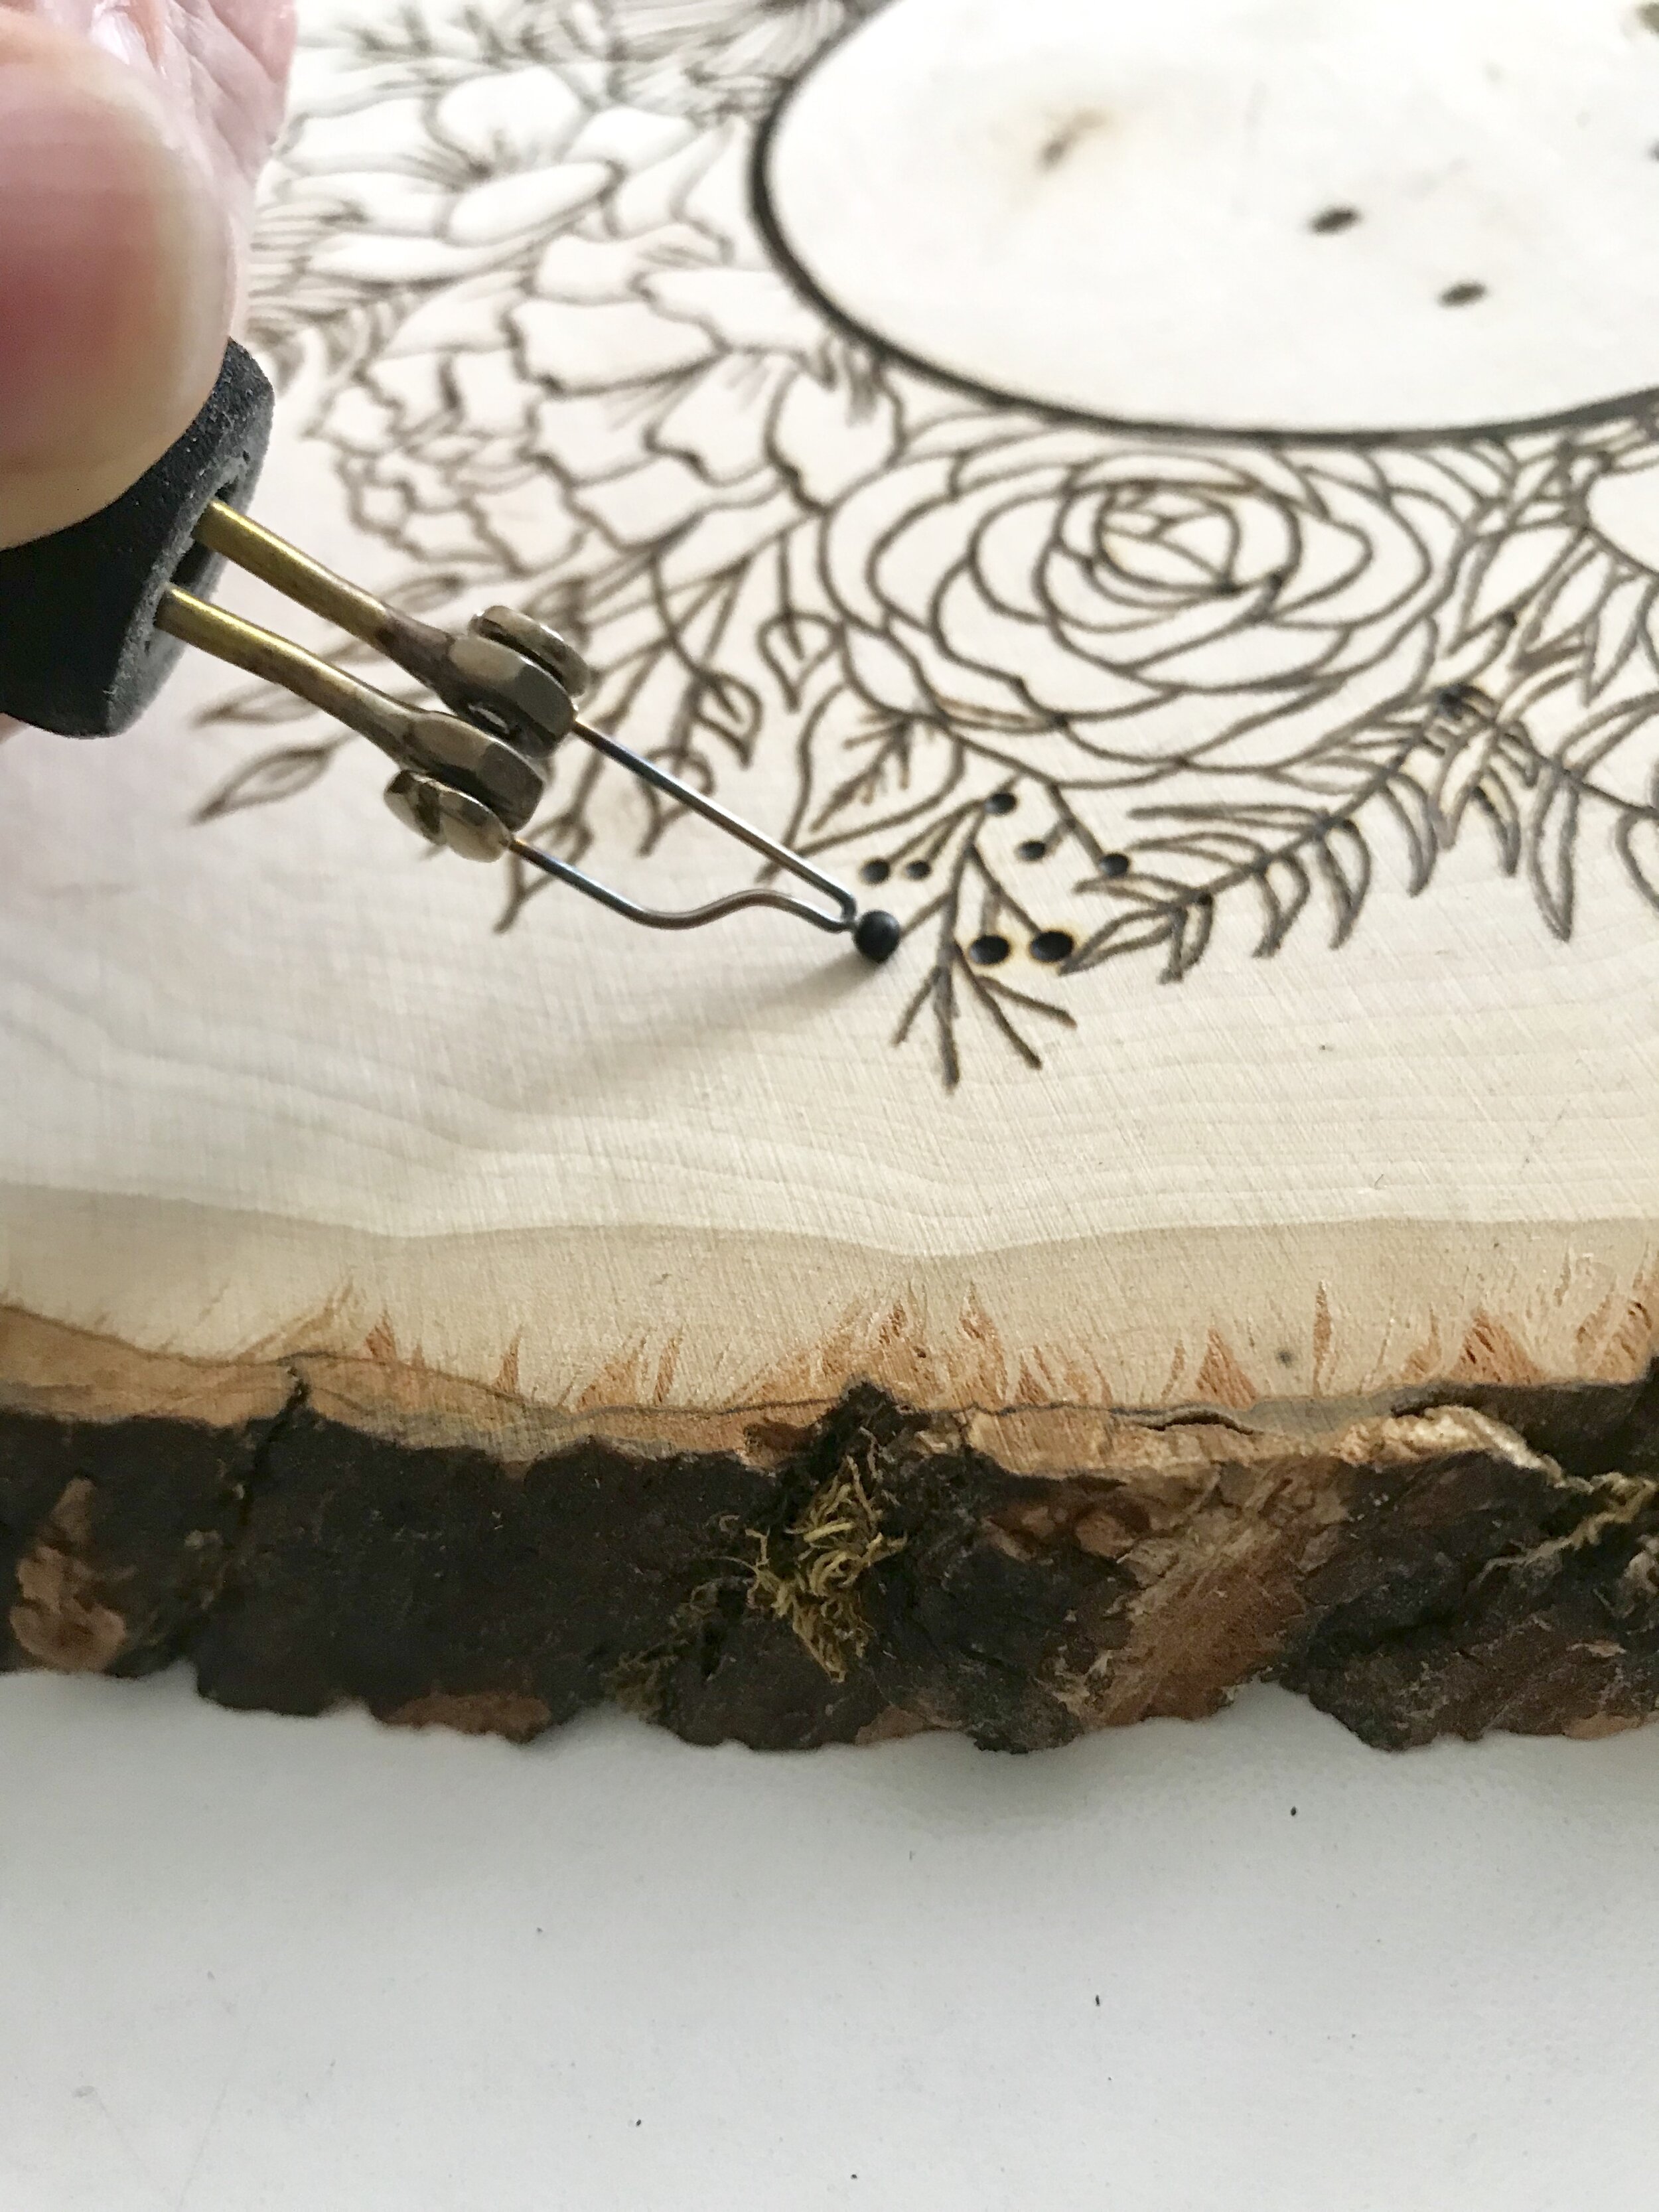
9. Pull don’t push. Let the burner do the work for you. Apply light, even pressure. Start with a lower temperature, because you can always add heat and always add more burn. Just glide. Really, go slow!

 
IMG_6885 2.JPG
 

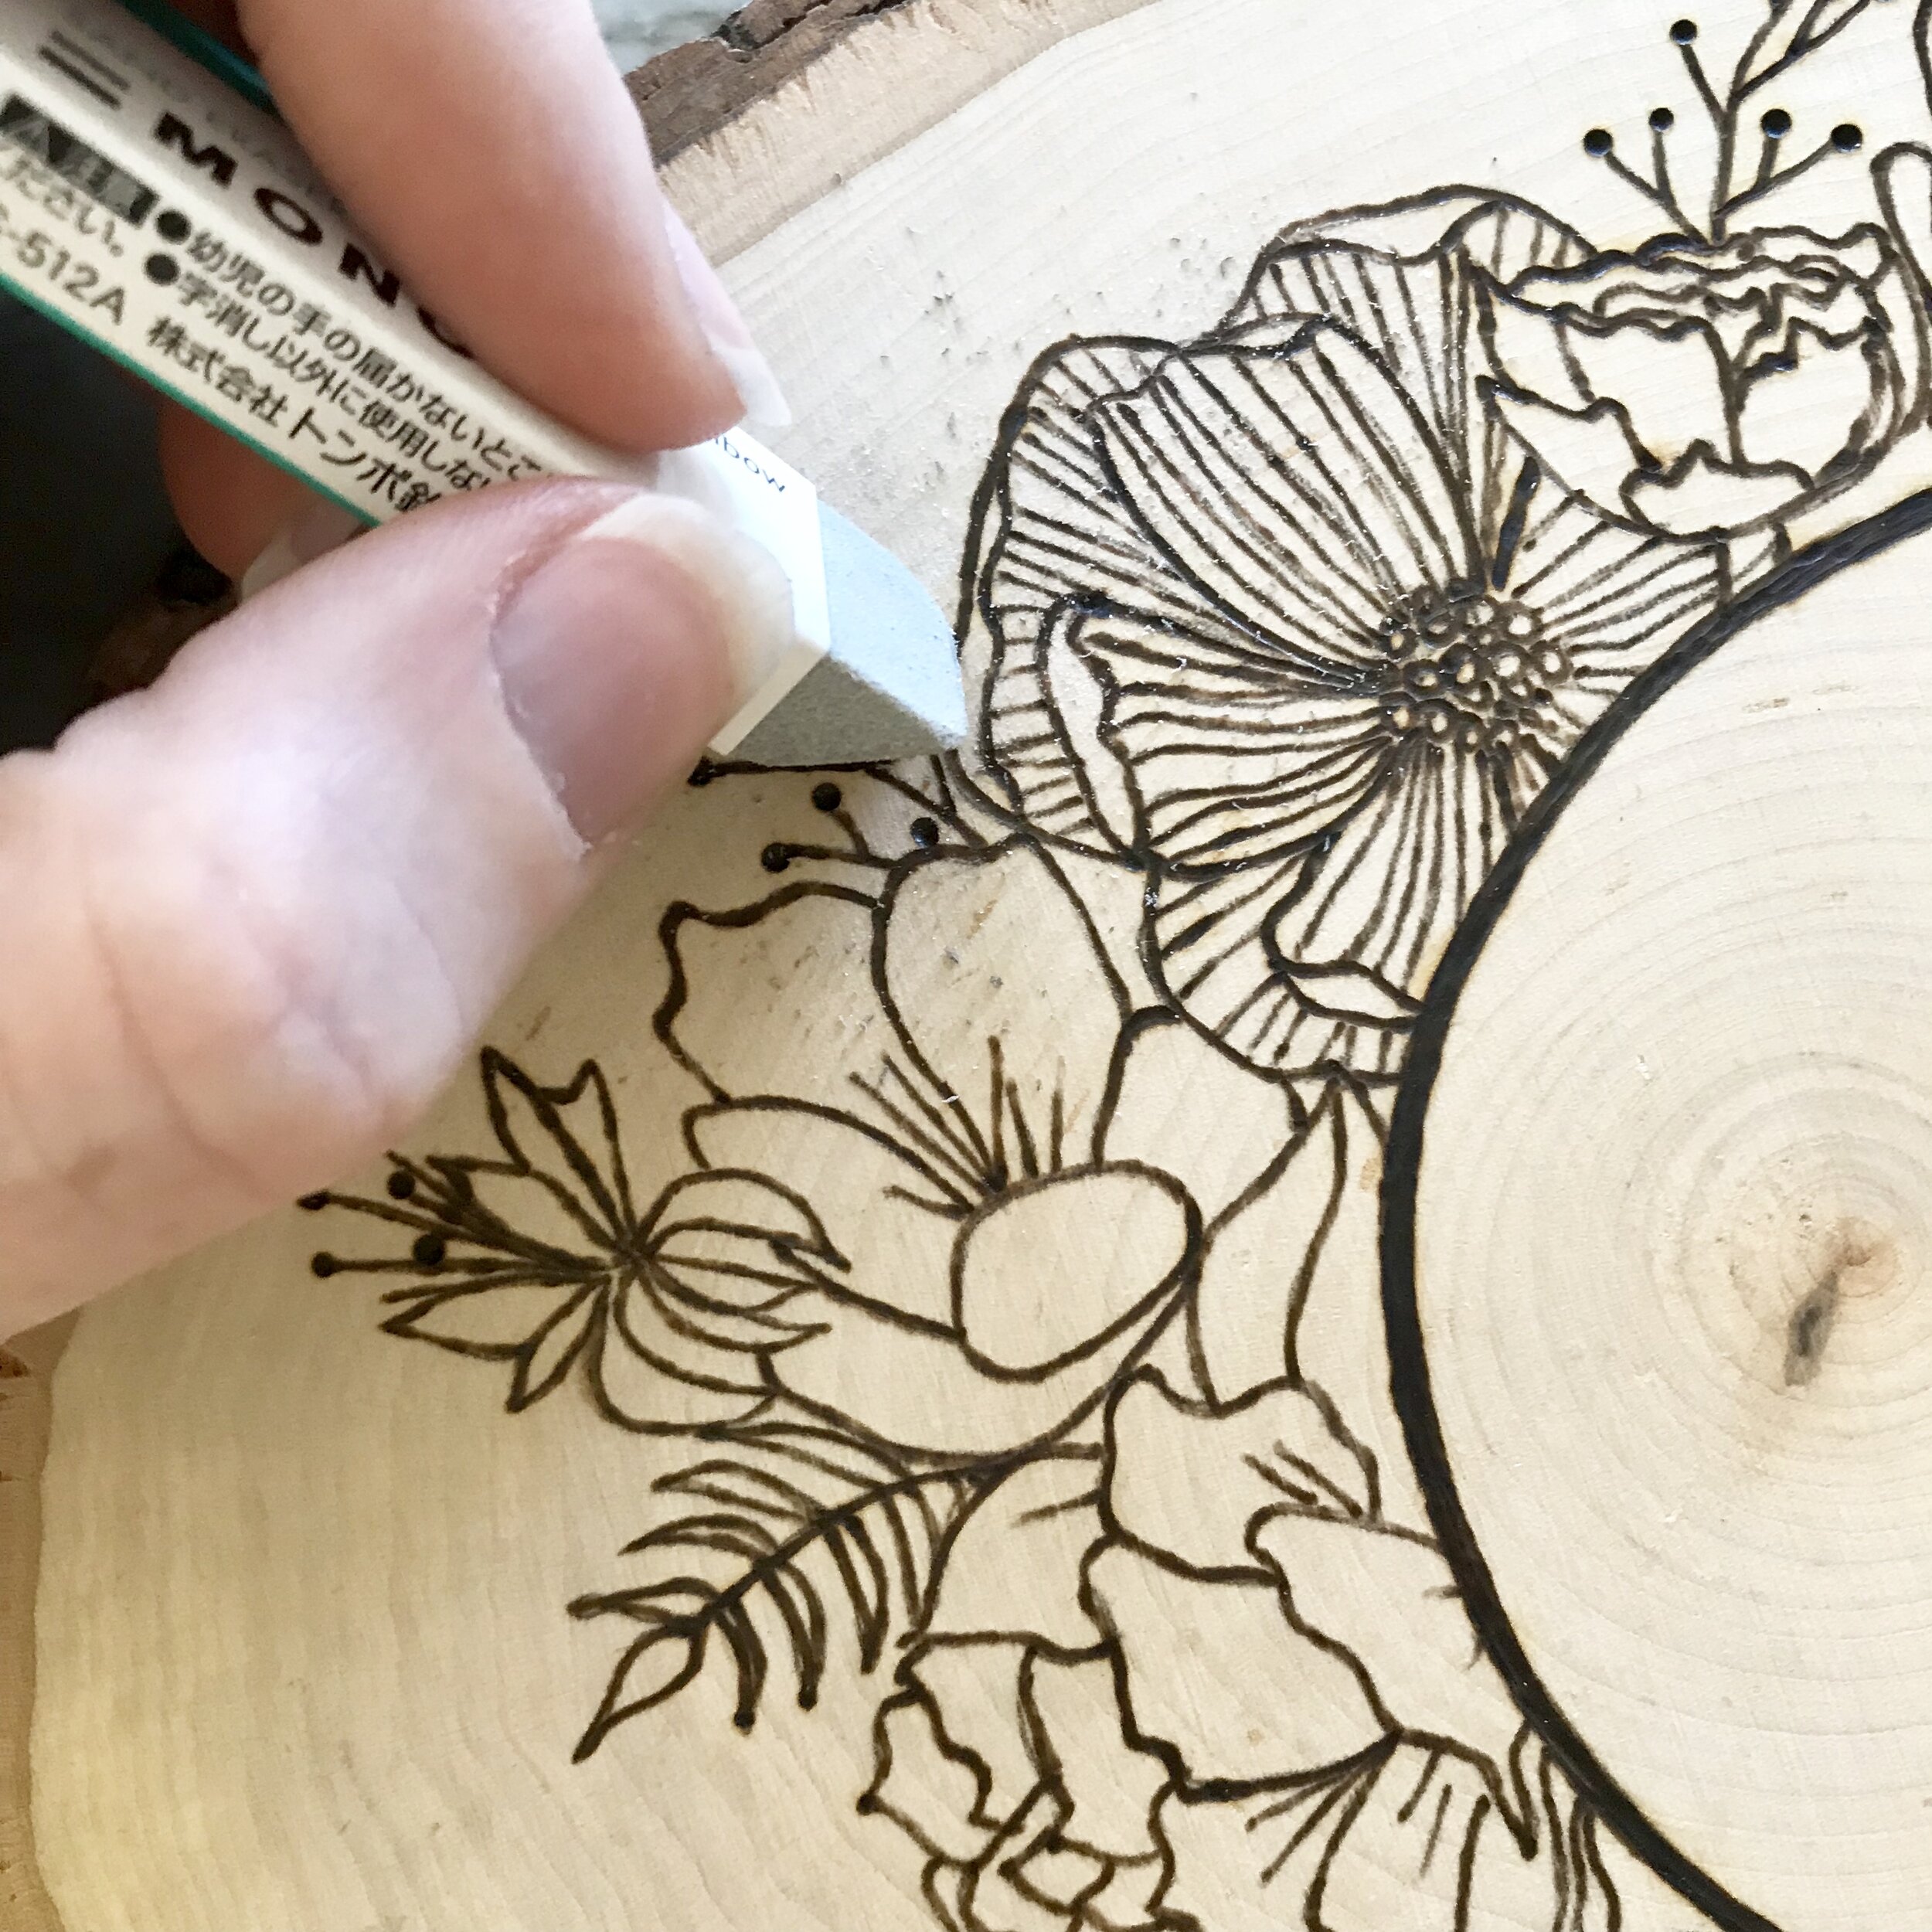
10. Once wood burning is complete, use a sand eraser to remove any graphite lines still showing. Check out: How to get rid of mistakes and graphite/pencil lines.

Add color or a finish, if you so please, then post a photo and tag @woodburncorner in it! We want to see what you create!

 
IMG_6880.jpg


Check out the Pyrography Troublshooting Guide to find solutions to common pyrography problems


Safety in Wood Burning


Pyrography is a safe hobby if you follow the safety guidelines and protect yourself. Please read thoroughly!


Take your health & safety seriously.


Your Set Up:

·      Do not leave a hot tool unattended; always turn off AND unplug the wood-burning tool before leaving the room.

Be mindful of turning it off, even if you only need to put it down for a moment to grab something. Trust me, it happens really fast and because the tool it so pen-like, you can forget really quickly how incredibly hot it gets!

·      Work on a clean, hard surface: The cords can move things, turning your wood can knock things over… Make sure your area is cleared off, clean, and solid. You really don’t want to me catching something that is falling, mid burn with a hot tool in your hand!

·      Work in a well-ventilated area: fans and/or fume extractors are always a good idea! (Position the fan right next to your work, facing away from you to pull smoke away from your face.) I also turn on this air purifier near my workspace. It’s got a washable carbon filter and easily replaceable hepa filter. It really takes away any doors almost immediately!

· Pull your hair up: if you have long hair. Any loose clothing or fabrics around you should be tucked away as well. Sparks can fly!

·      Use a set of pliers and a ceramic dish for hot tips: This will allow you to safely switch, remove, and temporarily discard hot tips without burning your table (some nibs can easily roll around).

Screen Shot 2020-05-04 at 11.47.29 AM.png

·      Make sure you have a solid docking station to put the burner down on, ensuring it doesn’t move around; tape it to the desk if necessary.

·      Teach children about safety. Kids are curious so make sure they know they can seriously hurt themselves when touching any metal parts. When your wood burning tool is in use; never leave children unattended around your work station. Kids love to press buttons (animals can also step on buttons and switches)!! Unplug your machine from the outlet if you’re not burning.

Your Wood Choice:

·      Make sure the wood you choose is dried, sanded smooth, and not chemically treated (no stains or other finishes). This includes your own finishes like watercolours, paints, gold leafing etc. Always do your burning first and then add in your colors and finishes. Check out the blog post about which woods to avoid burning on.

·      Check wood toxicity of the wood you will be using prior to burning a new piece. I like wood-database.com. Also, never ever burn on something that has a finish on it (any coatings, paint or even stain…). Always add your mixed media after you burn and if you missed it above, make sure to check out the blog post about which woods to avoid burning on.

·      So which woods can you use? Check out the blog post about the Best Wood for Pyrography.

The Smoke:

image0.jpg

·      Always wear a mask with a rating of P-95 or preferably higher. There are many different options; do some research and make sure the rating is high enough for smoke. Look for masks with carbon filters and don’t cheap out on this one!!

Which one do we love? RZMask is a great company for many reasons. Their masks are soft and super comfortable. They are reusable (change out the filter and wash the shell - this will save money and the environment)! Plus, they’ve got lots of styles and colours to choose from.

I personally like the M2 (like in this photo) with the thick strap because I always wear my hair in a high bun. RZMask has a variety of strap options for different sized heads, hairstyles and shapes…

·      As mentioned in the set up section above, ventilation is crucial for pyrography. Even though you have a mask on, the smoke is still lingering in the room you are burning… I use a small fan which pulls away the smoke from my face, however, to protect the lungs of those around you, you have a couple options. You can choose a room air purifier (again, make sure it has a carbon filter); I love the Winix brand - it is quiet, looks good and removes all the smelly stuff from the air really quickly!

If you are travelling and want something smaller, we suggest the Razertip Razaire Mini - Smoke Extractor. You kind of have to be close to the machine (I usually set this up on my wood slice), but it is light and portable so its perfect when I am on the go!


·      Avoid smoke inhalation and eye irritation by working with your face tilted to the side of the wood being burned (wear eye protection if you burn hot and tend to sit close and lean in to your work).

If you feel any dizziness or headaches coming on while burning, stop and assess your situation.

Take breaks often!

Always follow all safety precautions set by the wood burning tool manufacturer.


Burnt October 2018

These Burnt Month Challenges all started with #BurntNovember back in 2017!

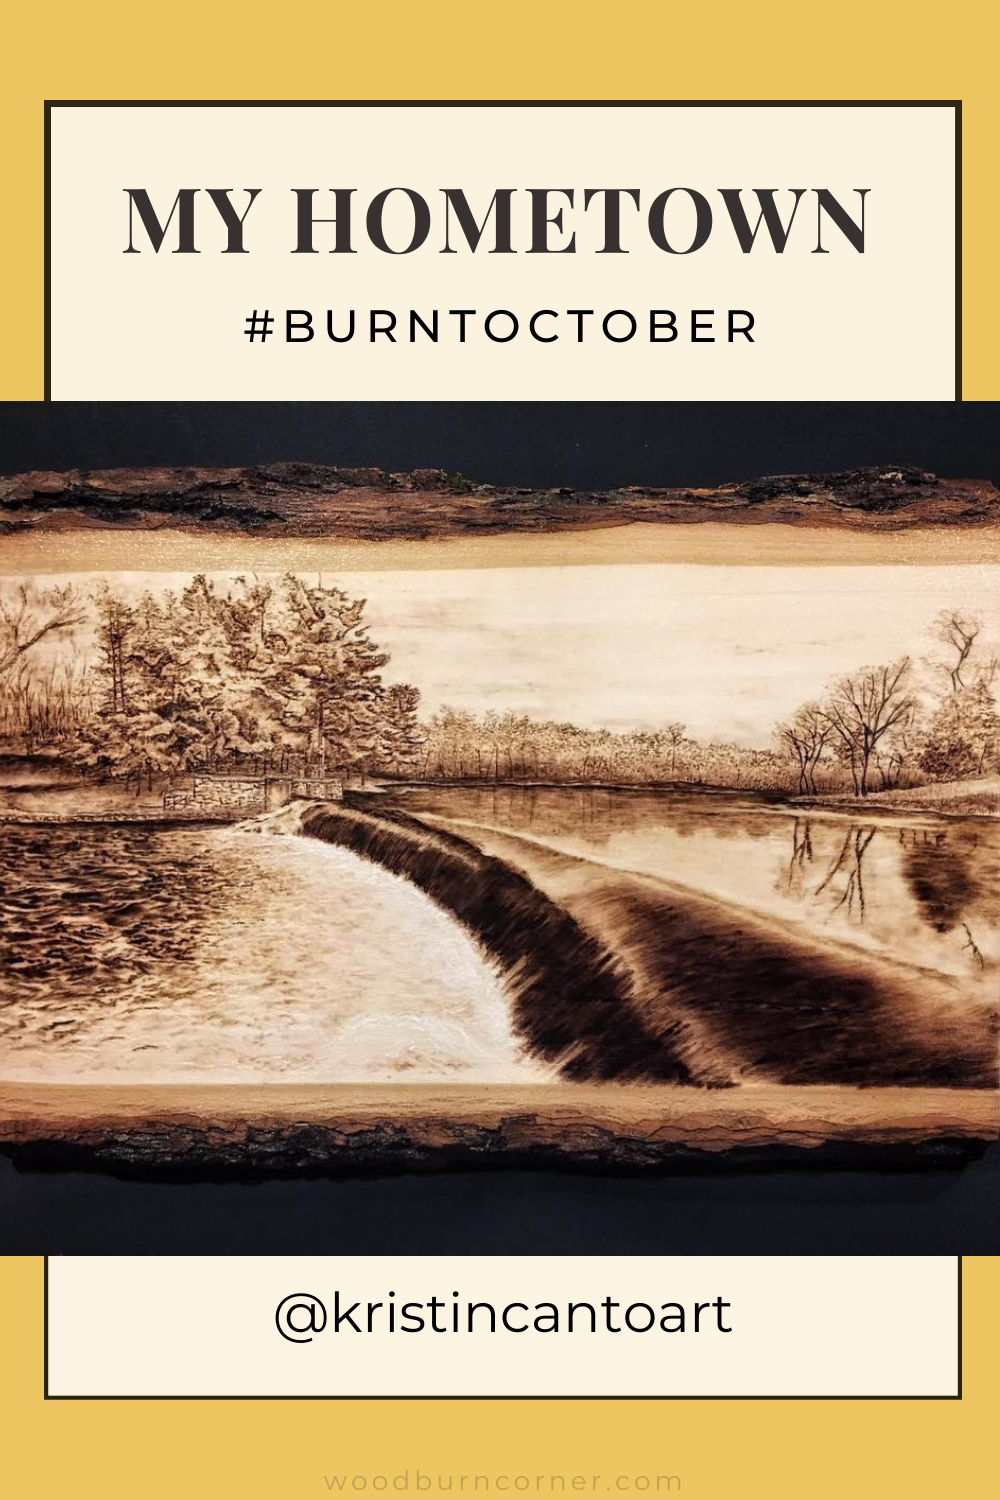
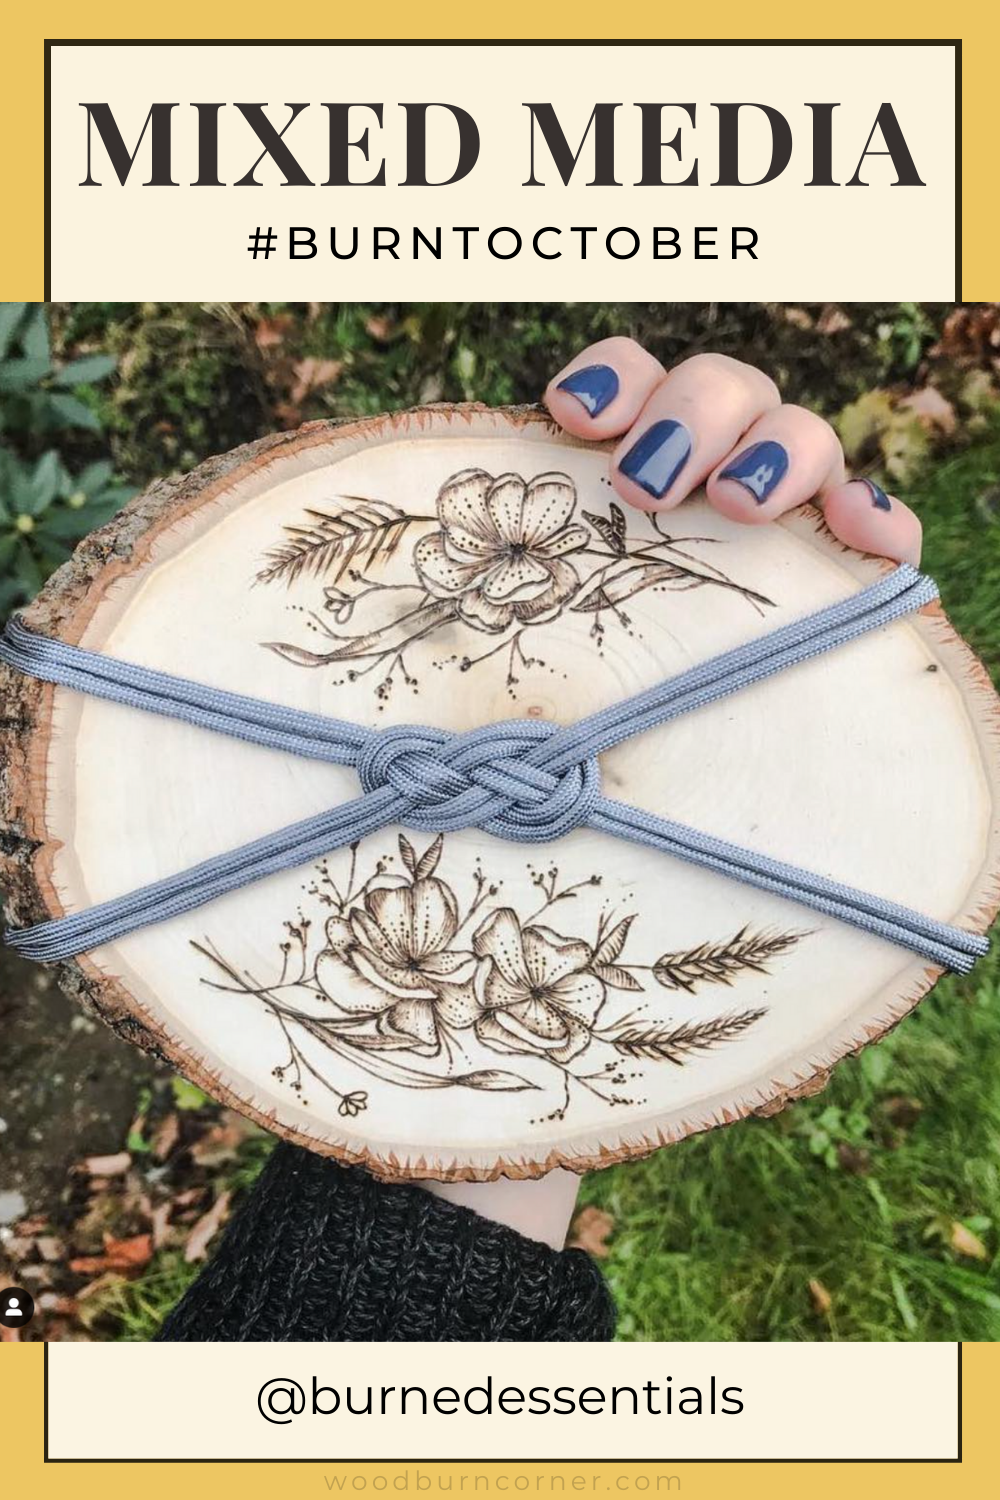
Burnt October 2018 was amazing! Held on Instagram, #burntoctober is an every-other-day art challenge for wood burning artists of all stages. It was created for artists to push their craft, expand their portfolios with new art, gain followers, try new things, meet fellow pyrographers, sell art, and have a lot of fun. Scroll down to see the featured artists!

This is a sponsored challenge and post from our friends at Walnut Hollow, the amazing makers of excellent wood surfaces and wood burning products like the wood and burner in this photo of the amazing prompts we have for you next month.


Thank you to all of you for joining in the fun. Can’t wait for the next one!

Click here to view past challenges!

These challenges are a great way to hone your skills, grow your following, try new things, and meet your fellow wood burning artists. #communityovercompetition

Interview with Kayla from Rustic Wood Supply


Screen Shot 2020-05-07 at 10.15.56 AM.png

Company Name: Rustic Wood Supply
Name and Role: Kayla & Seth Stallard- Owners
Location: Murphy, North Carolina
www.rusticwoodsupply.net and @rusticwoodsupply


When and how did you start Rustic Wood Supply?

We started Rustic Wood Supply in 2012. We were planning our wedding and I was trying to get ideas for decorations that we both liked. Being from the mountains, we both like the "rustic, country" look. I found some wood slices on Pinterest and began to show them to my husband. He said, "I am not buying those when I can make them."  After researching some on Etsy, we realized that there was not many people selling them so he decided to give it a go. His idea was to just make $50 or so here and there just for a little gas money to get back and forth from college. Soon after, I was quitting my job at a hospital to help him. Little did we know just how much God would bless us!


How many people are on the team at Rustic Wood Supply?

It is just me and my husband. He gets all the trees and cuts all of the wood. I do all of the computer work, packing, shipping, and grinding/sanding all the wood.


How and where is the wood sourced?

All of our wood is locally sourced. We work directly with a couple of loggers and sawmills. Sourwood is a small tree that has no benefit for the logging industry. So we go ahead of their crew and get what trees they are just going to run over. We try to do this so we can make use of something that will simply be left to just rot. We live in an area with vast amounts of mature standing timber. In order to directly help wildlife and keep the mountains healthy, certain portions are strategically logged to promote new growth and vegetation to help suply an abundance of wildlife and mountain species. Logging is often looked down upon, but it is actually very beneficial to give back to earth. We also do storm work. We do not get many strong storms because of the mountains around us, but when we do, we use downed trees from these events.

What kinds of wood varieties do you offer?

Our main two wood species are sourwood and poplar. We do work with pine and can access other woods if preferred. However, most of our customers prefer the sourwood as it so easy and good to work with.

Can you show us some of your products?

CE754AFD-47D8-48F9-BF5C-16E68413DDC8.jpeg
7B3AB7D8-BD95-4CF2-8E97-5068A32EF31F.jpg

How do you prep the wood? Is it dried? Is it sanded?

Everything that we cut is cut green and then air dried. We do not have a kiln. This is a process used by large companies to mass dry more wood at a faster rate. Everything we do is cut to order and air dried. It might be a little slower than a kiln, but still very accurate.  Acceptable percentage in kiln dry wood is 8-10% and air dry percentage is 1-6%. We do not have a very large inventory as we like to stay personal with our customers and take on a large amount of custom orders.  All of our wood is sanded smooth. The small slices we offer are cut smooth, and the larger live edge pieces are sanded down before sending out.

 
E7D813BF-39CA-4D10-BA9C-6E5F7FC80711.jpeg
4F352C49-5483-4A61-850A-9FEFE672B85F.jpeg
 

What are your recommendations for wood storage?

We recommend just keeping the wood stacked and out of the direct sunlight. Also, extremely hot areas can cause some of the wood to crack so stored in a cool, dry area is preferred.

When did you discover that wood burning artists loved your wood?

Not long ago, we started trying to expand our social media. We quickly realized that there was a large wood burning community on instagram. It was about 7 months ago when most of our activity on instagram showed us that wood burners really loved our products. We have had a lot of great feedback from the wood burning artists on our sourwood slices. A lot of people had never heard of sourwood, but customers are saying that it burns beautifully.


What percentage of wood would you say goes to wood burning artists?

I would say about 30%.


What other things do you see your wood slices being used for?

A lot of our slices are used for weddings. They use the round live edge pieces for centerpieces, cake stands, or food decor. In the fall, we sell thousands of our small coaster size slices for companies to turn into ornaments. We have had several customers create a large wood slice wall. They have all turned out beautiful! A lot of our slices are used by engraving companies. The slabs have been used for home decor signs, serving trays, and even interior design.

B93355C3-D583-4EFD-8C4F-F5415D758FD4.jpeg
4A5C105B-56AE-43E4-9C2C-EB01D3E5B1C5.jpeg
 

Are you shipping now and where do you ship?

We are shipping now. We are just limiting how many days that we do ship. We have cut down to only shipping about 1 day a week. We do offer shipping everywhere in the world. International shipping can be expensive, but if the customer is willing to pay for it, we are happy to do so! The only country we have had problems shipping to is Australia. They do not seem to let the wood through customs and it ends up getting sent back to us.


Any new products in the works?

We are working on offer some free standing slices. We already make them for customers, but they are just not on our website yet. We are also going to launch new sourwood mini slabs. They will be live edge on both sides ranging between 3 and 5" wide and around 1 ft long. 


What goals do you have for Rustic Wood Supply?

To us, being personal with our customers is huge and means a lot to us. As just a husband and wife team, we like to know our customers and engage in the community. We like to personally see what happens with the wood we cut and really enjoy seeing what people turn it in to. We pride ourselves in having the best quality small wood slices as well as the most affordable prices and we always want that for our customers. We also would just like to get our products out there and make people aware of the quality of our wood even though it is not as common as others.  Our goals are to just stay personal with our customers and put our best work in for them to ensure the best quality in our products.  We are at a point where we have grown some and people do know about our company, but at the same time, we enjoy being the small business that we have become and just hope that we can simply support our little family of three!


A Case for Unfinished Woodburned Art

Do I need a finish for my wood art?

Some say it is a big no-no to not finish a wood piece, while others love it. I am here to build the case for the unfinished, un-lacquered, un-stained, un-oiled, as-is, natural, raw woodburned art.

IMG_2008.jpg

What happens to the wood over time?

The first piece I ever created, my wedding name sign, back in 2011 still looks as good as the day I burned it. I didn’t finish it with anything. No oil, no stain, no varnish — nothing! It has been hanging on my wall for almost 10 years. While my craft has improved, this is still one of my most treasured burned pieces and I love that it has held up to time. But, I also love that even if it didn’t hold up or if it eventually fades, I can easily add to it whenever I please.

I am not saying that there isn’t a time and place for finishes, I actually think they help in many many cases, but that is for a different blog post: Finishing Your Wood Burned Art: How and Why to Finish Your Wood Burned Art.

For my wood burned art pieces that will be hanging on a wall, I prefer to leave it raw.

IMG_2014.jpg

7 reasons why I leave my woodburned wall art raw:

  1. I love the contrast that the light colored wood has against the darkened burn lines. When almost any finish is added, that contrast diminishes.

  2. By not finishing the piece, you are able to go back and add or edit the piece later on, you can touch-up areas if they fade over time without any prep work or damage to the original piece.

  3. It’s cost effective! It doesn’t cost any money to leave the wood as-is.

  4. You aren’t going to ruin it by choosing the wrong finish or by applying your finish improperly. Nothing is worse than ruining a finished piece in its final step.

  5. It won’t yellow, crack, or chip off over time. It also will collect less dust and dirt than your oil based finishes.

  6. It’s not going to ruin any color you add to your piece. It won’t smear, discolor, or fade any mixed media you add.

  7. It’s a time saver! You don’t have to prep the surface, add the finish, sand between coats, and wait for it to cure.

This is not to say it doesn’t come with its disadvantages, but for wall decor, that is out of sunlight, and not being touched, I think it is a fantastic option.

There will be plenty of people that disagree, and that’s ok. You go right ahead and finish your piece, but for those wanting to leave it raw, here is your permission.

IMG_2013.jpg

What are the disadvantages of leaving your woodburned art unfinished?

There are obviously some cons to leaving the wood raw. It doesn’t protect against - oil, fingerprints, dirt, dust, dents, UV, or water - but a lot of finishes don’t either.

For any kitchenware, I would never suggest leaving it raw. ALWAYS oil your kitchen wood items with food-safe finishes. The oil will protect them and keep them looking beautiful.

Anything functional art that is going to be handled, touched, and used I recommend applying a finish. This will help protect it from fingerprints, dents, water and damage. Check out: Woodcare 101: Preserving Your Pyrography Art

Considering unfinished?

I hope my case for the raw, unfinished, natural, as-is wood art has convinced some of you to give it a go. To leave your art unfinished, save a little time, money and frustration. For those beautiful woodburned art pieces that are going to decorate someone’s walls, to be admired, but not touched, consider leaving it raw.

IMG_6885.JPG
 

Check out these other helpful blog posts

Adding Watercolor to Wood

Getting kids involved with your pyrography

Transferring Images Using Heat and Without Using Heat