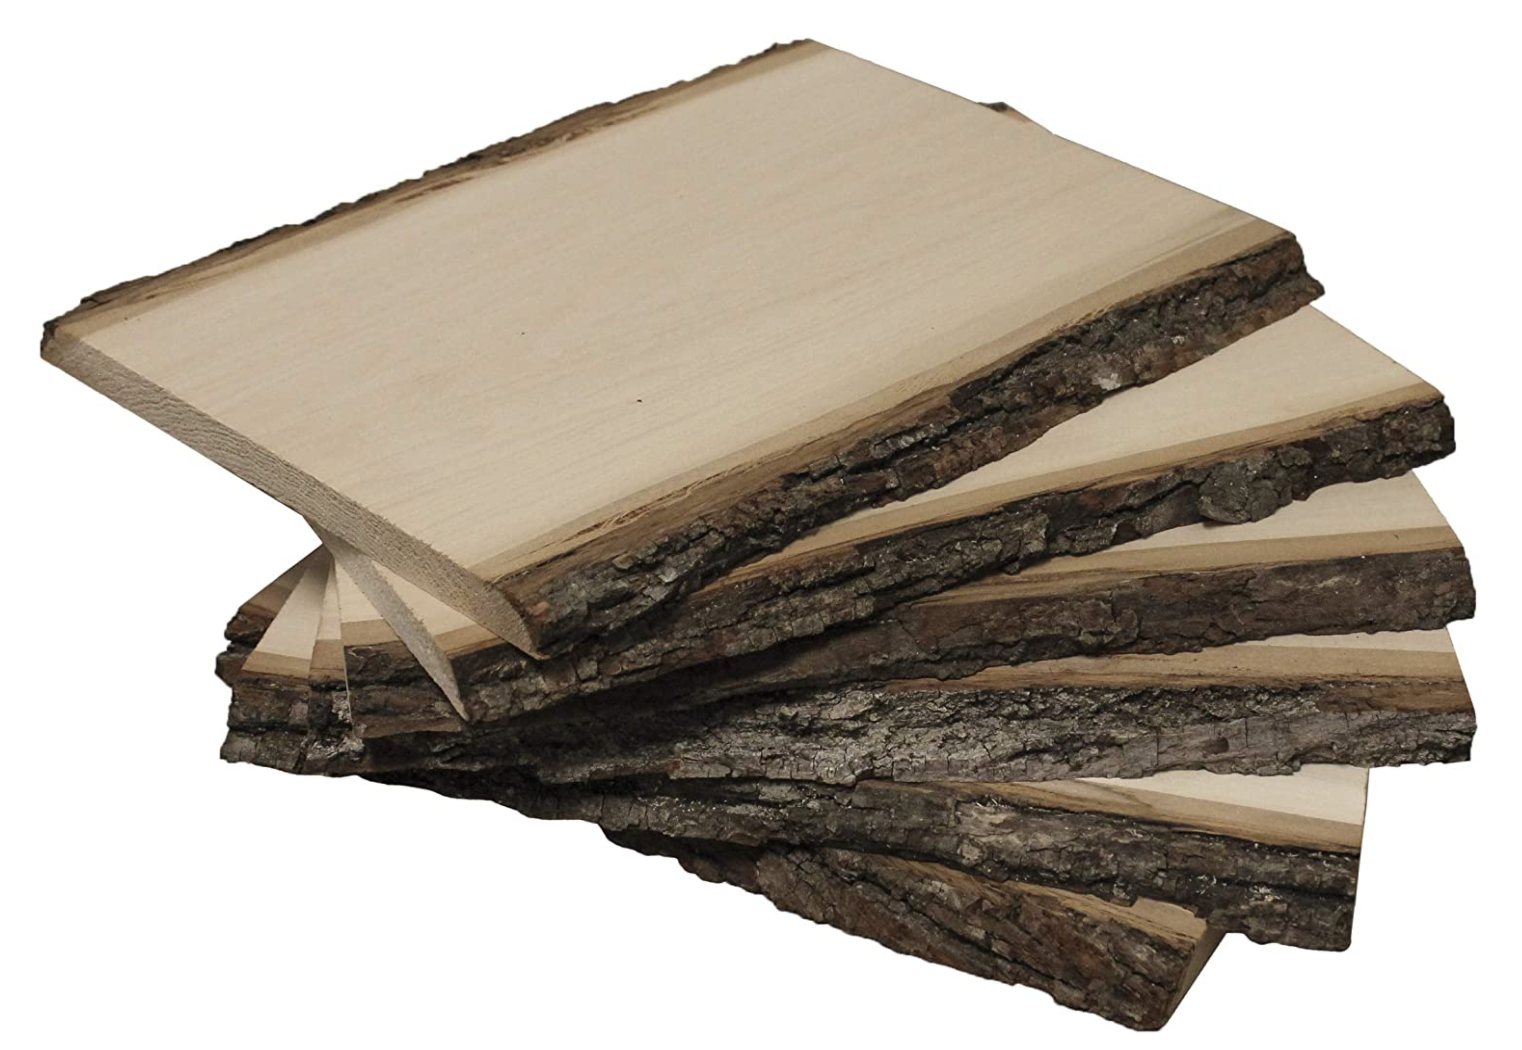
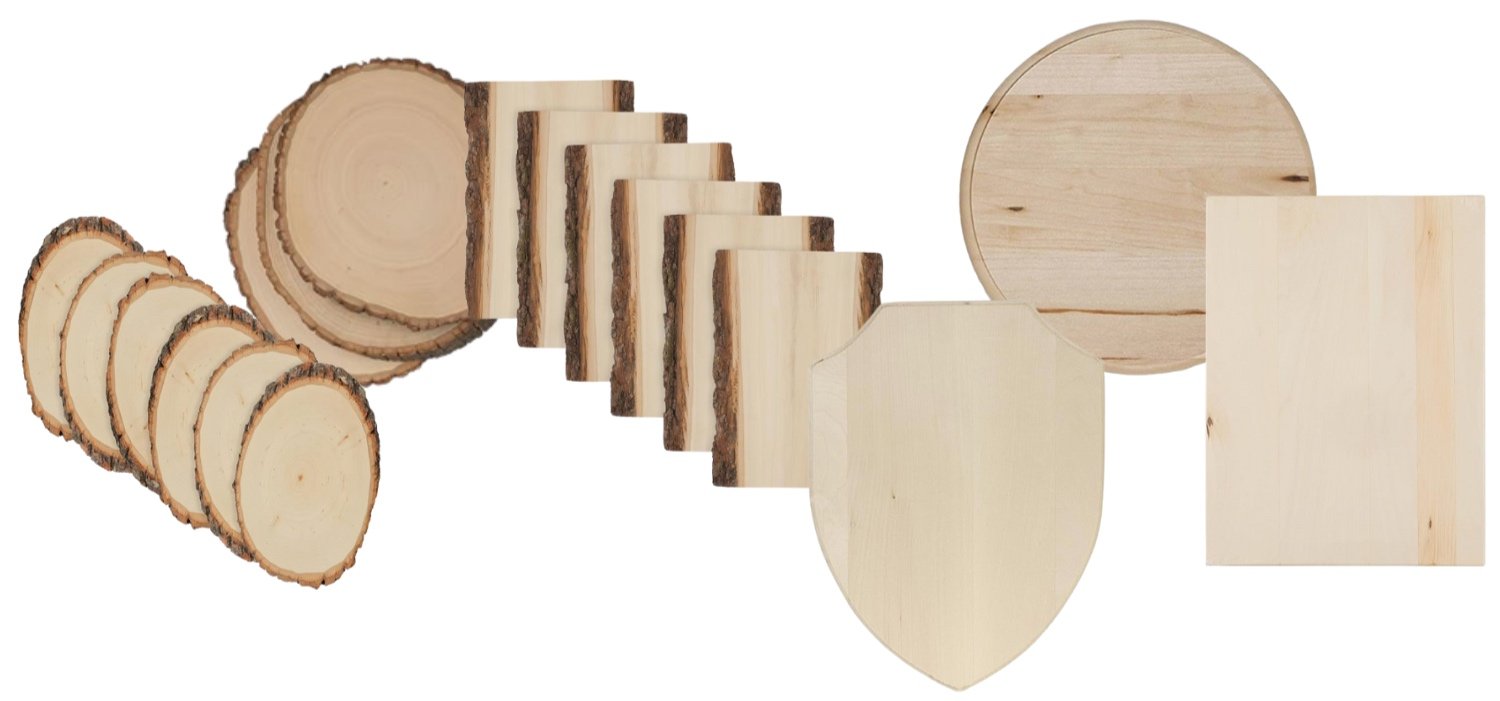
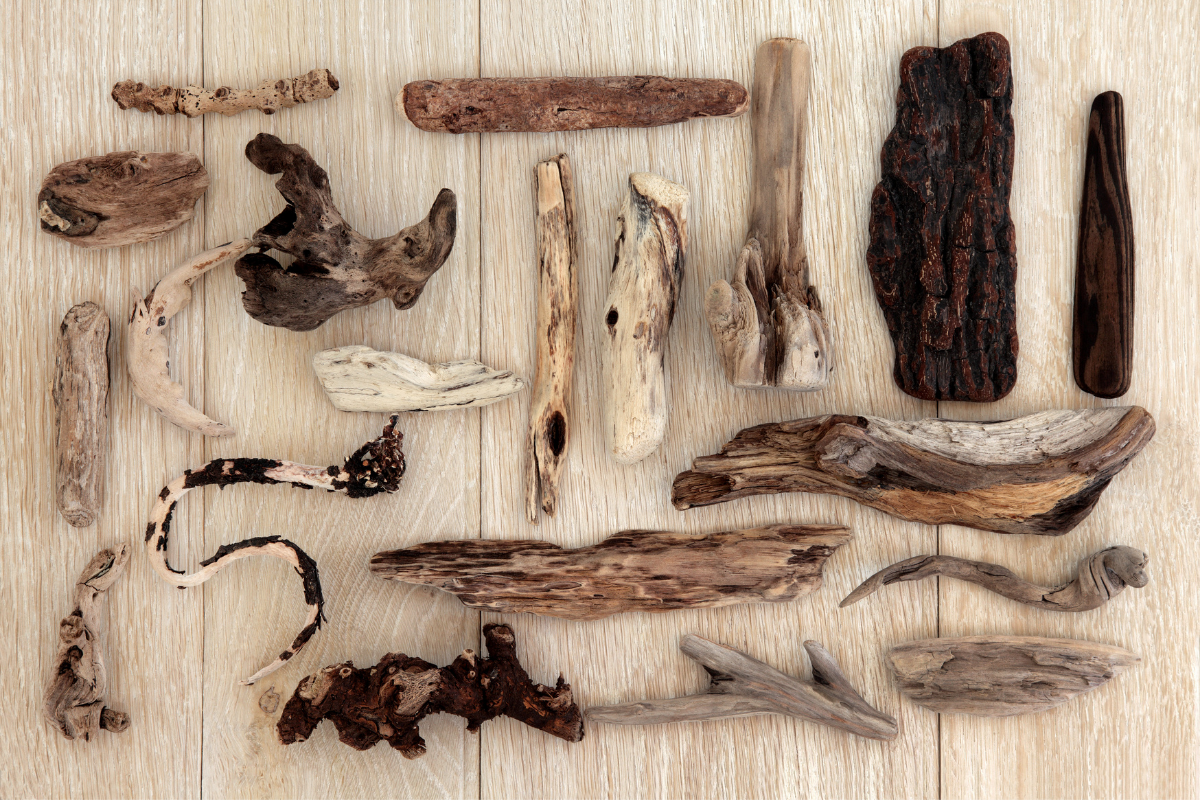
There is a whole world of wood. “Acrylic painting on wood.” What does that tell you? NADA. What kind of wood? Can you even tell your artwork is on wood? Does the wood have live edge bark? Is it a crisp, clean cut piece of wood? GIMME THE DEETS! Is it thick, like ¾”, or is it a thin slice of birch plywood? Your people need to know. Your people should be able to imagine this piece of wood without looking at it.
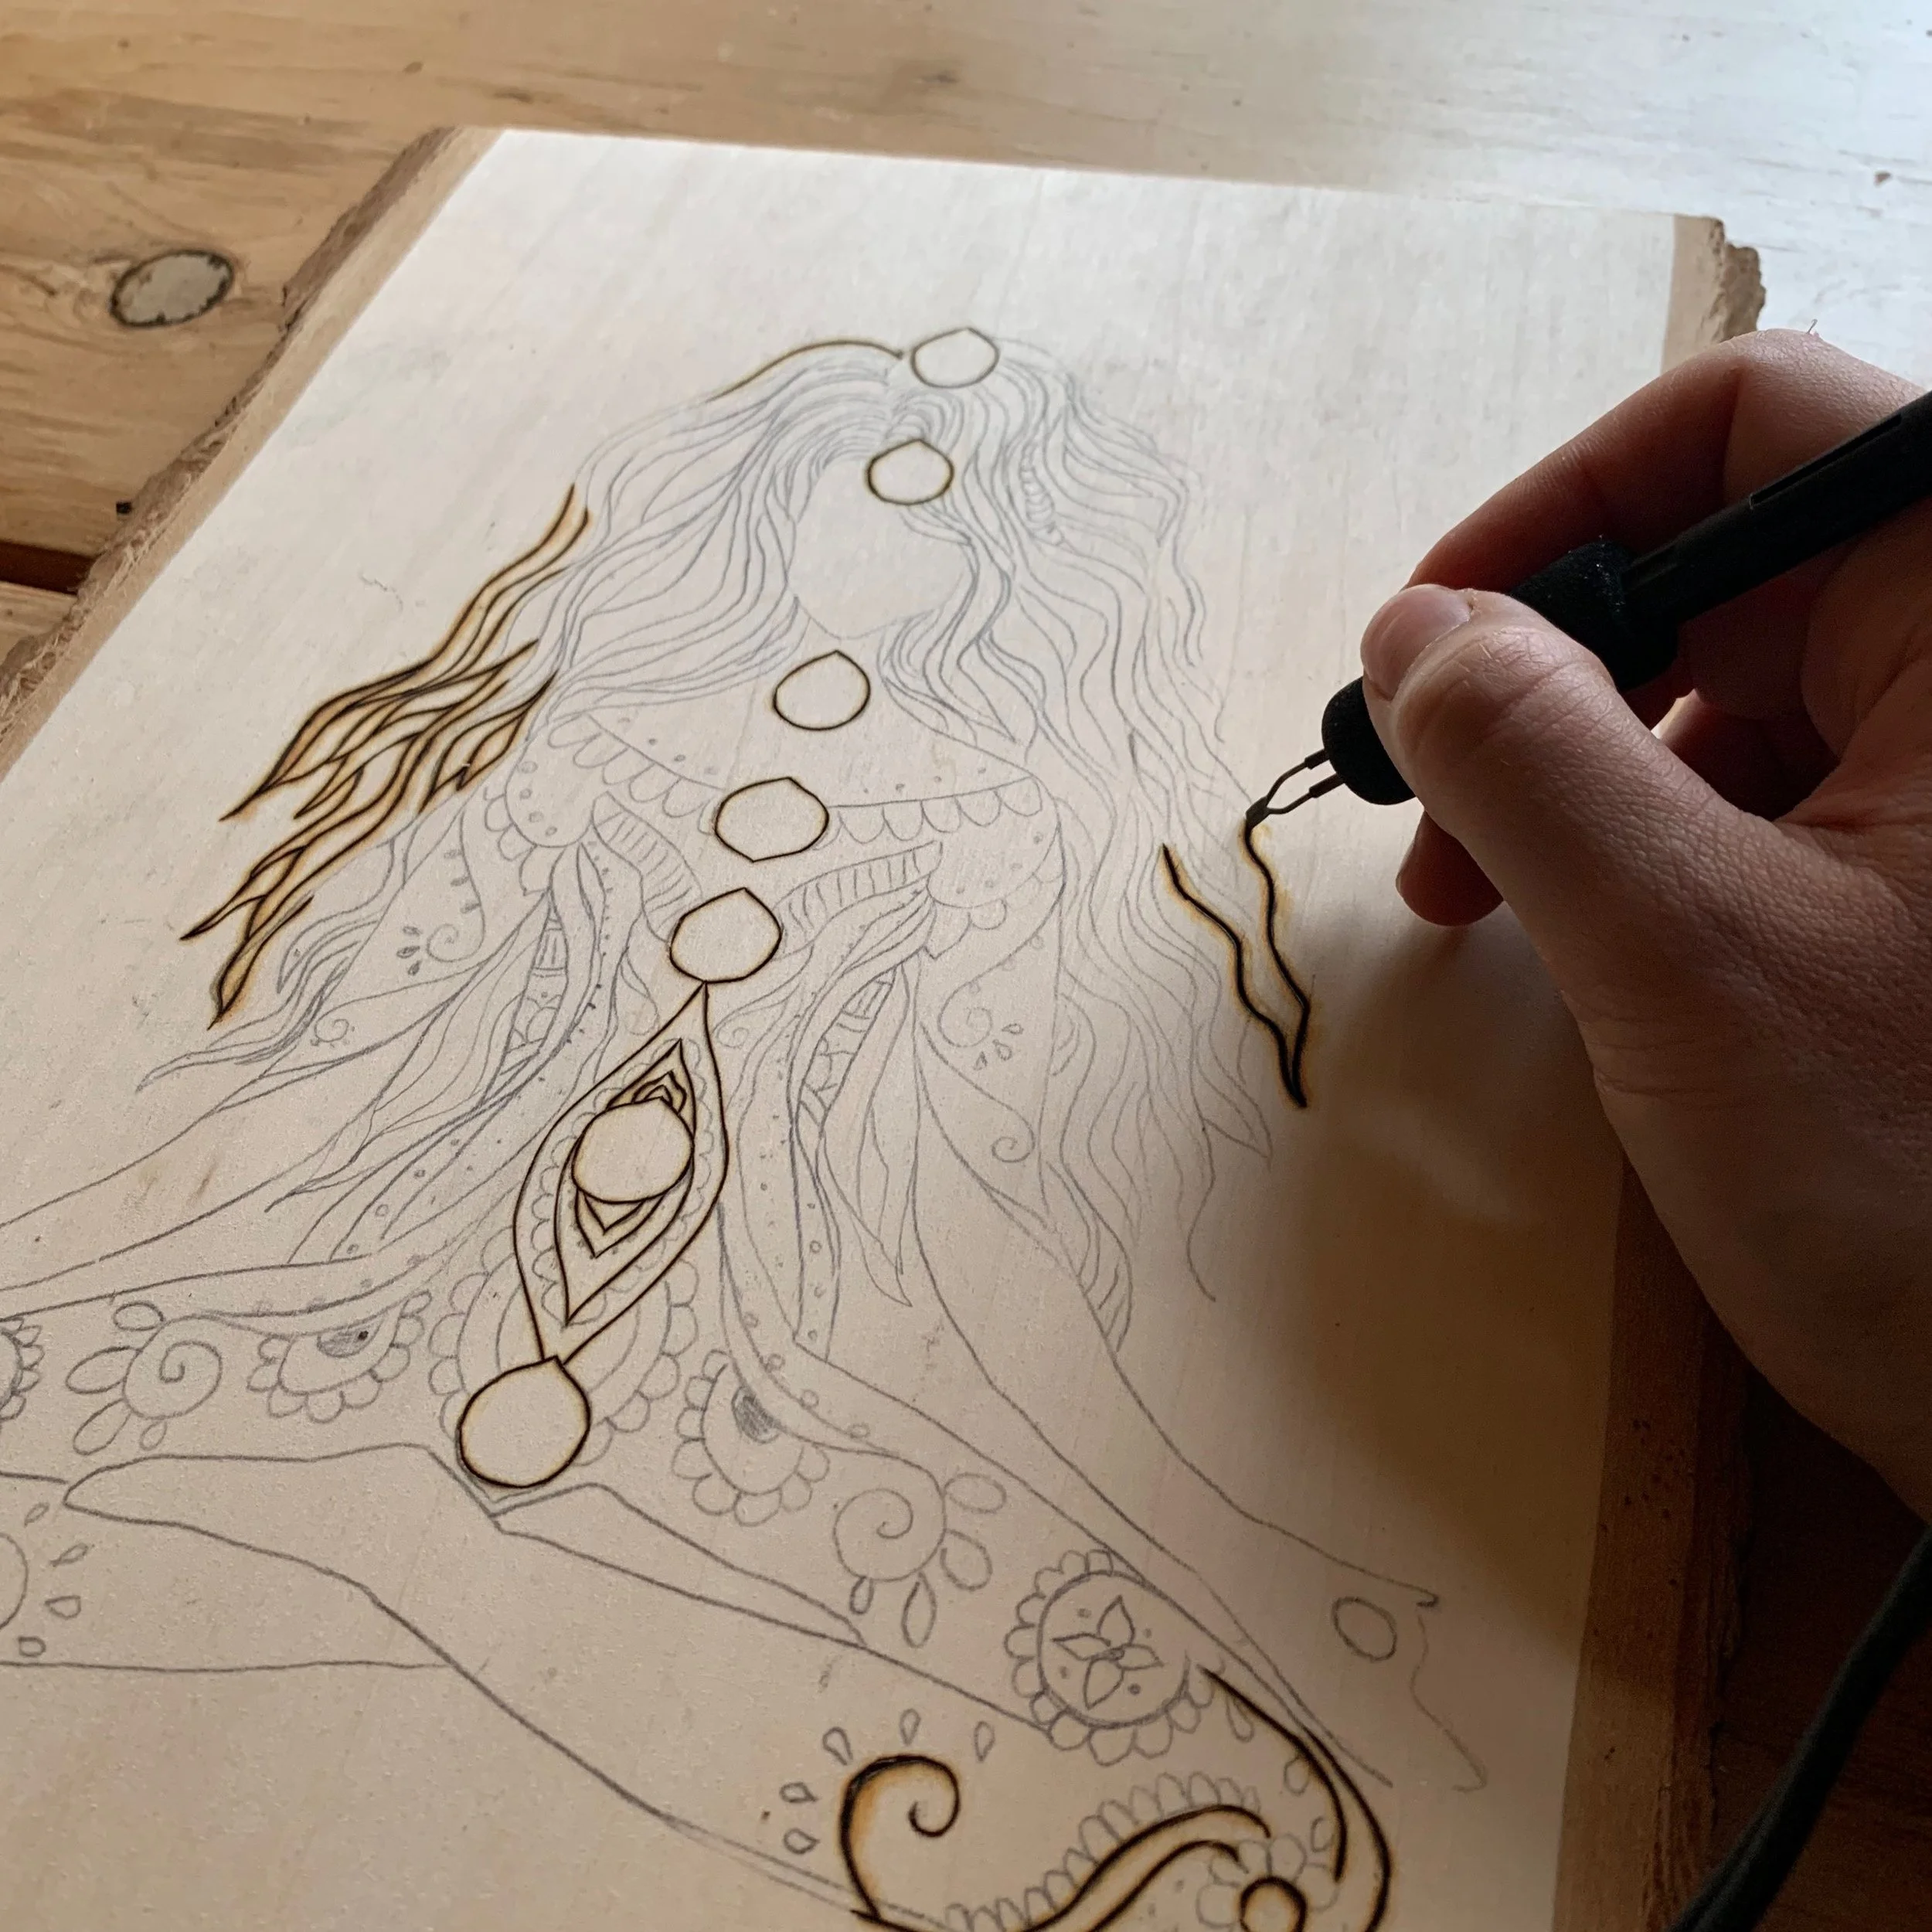
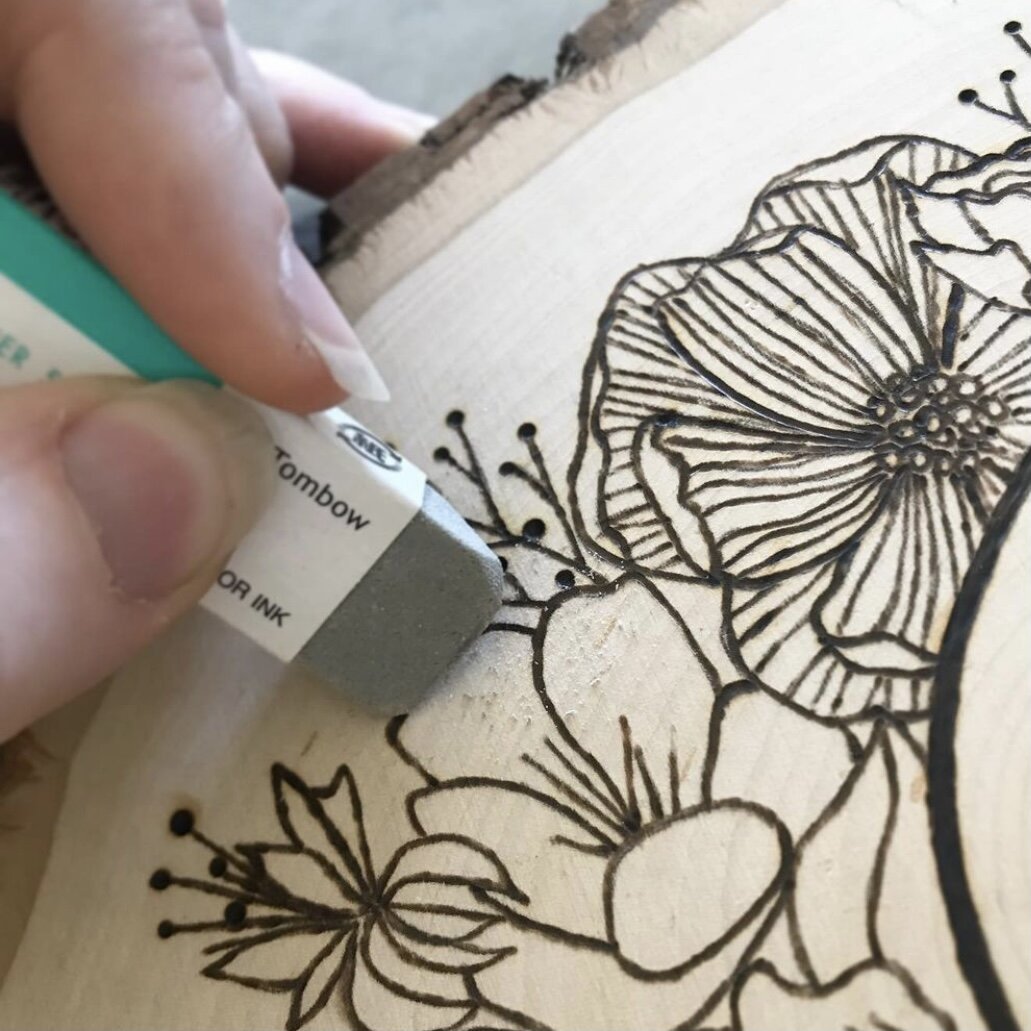
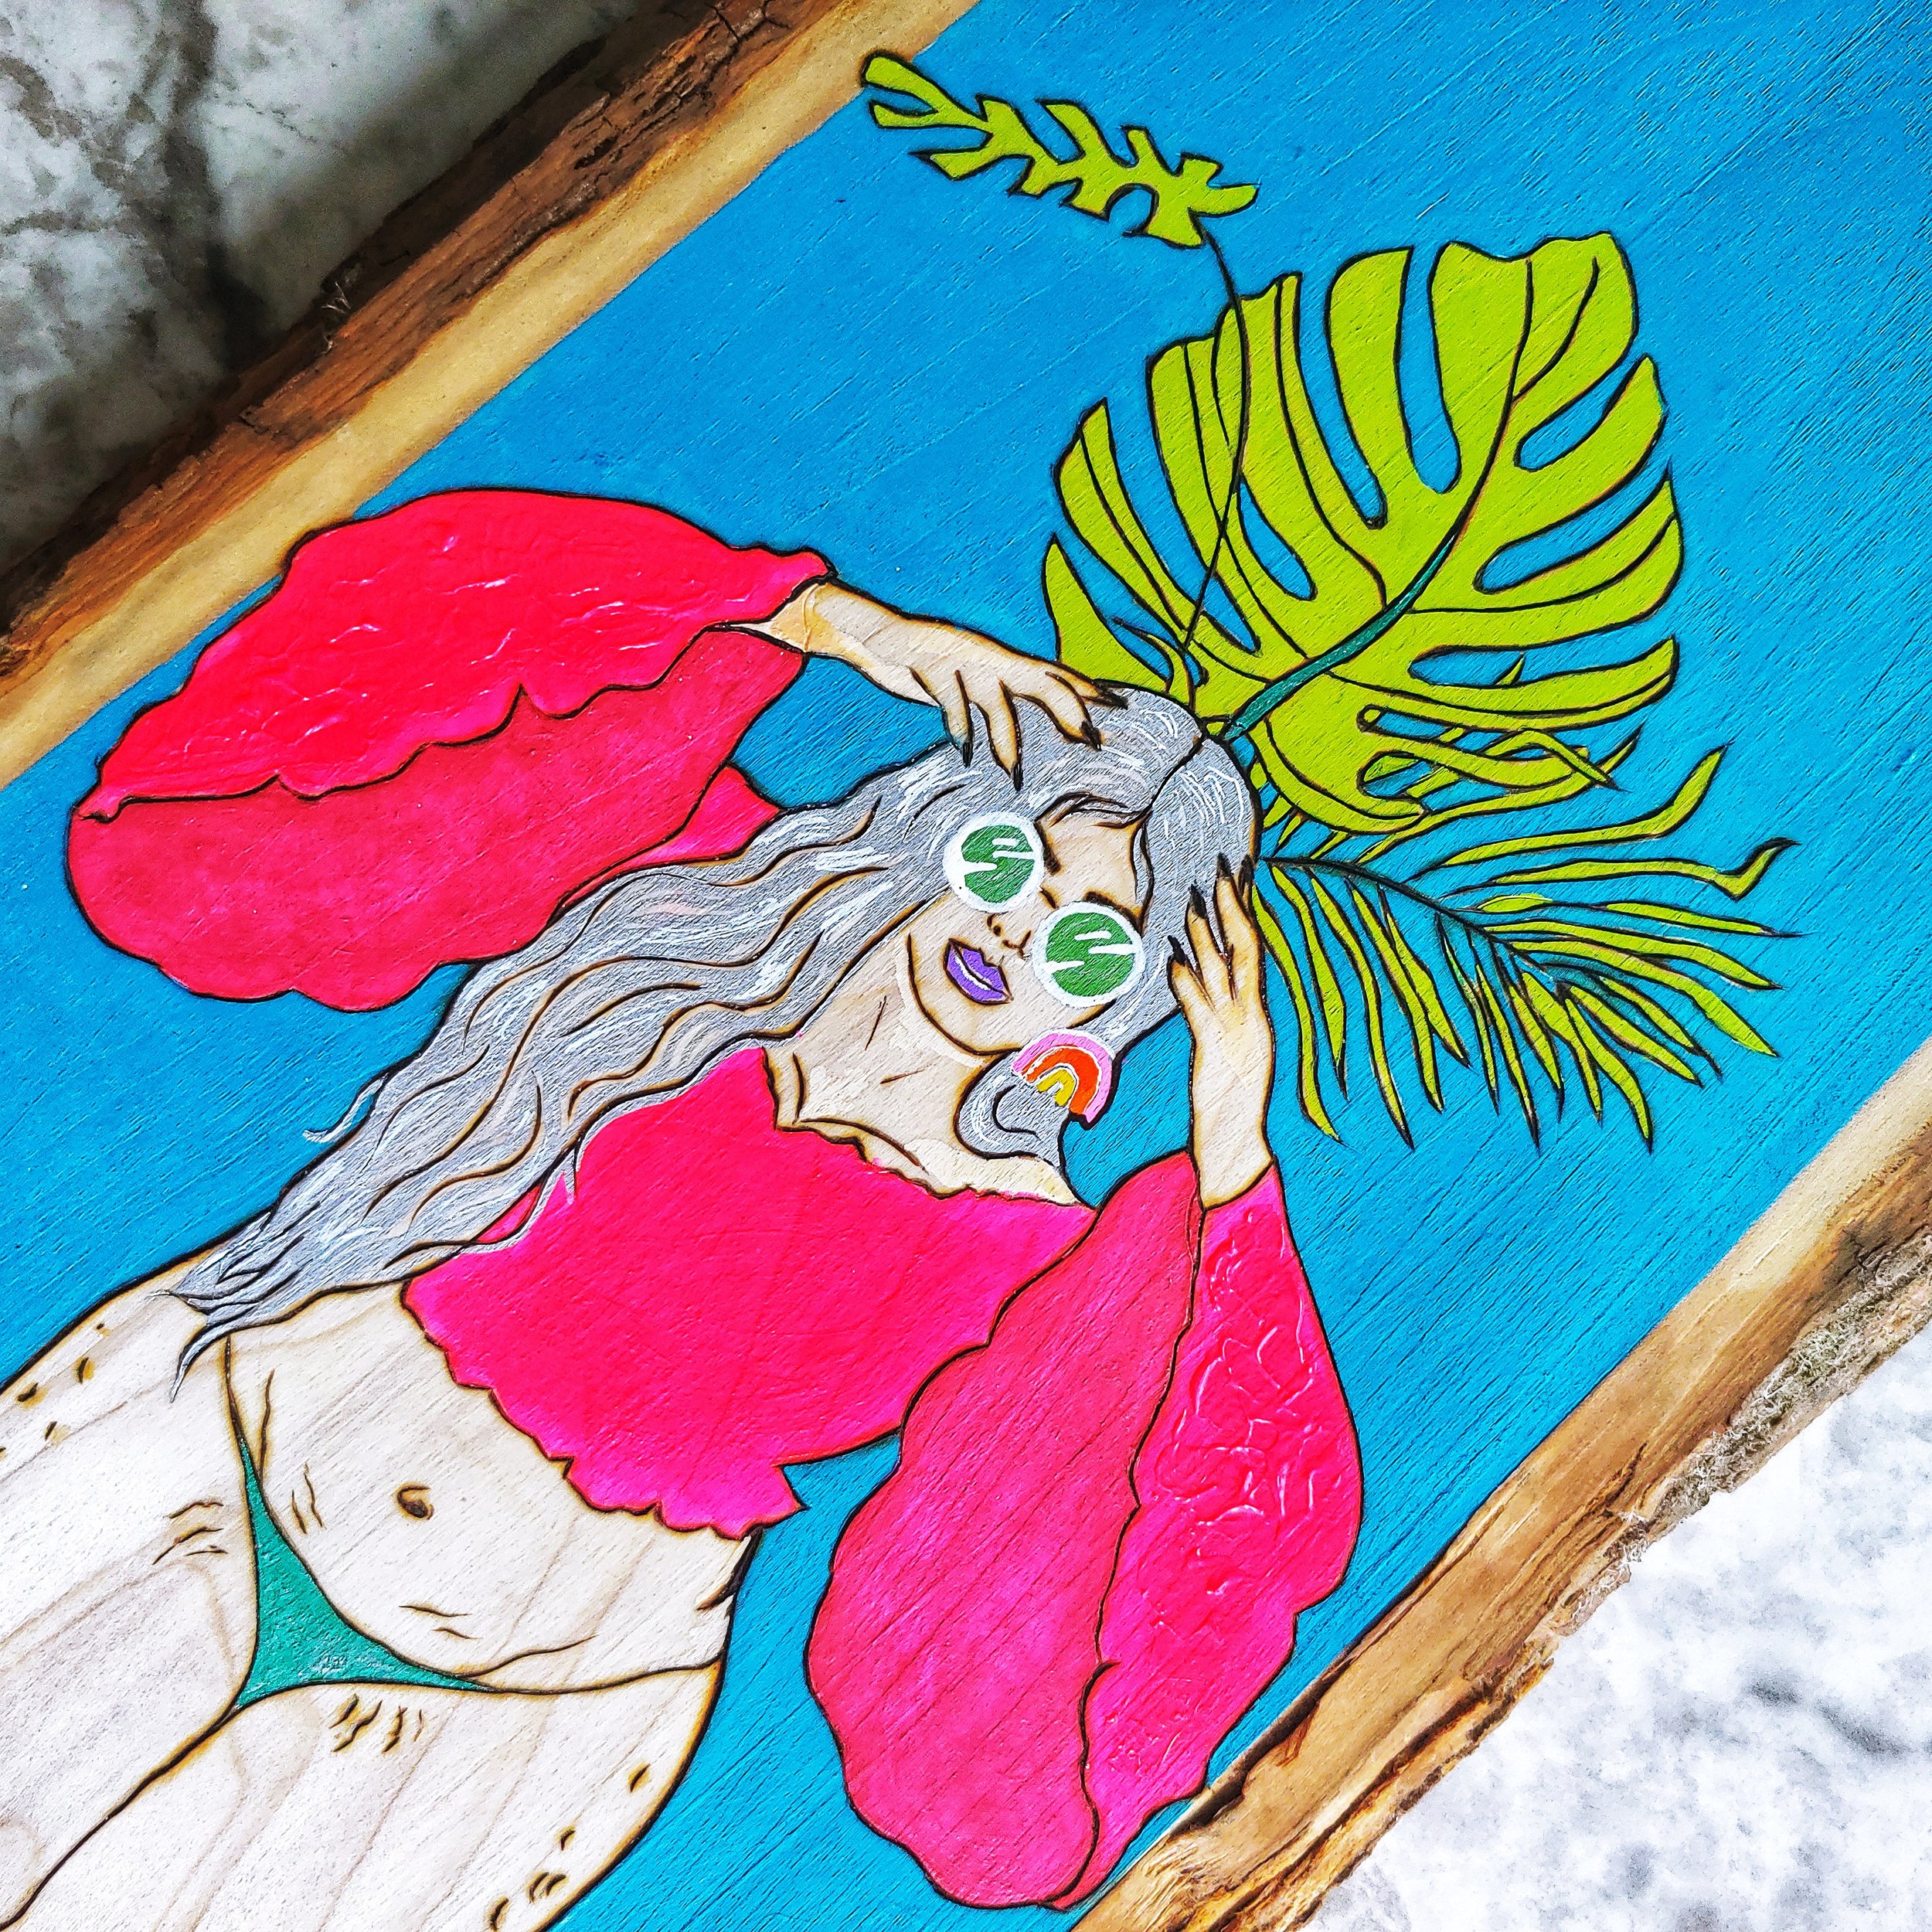
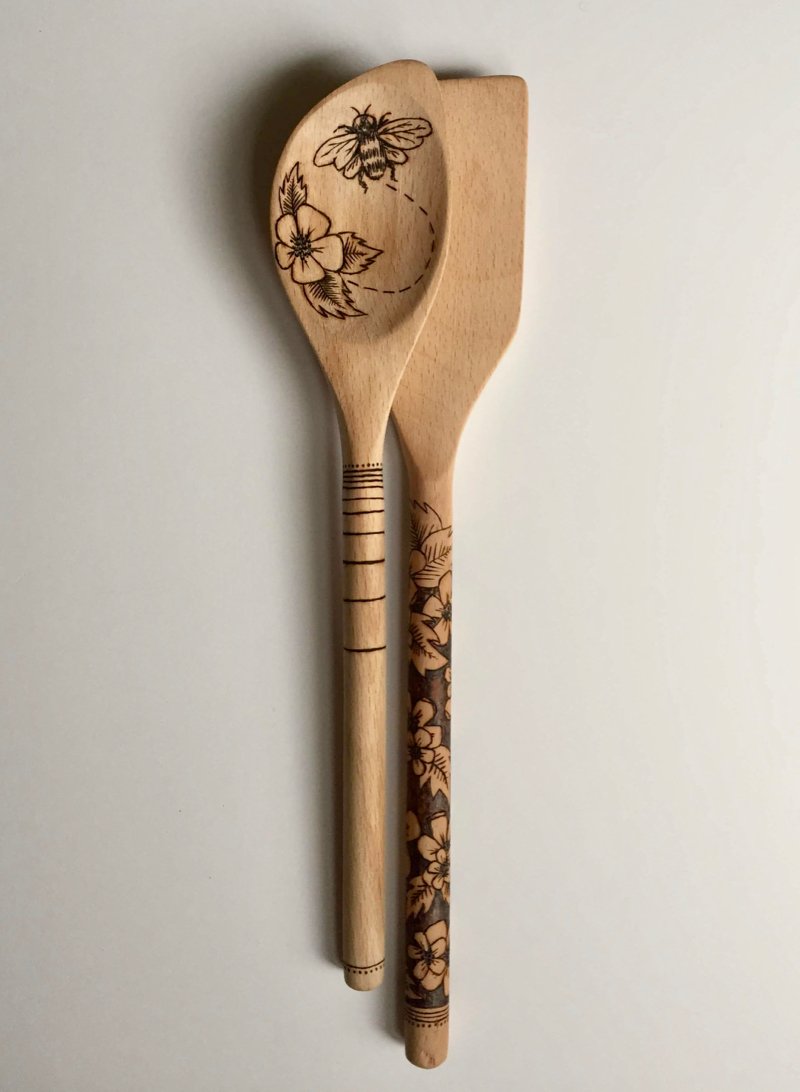
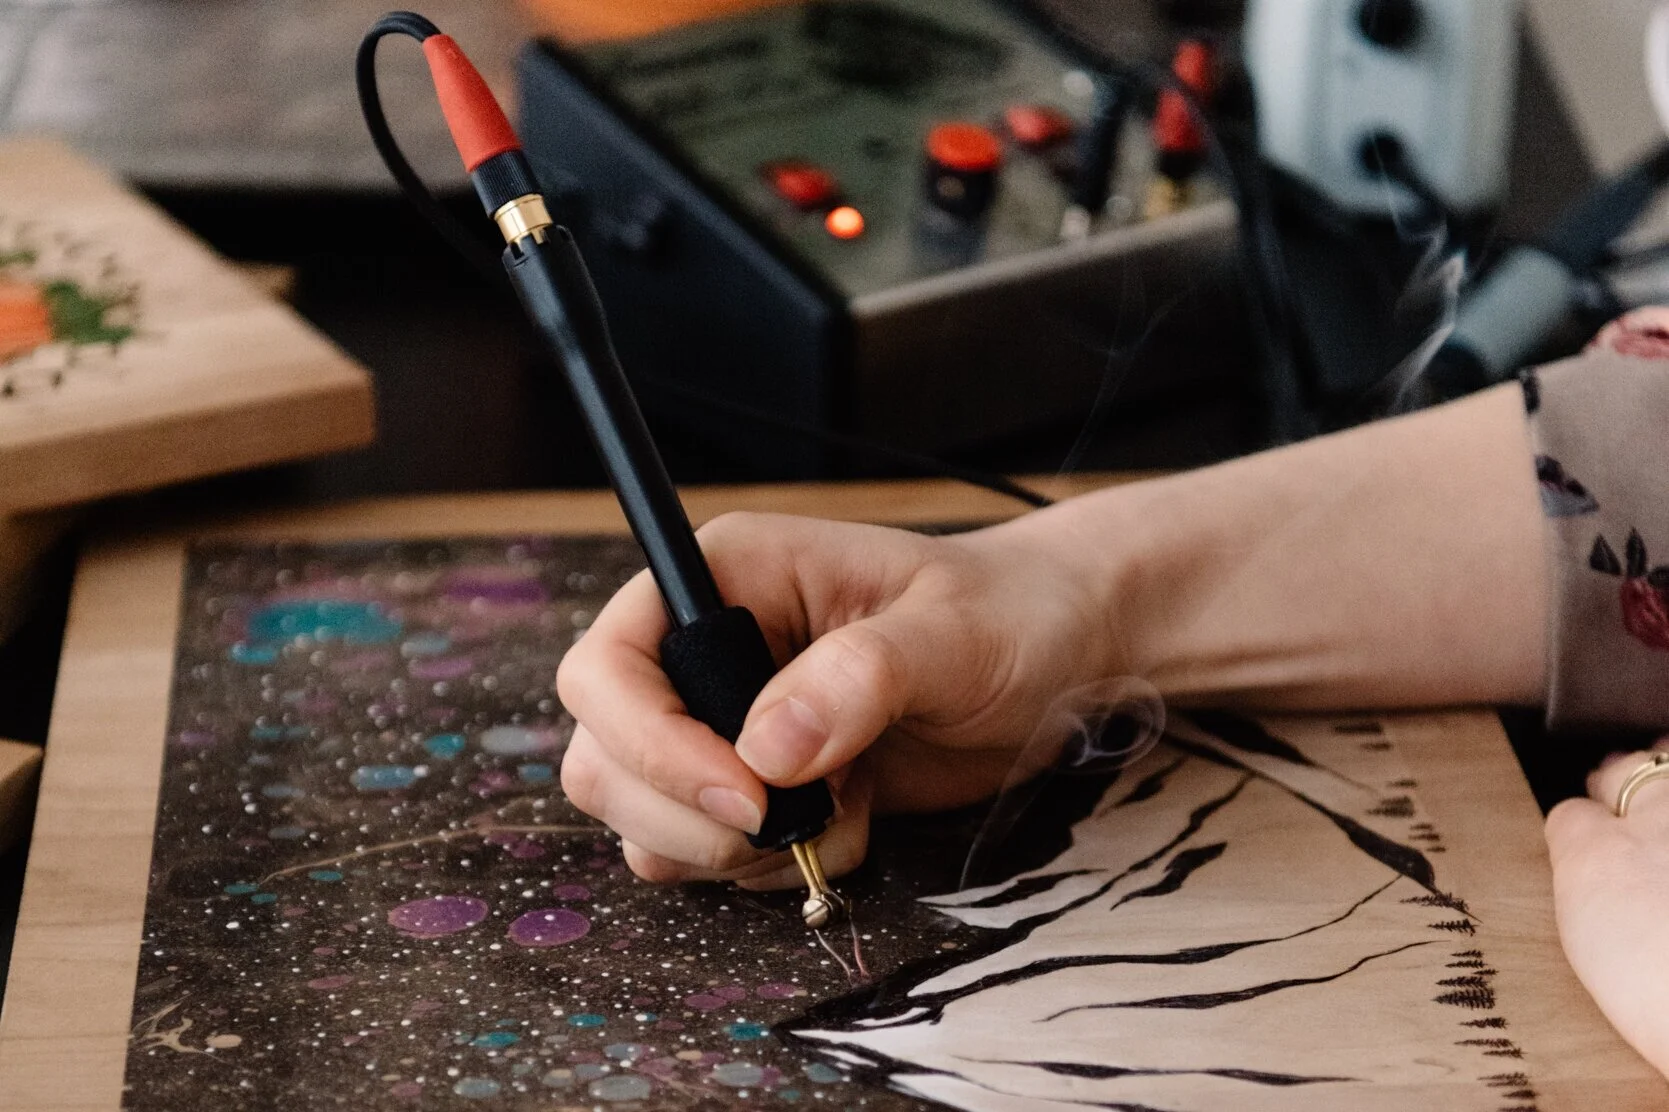
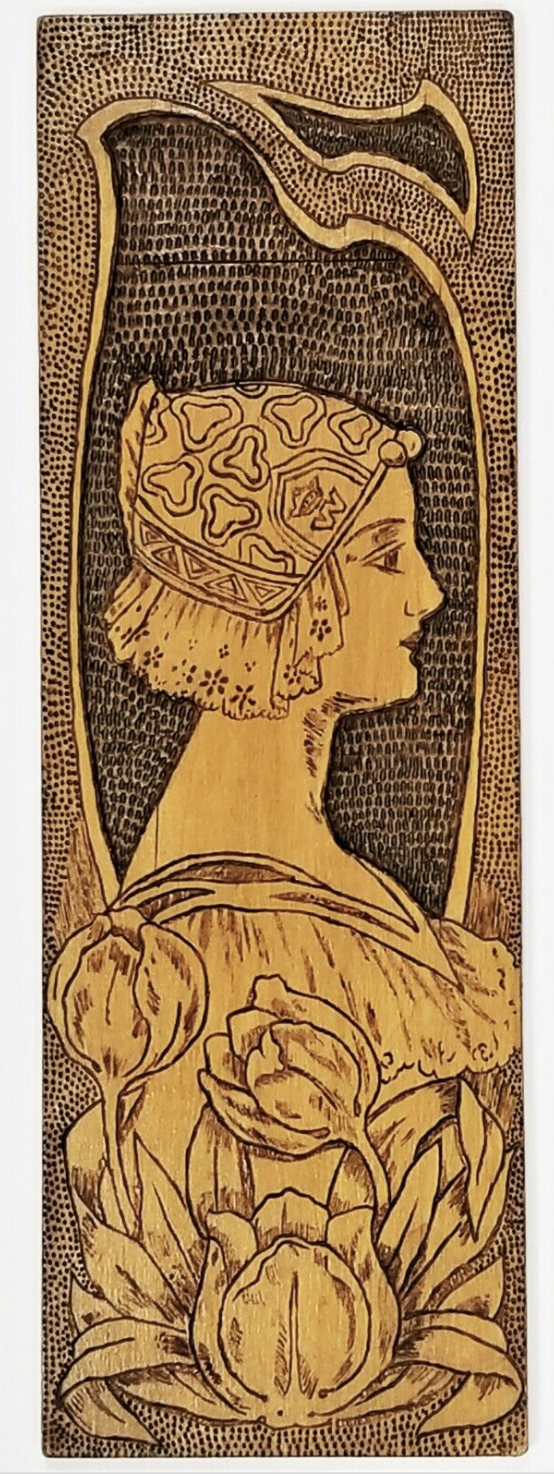
“Pyrography on wood.”
Absolutely not. Needs waaaayyyy more.
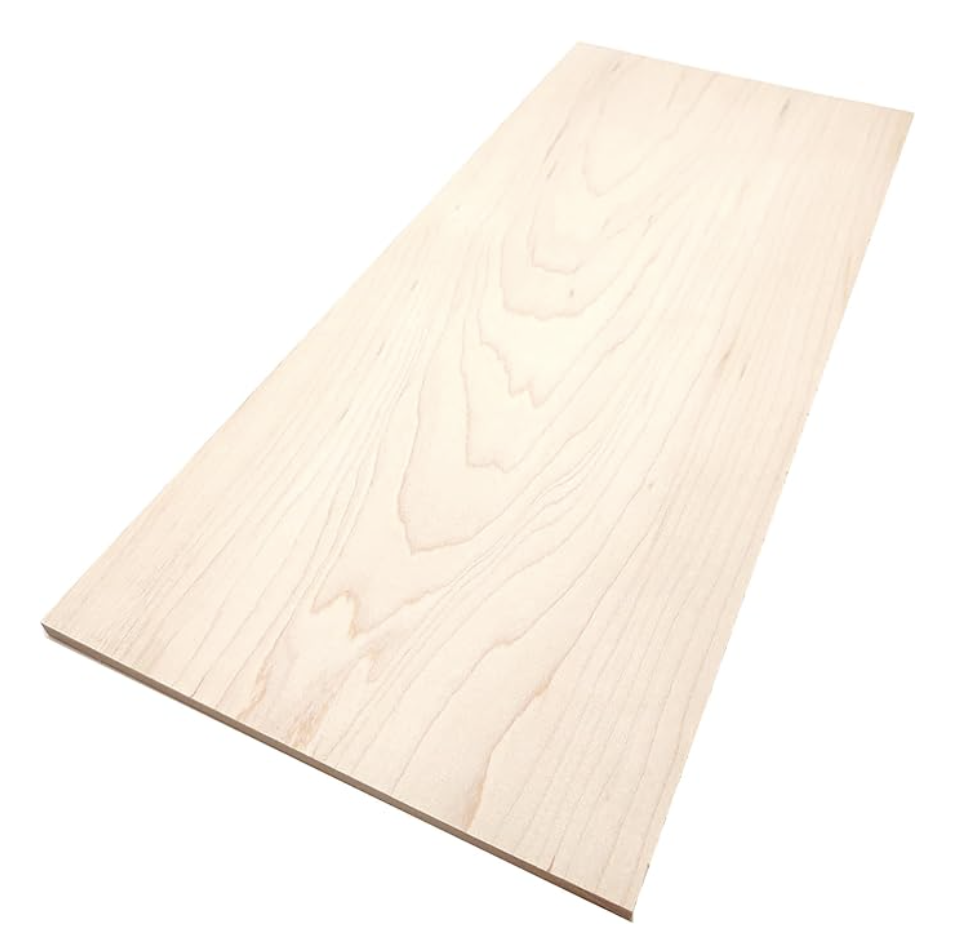
“Pyrography on Maple.”
Nope, still needs more. Describe that Maple.
“Pyrography on an Ambrosia Maple panel.”
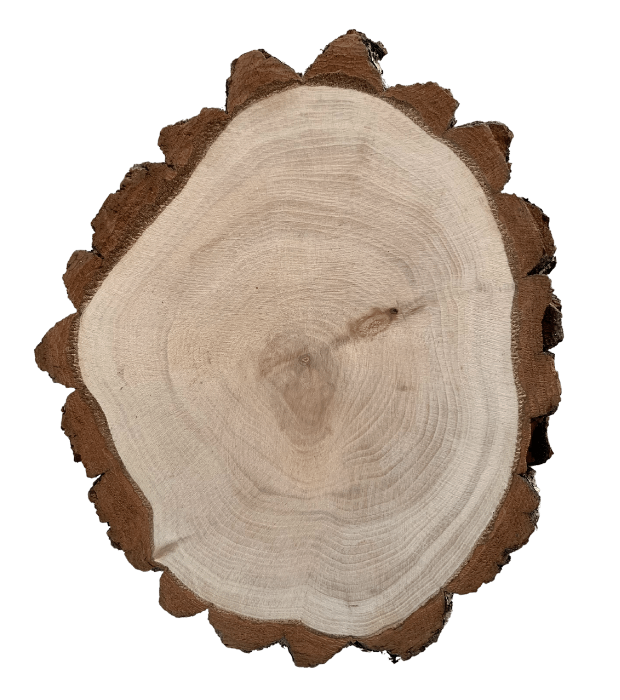
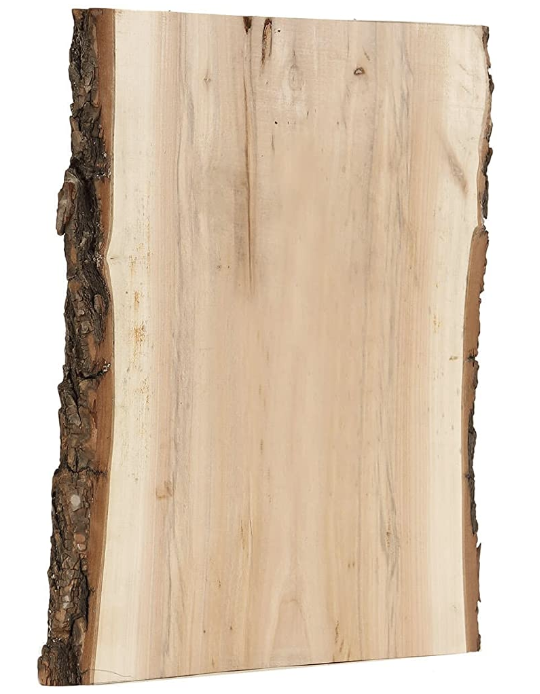
More. What does the panel look like? Does it have bark? What shape is it? Is it a round wood slice? Is it a clean-cut panel? More.
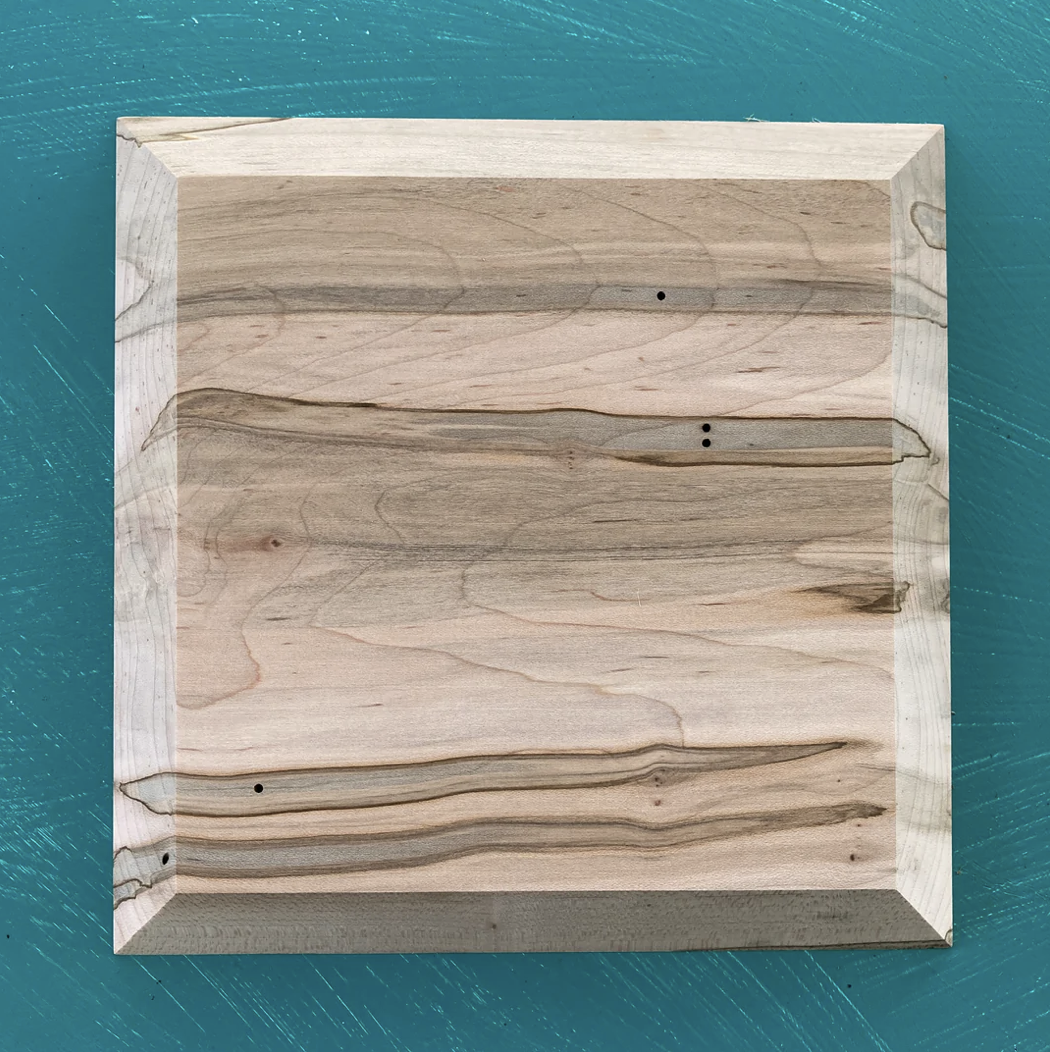
“Pyrography on a low-profile, 8” square Ambrosia Maple wood panel.”
Much better! You described the shape, the size, the species, and its side profile (meaning how far it sticks out from the wall).
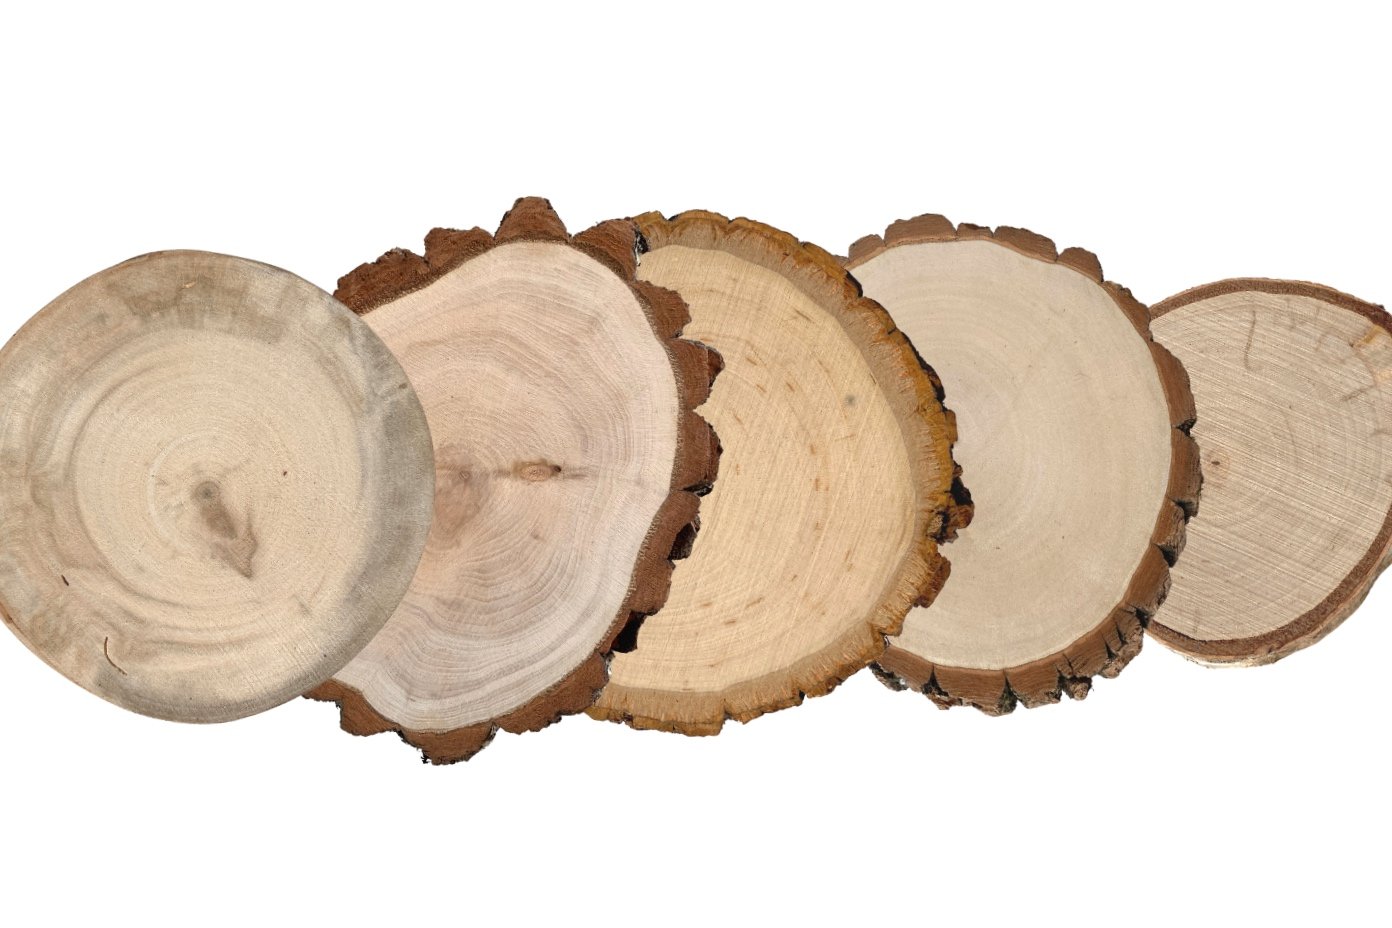
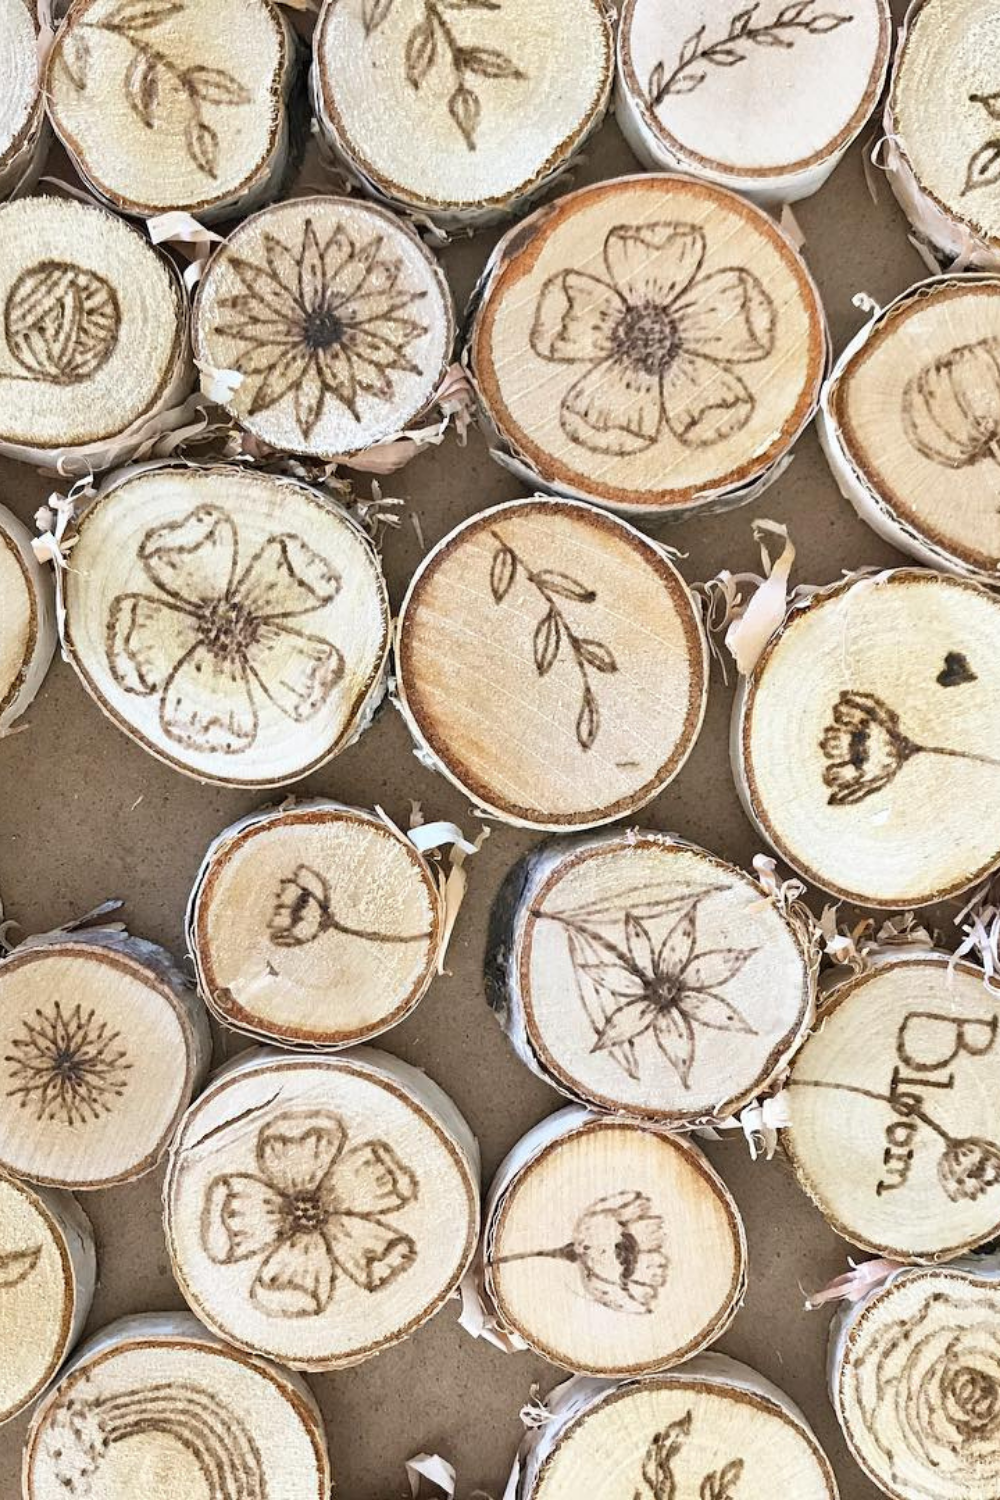
“Pyrography on a small, round live-edge Basswood wood slice.”
Yep! This is pretty good. Again, you described the shape, the relative size, the species, and its bark features.
I would say those titles are not too wordy but not too stingy on descriptors.
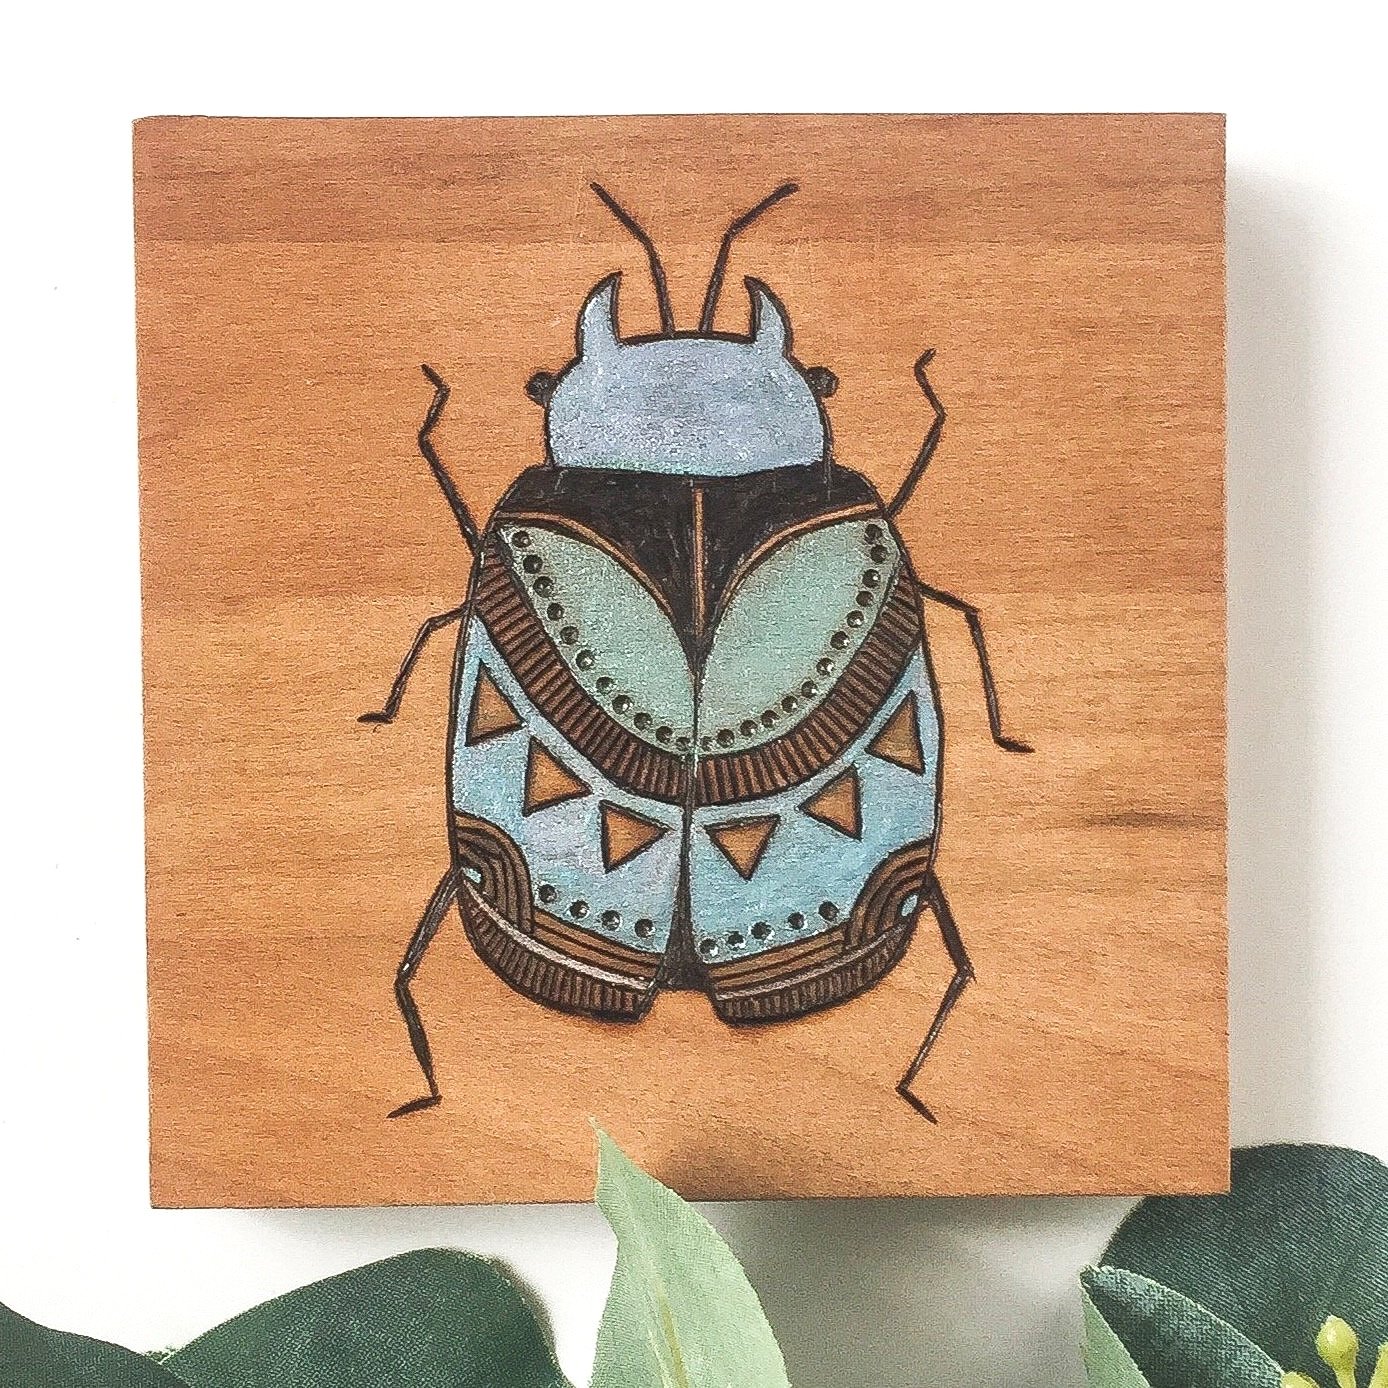
Describe the Artwork Design or Subject Matter
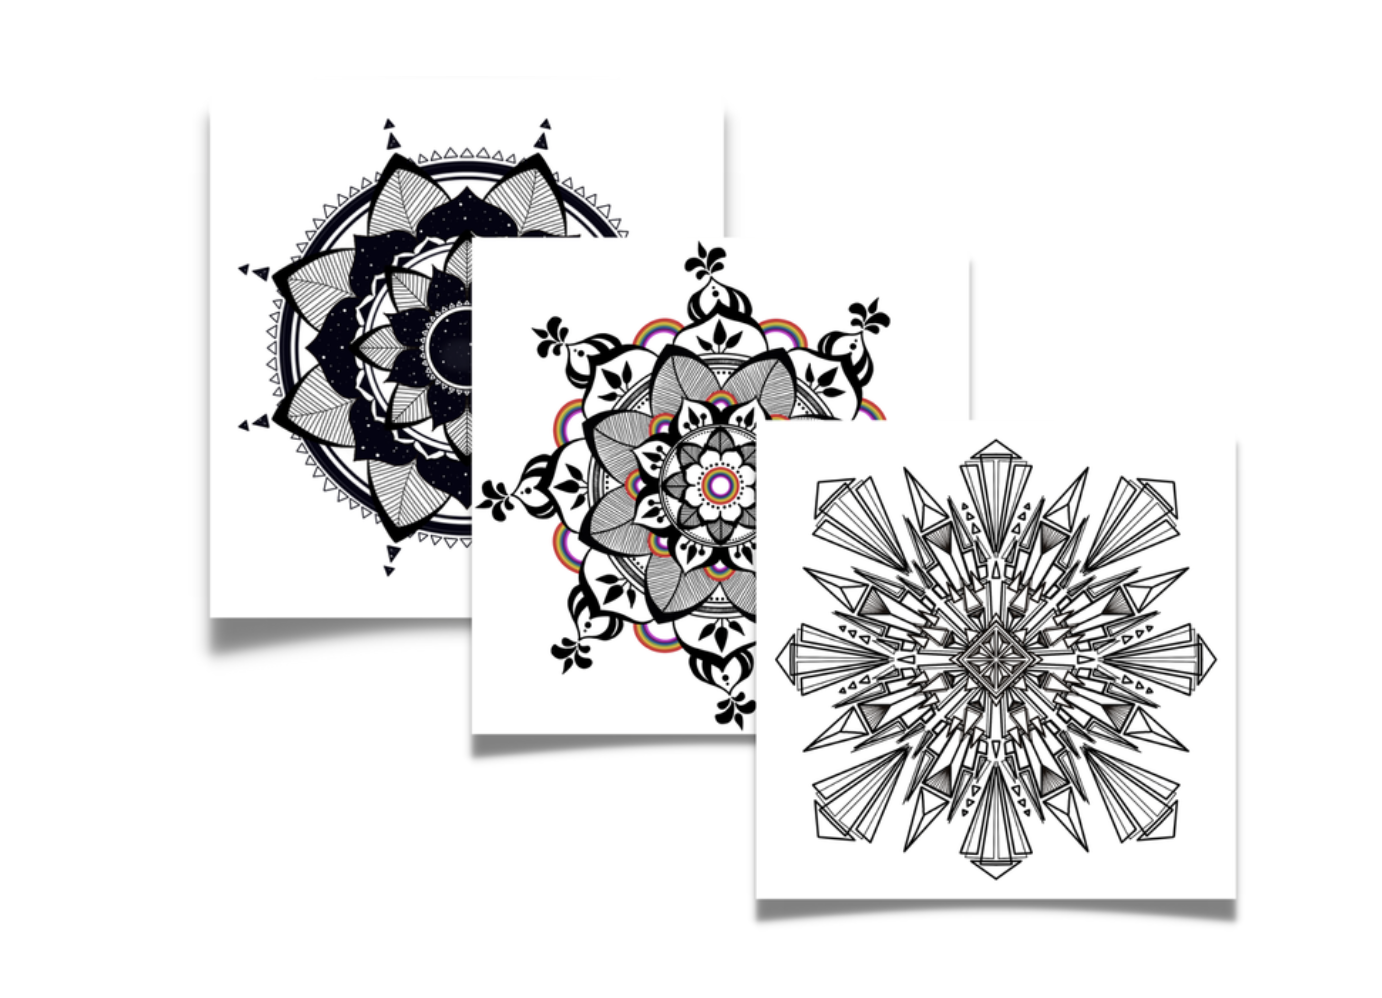
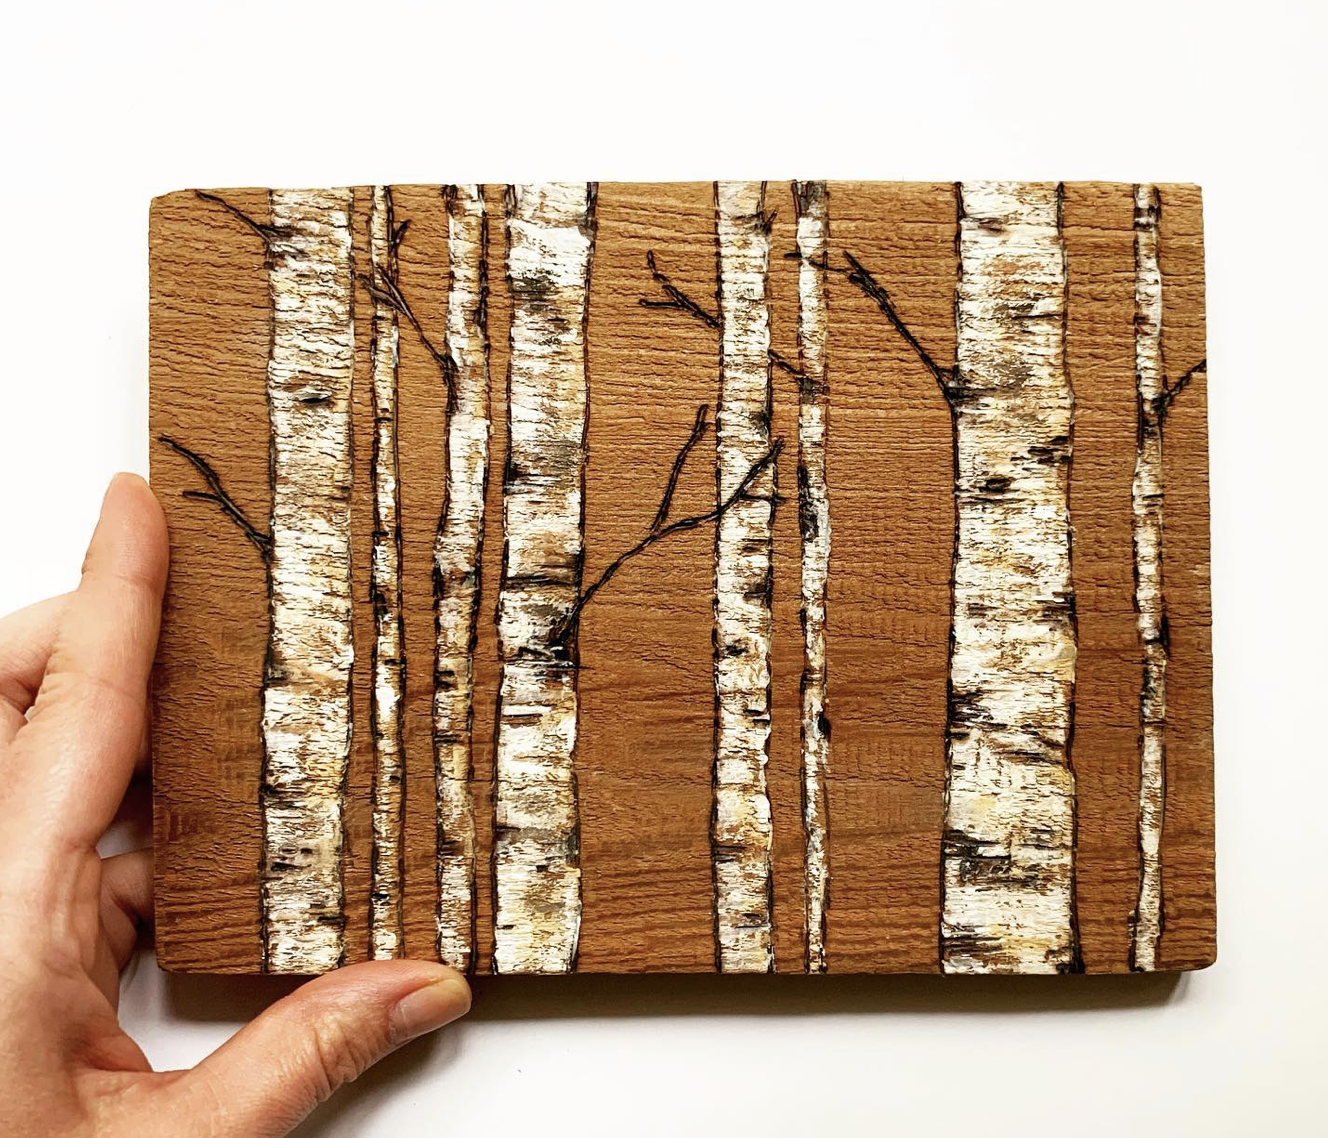
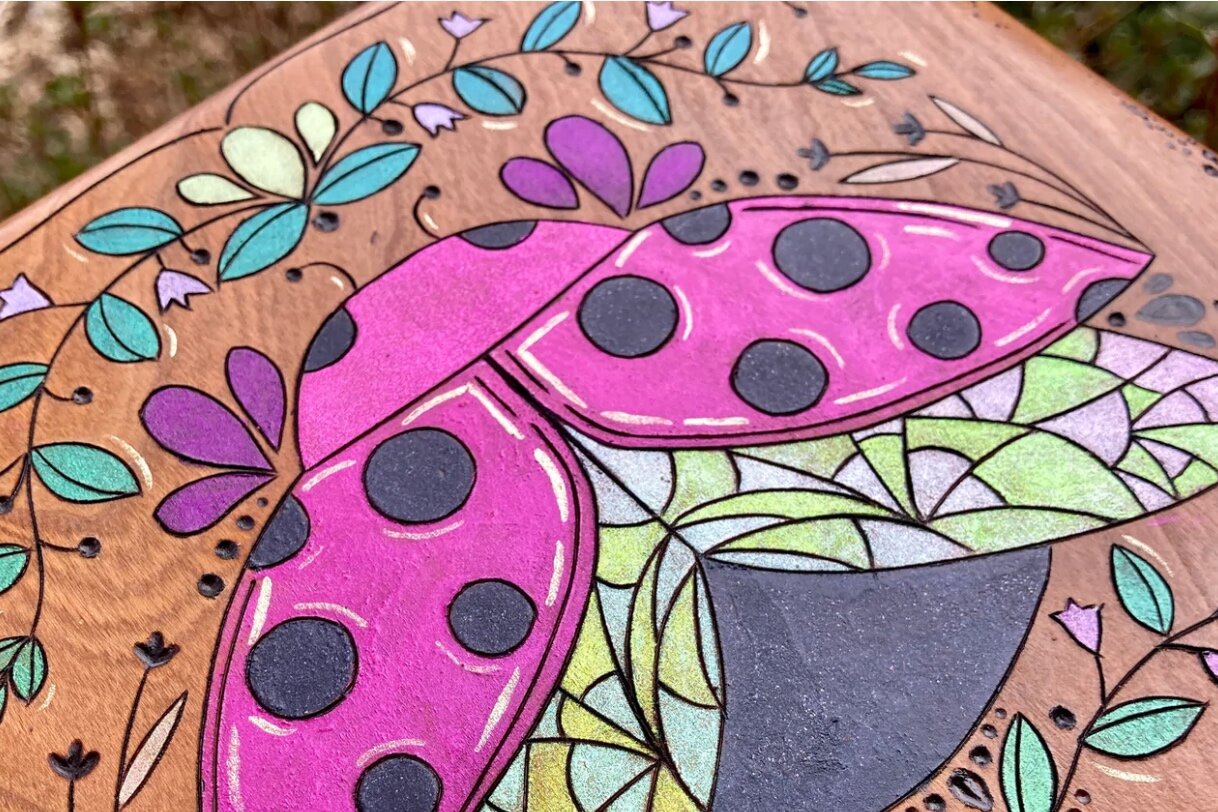
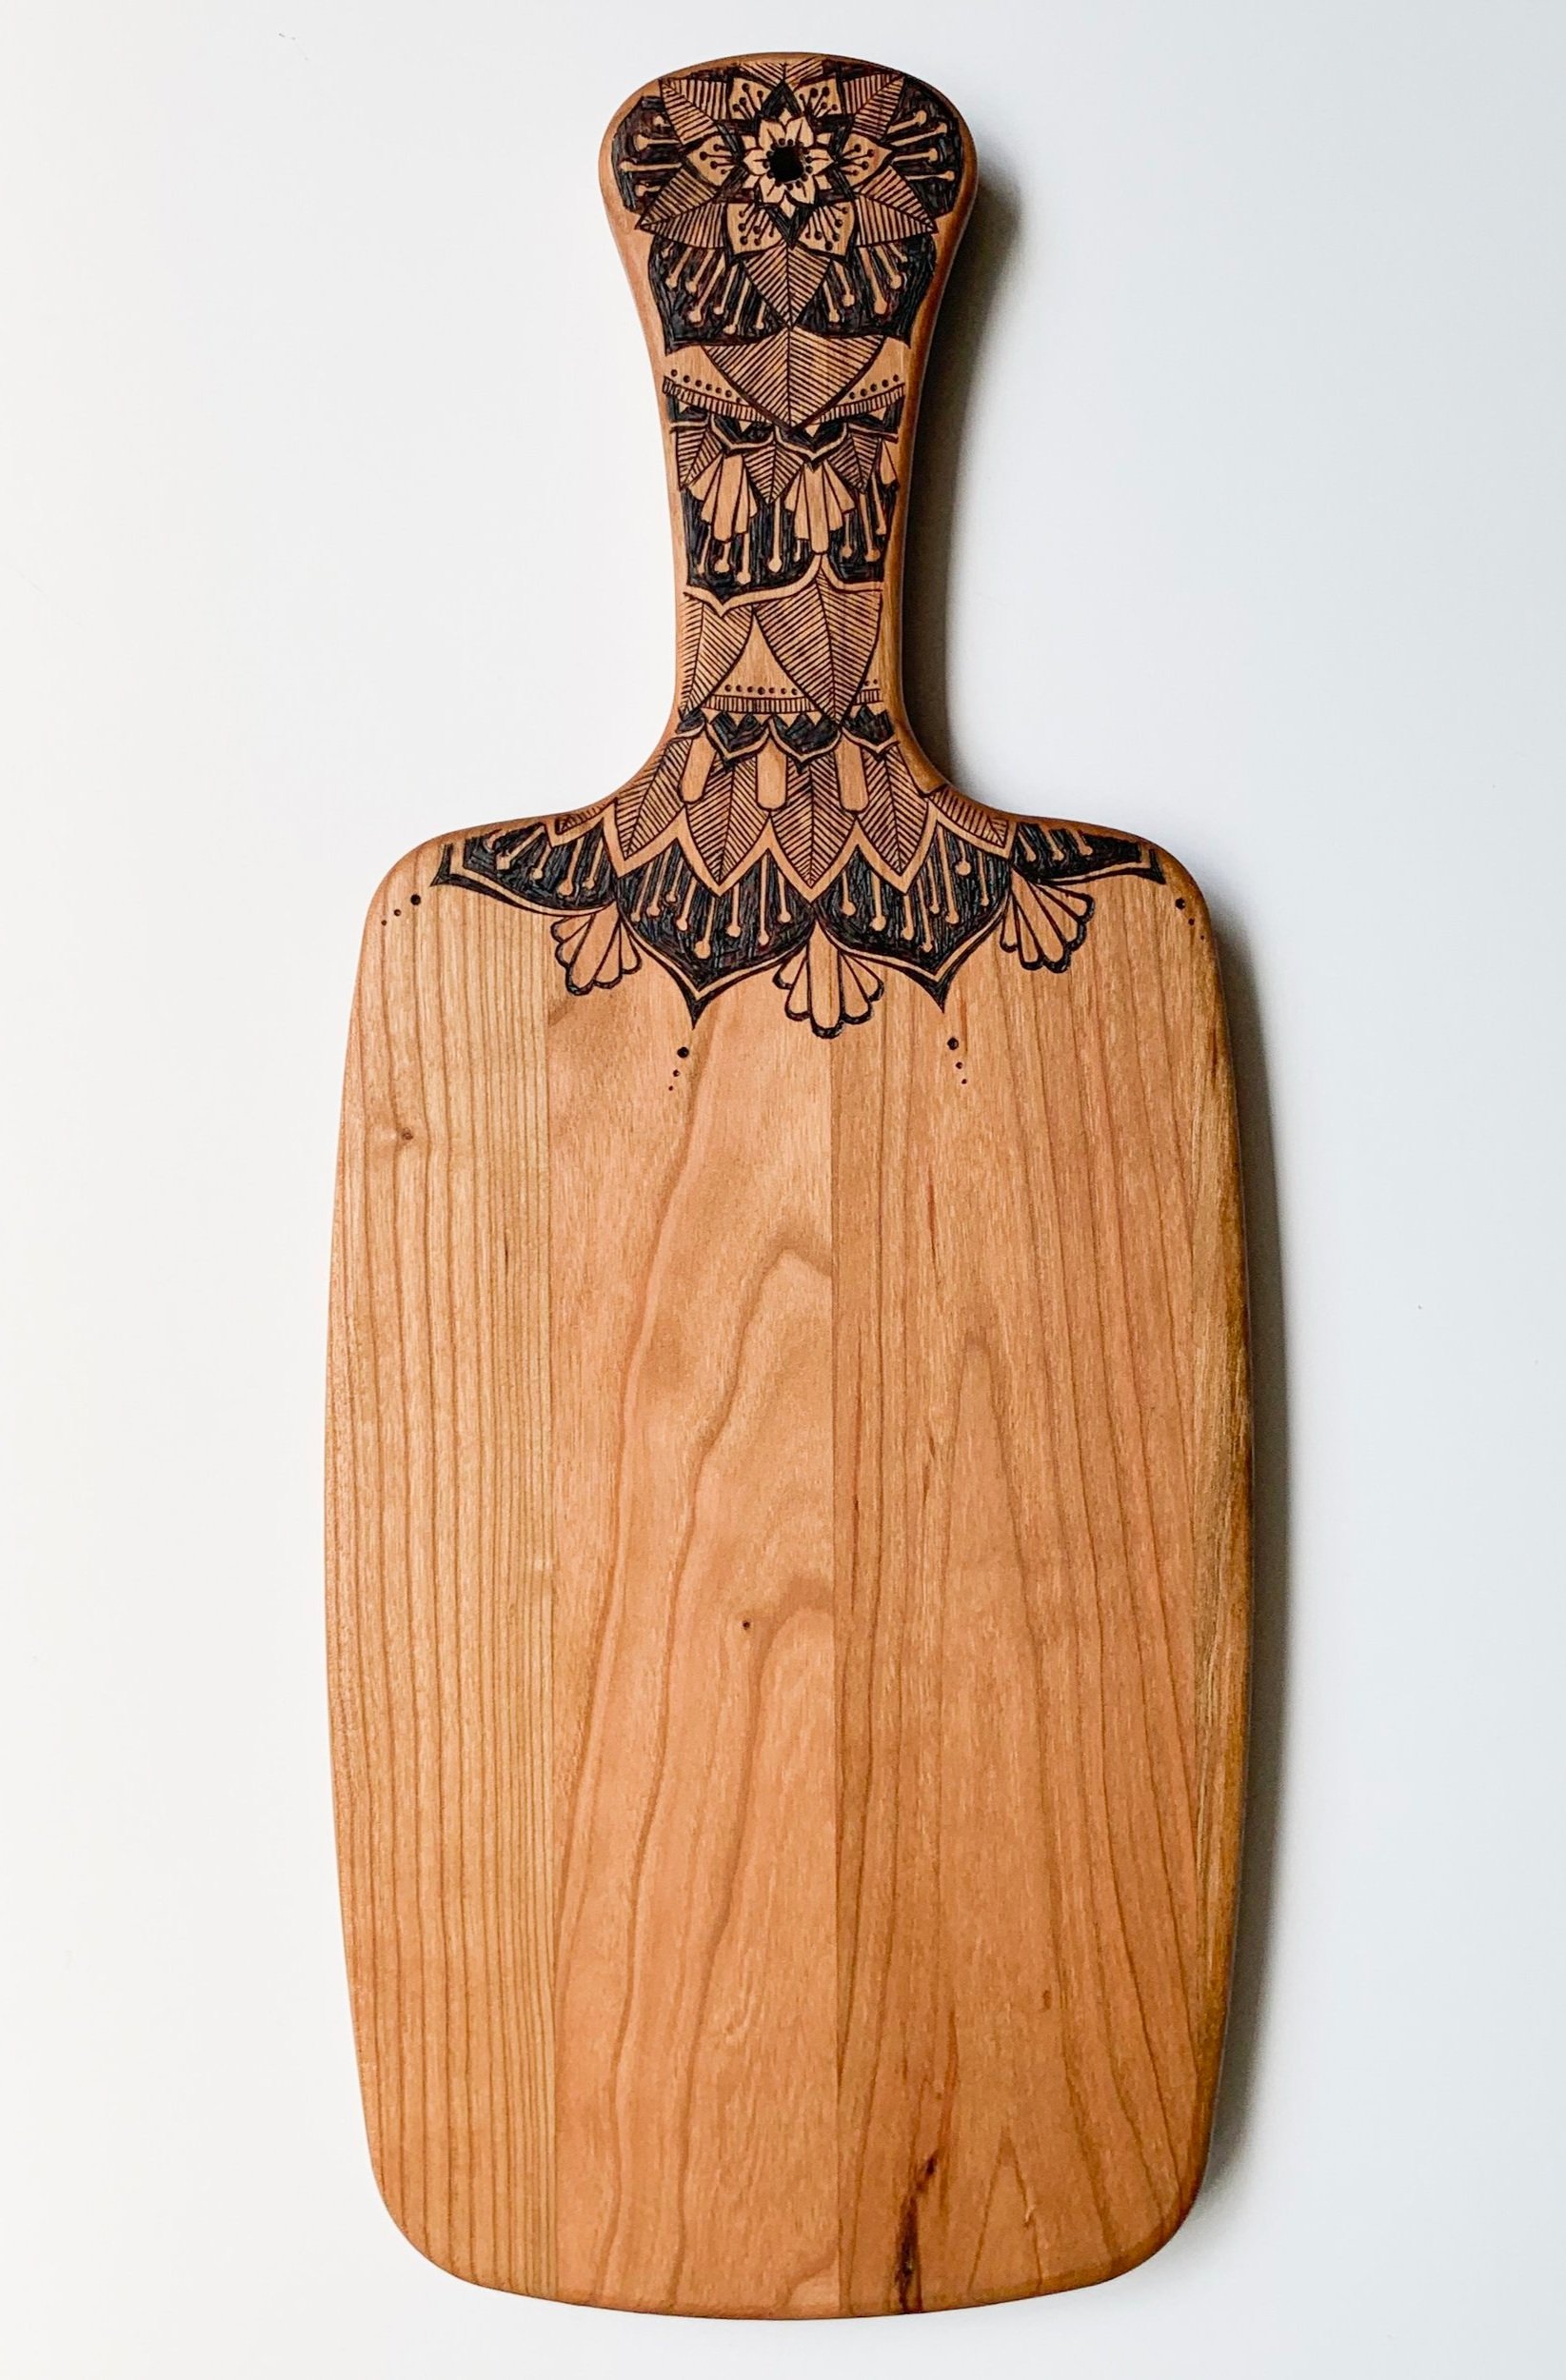
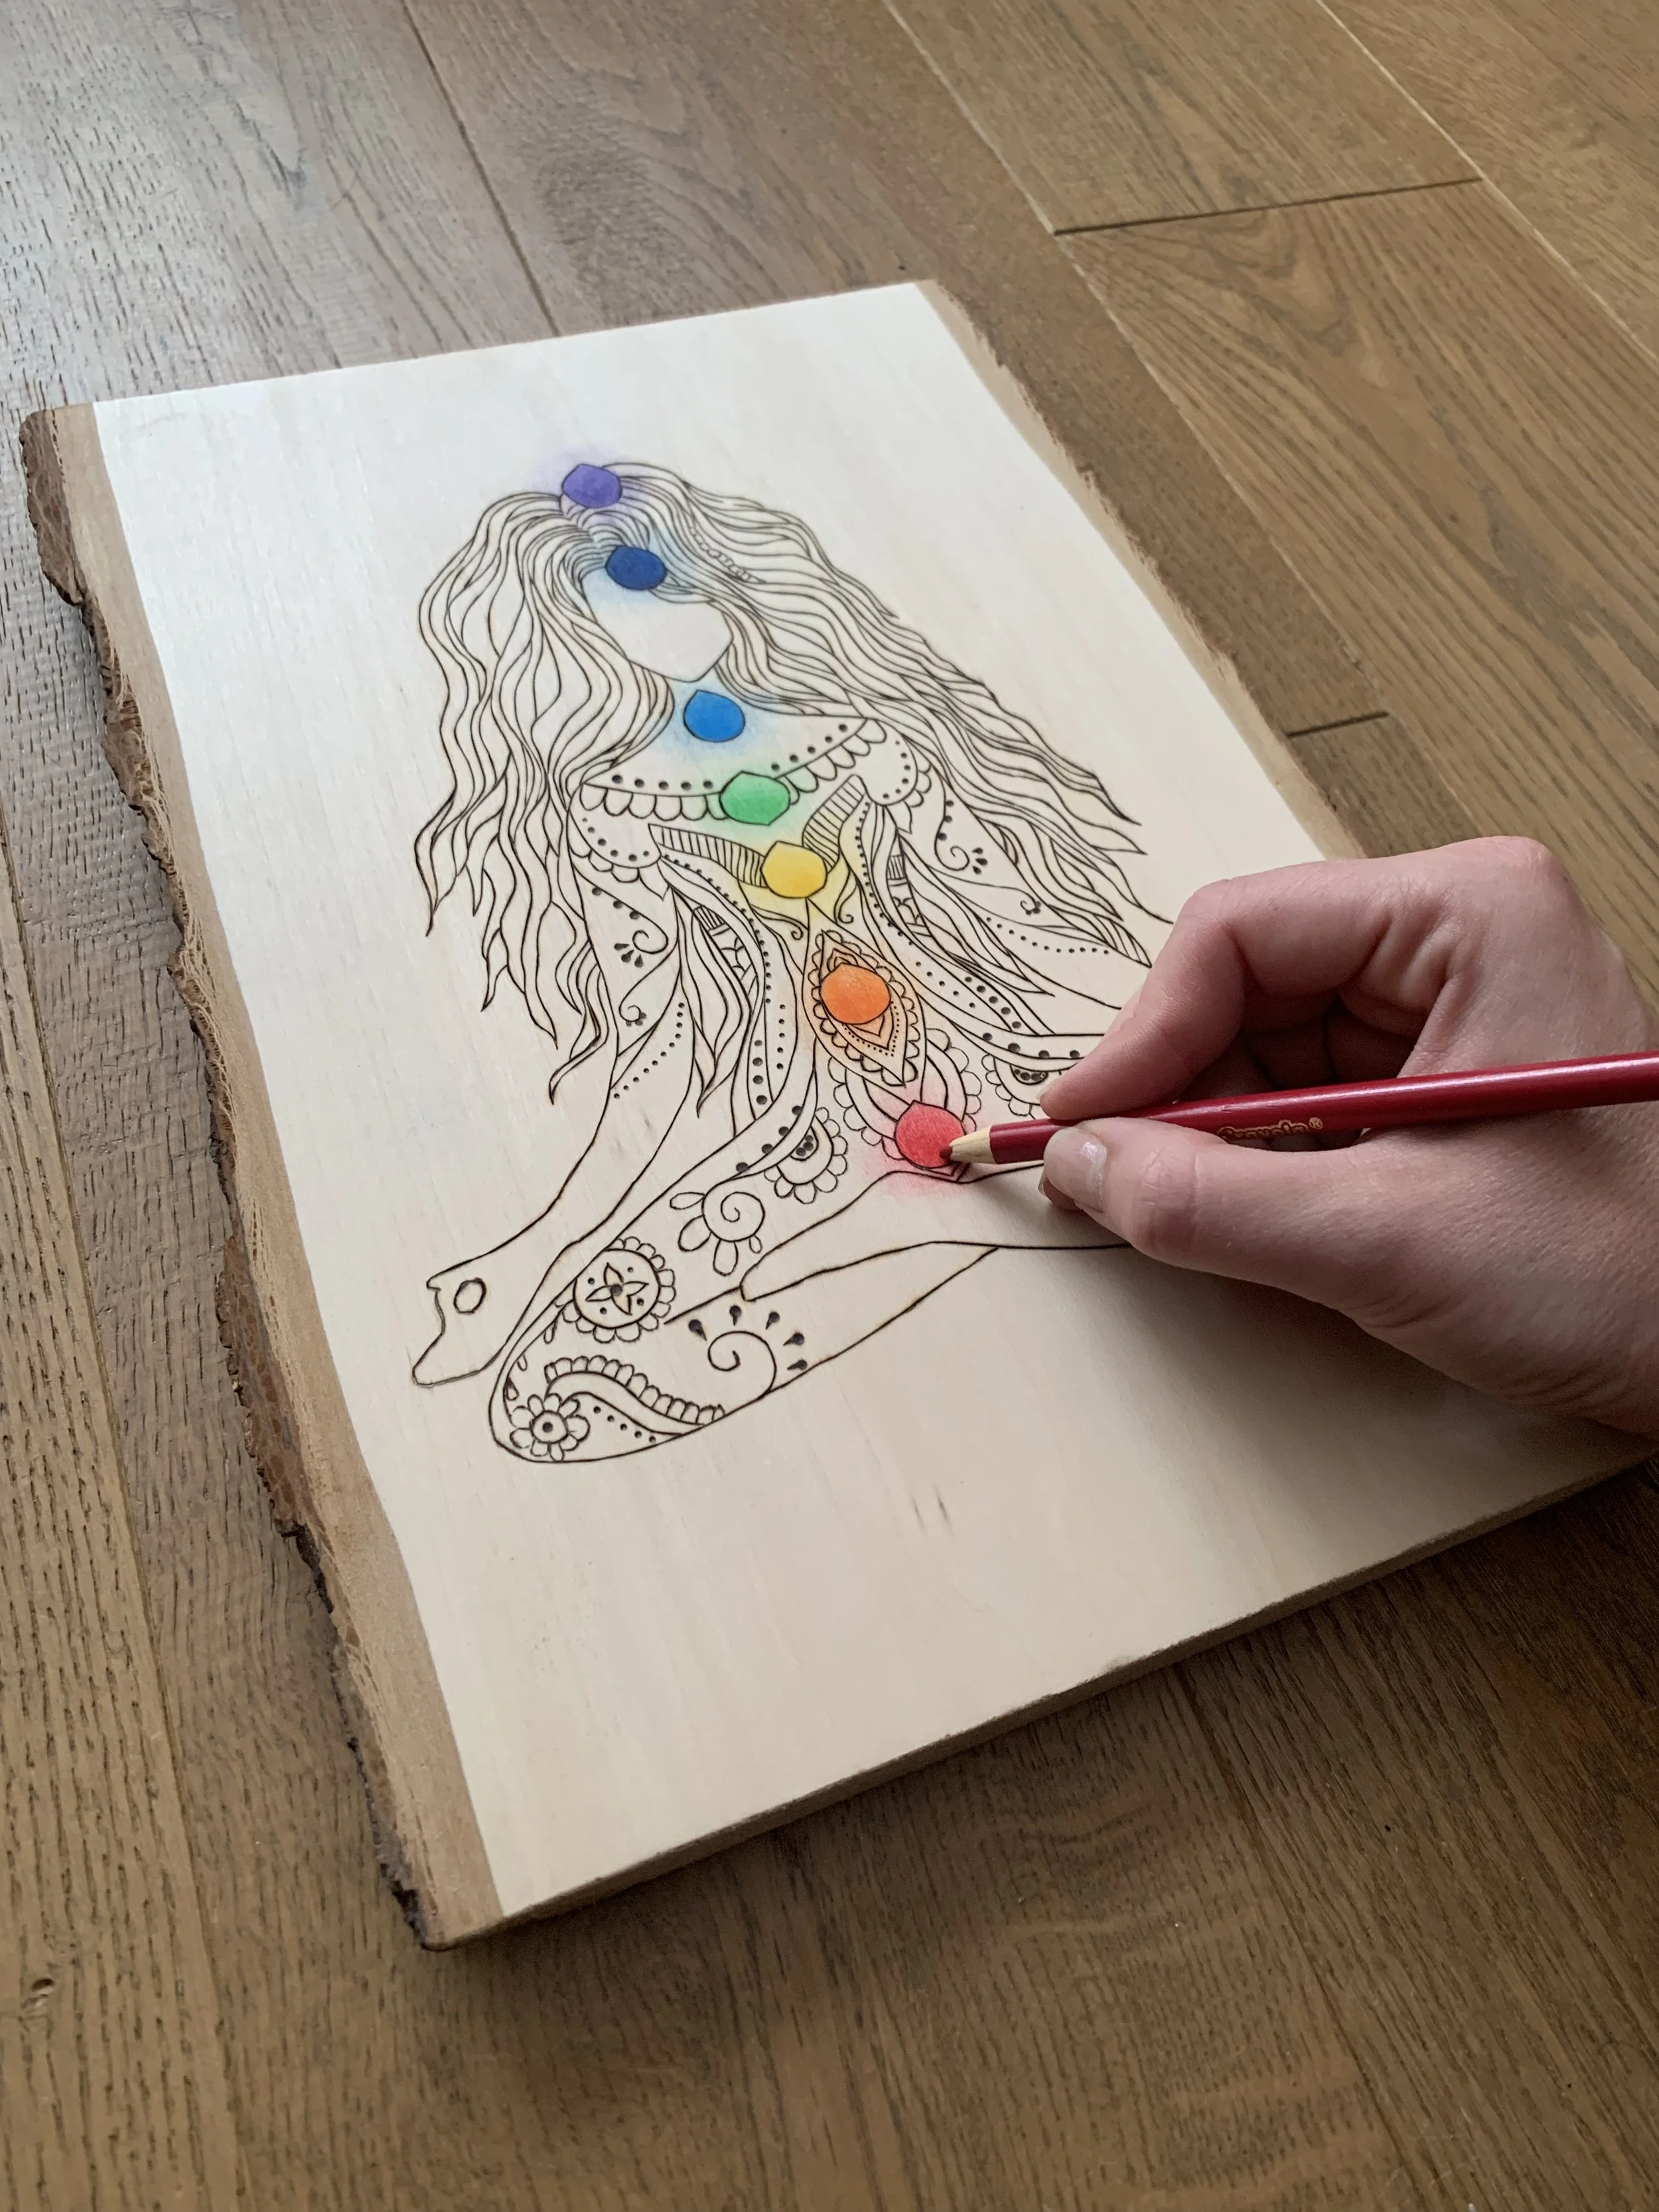
In the above example, we’re using “pyrography,” so let’s continue with that. We need to expand the “pyrography” part of the name. Is your pyro art colored or painted? Is it mixed media? What is an adjective you would use to describe this piece? What is the subject matter of your art? A crazy-colored symmetrical mandala is obviously a way different subject matter than a sepia-toned realistic dog portrait.
*Visually-descriptive adjectives have entered the chat*
Let’s get our list of adjectives out. What does it LOOK like? What kinds of words would you use to describe your art to your grandmother over the phone?
You: “Hi Memaw! Yes ma’am, I’m good. I made some new art. What kind of art? Well, um. It’s woodburned art, I do woodburning.”
Your Memaw: *Doesn’t really know what that means and imagines her living room fireplace with burnt logs.* “Oh, you burn wood? Well that’s… nice.”
This lack of description is confusing to your Memaw. You gotta describe it to her as if you’re in a museum describing it.